
SB-RKTG-1TB - SSD Sabrent - Free user manual and instructions
Find the device manual for free SB-RKTG-1TB Sabrent in PDF.


| Product Type | Internal SSD |
| Brand | Sabrent |
| Model | SB-RKTG-1TB |
| Capacity | 1 TB |
| Form Factor | M.2 2280 |
| Interface | PCIe Gen3 x4, NVMe 1.3 |
| NAND Flash | 3D TLC NAND |
| Controller | Phison E12S |
| Sequential Read | Up to 3400 MB/s |
| Sequential Write | Up to 3000 MB/s |
| Random Read (IOPS) | Up to 600,000 |
| Random Write (IOPS) | Up to 500,000 |
| Total Bytes Written (TBW) | 600 TB |
| Mean Time Between Failures (MTBF) | 1,800,000 hours |
| Operating Temperature | 0°C to 70°C |
| Storage Temperature | -40°C to 85°C |
| Dimensions (L x W x H) | 80 mm x 22 mm x 3.5 mm |
| Weight | 8 g |
| Power Consumption (Active) | 6 W |
| Power Consumption (Idle) | 0.1 W |
| Warranty | 5 Years |
| Compatibility | Desktops and Laptops with M.2 NVMe slot |
| Package Contents | SSD, Screw, Quick Start Guide |
Frequently Asked Questions - SB-RKTG-1TB Sabrent
User questions about SB-RKTG-1TB Sabrent
0 question about this device. Answer the ones you know or ask your own.
Ask a new question about this device
Download the instructions for your SSD in PDF format for free! Find your manual SB-RKTG-1TB - Sabrent and take your electronic device back in hand. On this page are published all the documents necessary for the use of your device. SB-RKTG-1TB by Sabrent.
USER MANUAL SB-RKTG-1TB Sabrent
ROCKET 4 PLUS
ADVANCED PERFORMANCE M.2 PCIe GEN4 X4 NVMe SSD
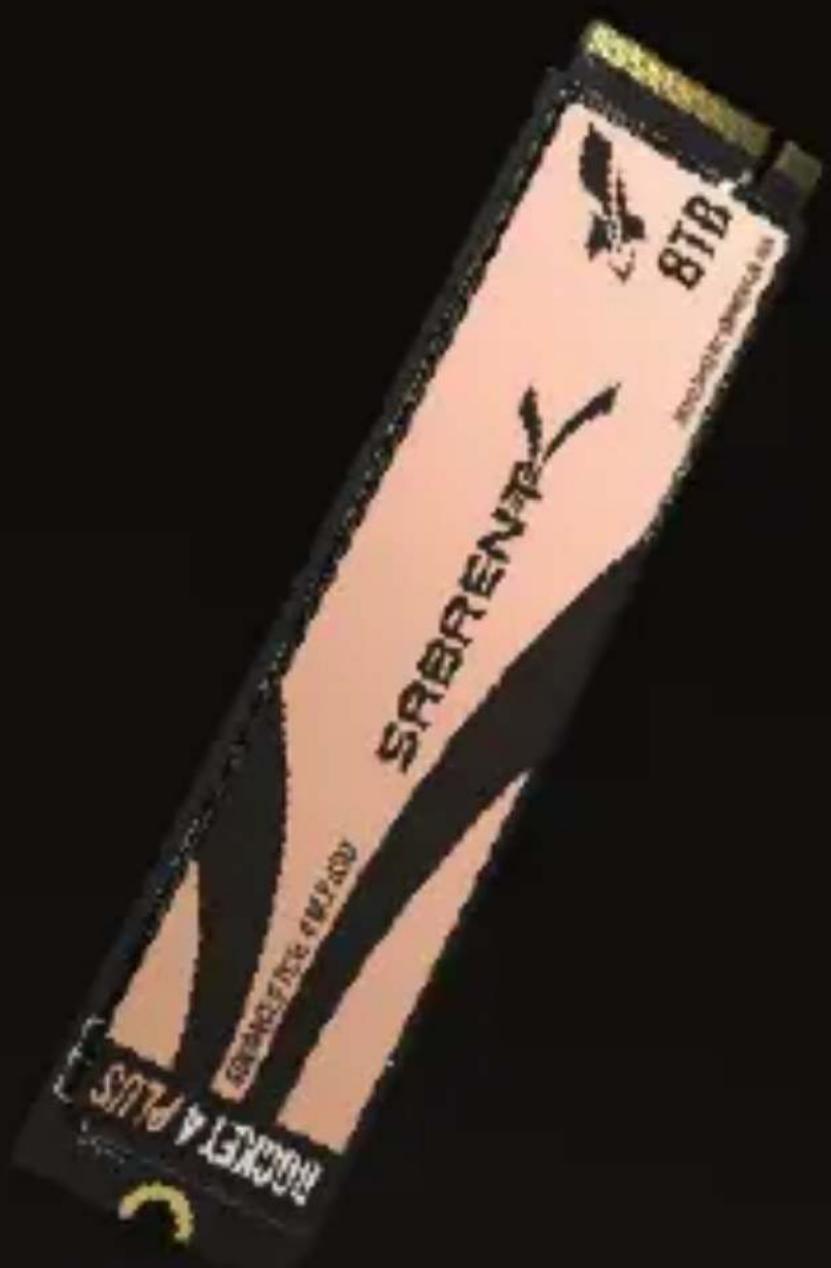
SABRENT ROCKET 4 PLUS SERIES INSTALLATION GUIDE
When installing any NVMe PCIe GEN 4 directly onto a PCIeGEN 4 motherboard, A HEATSINK IS REQUIRED TO DISSIPATE THE HEAT GENERATED BY THE DRIVE'S EXTREME SPEED LEVELS TO AVOID THERMAL THROTTLING AND TO MAXIMIZE THE PERFORMANCE.
Many PCIe GEN 4 motherboards are sold with a built in heatsink, so you're good to go without an added heatsink. Just follow the manufacturers user manual for the installation instructions. If your motherboard does not have a built in heatsink, we recommend using the Sabrent Rocket Heatsink for optimal performance.
NVMe PCIe extreme speeds generate excessive heat, to help dissipate the heat. Sabrent has developed a state of the art heatsink using the winning combination of copper and aluminum. The copper is used to absorb the heat from the drive, spreading it up to the grooved aluminum, giving the heat more air surface to cool off, therefore avoiding thermal throttling and maximizing the performance of your drive.

SABRENT ROCKET 4 PLUS NVMe M.2 DESKTOP INSTALLATION GUIDE AS A PRIMARY DRIVE (NEW SYSTEM)
Installation by a professional desktop computer technician is recommended. Before continuing with the installation process, it is your responsibility to review any warranty policy and instructions provided by your motherboard and computer manufacturer to ensure you follow proper procedures to install your storage device. Some manufacturers may void or limit your motherboard or computer warranty if you proceed with the installation of a new storage device. Accordingly, by proceeding with any installation, you agree to be solely responsible for any failure to follow any manufacturer's instructions.
REQUIRED TOOLS AND PARTS
- Screwdriver appropriate to the type of screw used for fastening the M.2 device, and the appropriate screwdriver or tool for opening your desktop computer.
- One screw for fastening the M.2 device to the motherboard.
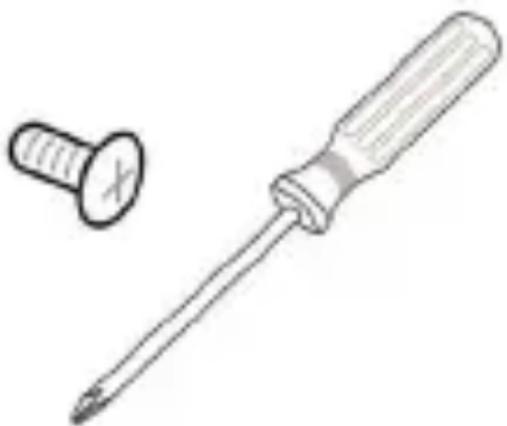
natural_image
Illustration of a screwdriver with a separate screw and a flat screw (no text or symbols)Note:
The necessary screw or hardware for fastening an M.2 device to the motherboard may have been included with your motherboard. If this has not been included, contact your motherboard manufacturer or computer system manufacturer for this information.
Note:
Depending on the type of hardware used by your motherboard to fasten an M.2 device, a motherboard style stand-off screw may be required and may be included with your motherboard.
-
As a precaution, always back up your data to another storage device before you or anyone else begins any type of work on your computer system.
-
Disconnect and remove any existing storage devices connected to the motherboard or in the drive bay(s).

natural_image
Diagram of a hard disk drive with attached circuit board and cable, showing internal components and blue directional arrows (no text or symbols)SABRENT ROCKET 4 PLUS SERIES INSTALLATION GUIDE
- Power on your PC and access the motherboard BIOS. Accessing your motherboard BIOS requires the press of a key or combination of keys on your computer system's attached keyboard during the preliminary stages of your computer system boot process. Reference your motherboard or system manufacturer for the exact keyboard sequence.
- Once you have accessed the BIOS, make sure that a PCIe device is set in the BIOS boot sequence or boot priority list. Reference your motherboard user manual or computer system user manual for information regarding the boot sequence and detecting boot devices, for booting from an M.2 device.
- Save these BIOS settings and exit.
- Power down your PC.
This may require disconnecting the power cord from your PC. Confirm with your system or motherboard manufacturer for the best power-down process when connecting new hardware to the motherboard.
7. Locate the M.2 slot on your motherboard.
Please reference your motherboard user manual for detailed location and orientation of the M.2 slot.

- Insert the Sabrent ROCKET 4 PLUS NVMe M.2 SSD device pin-side first into the M.2 slot as is illustrated below.
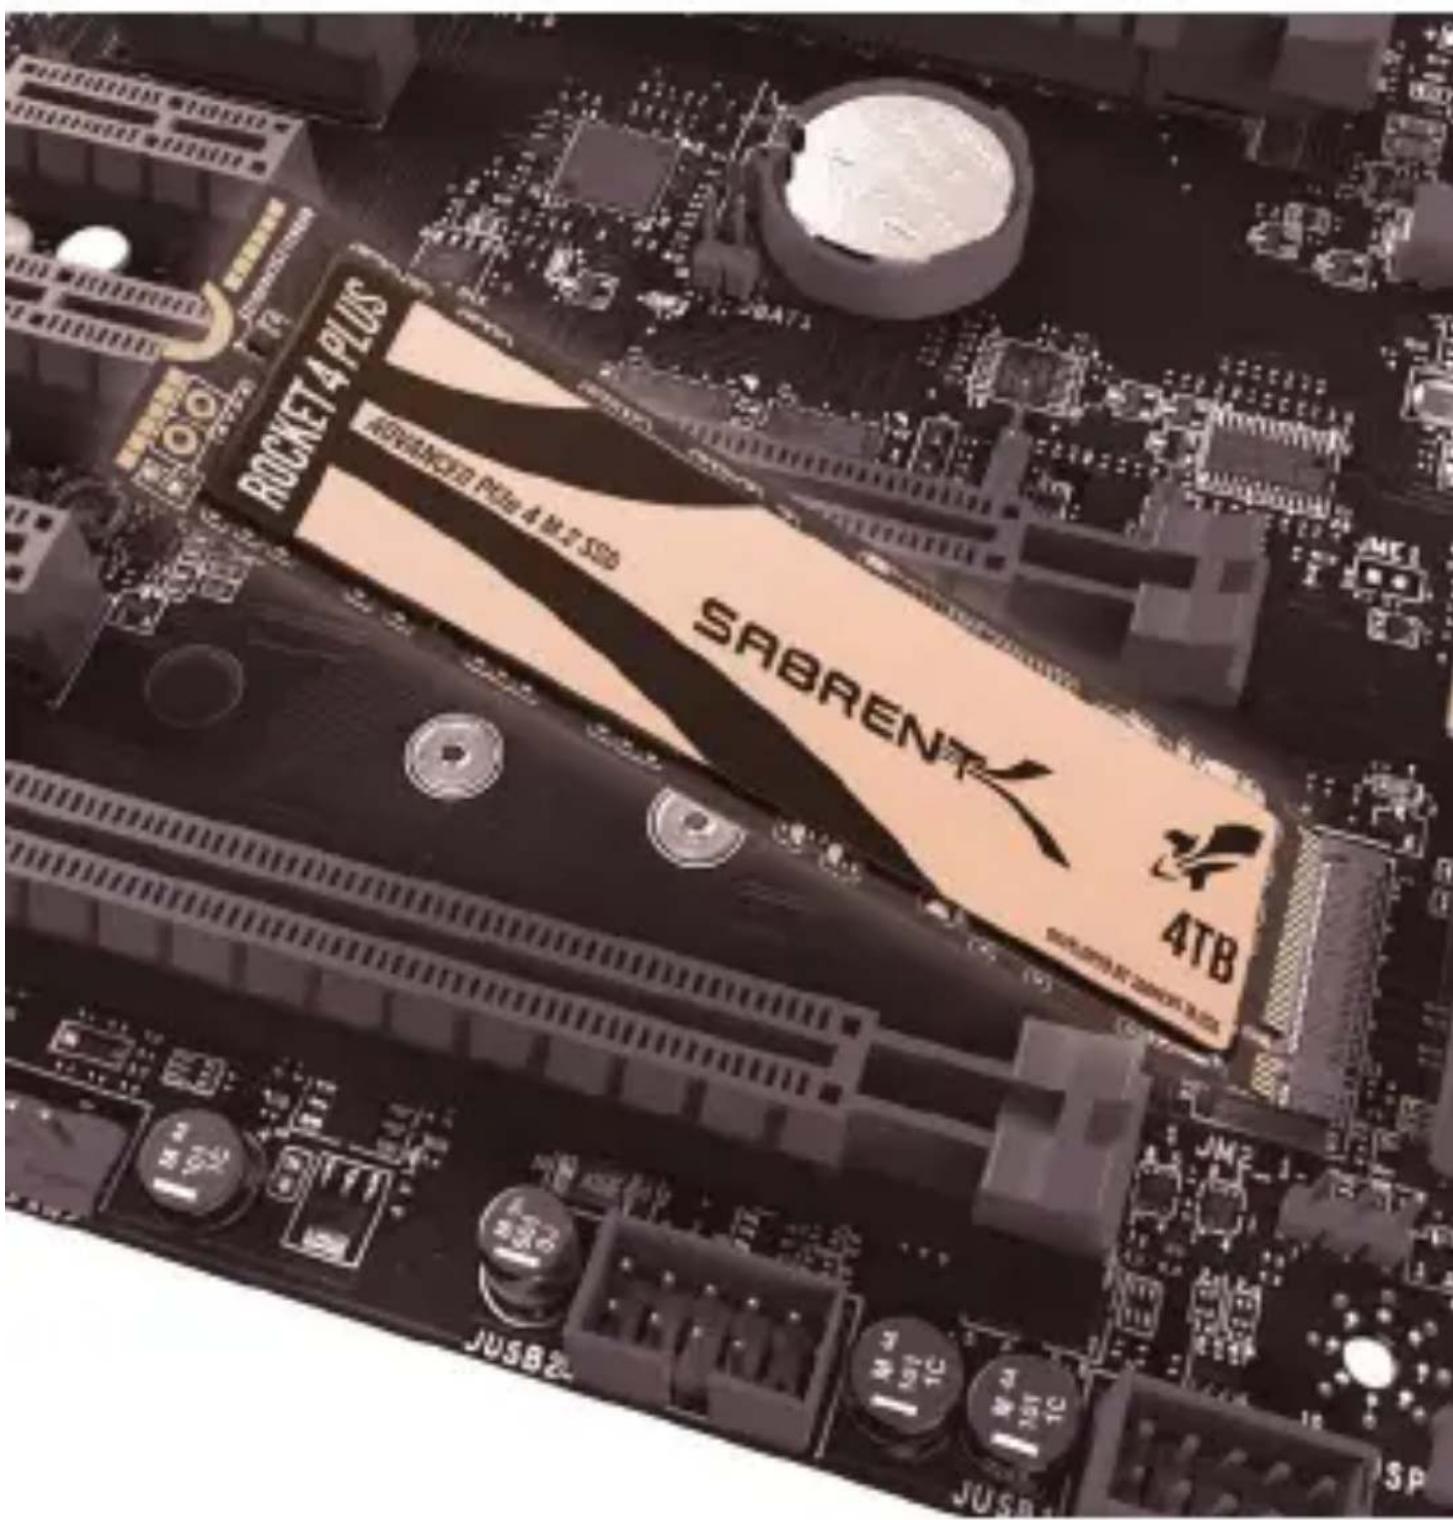
- Fasten the opposite end of the ROCKET 4 PLUS NVMe M.2 SSD to the motherboard with the necessary screw or hardware, as is illustrated below.

- Begin your Microsoft Windows installation Microsoft Windows® 8.1 or Microsoft Windows® 10 is recommended for proper PCIe / M.2 boot and installation support.
SABRENT ROCKET 4 PLUS NVME M.2 INSTALLATION GUIDE AS A SECONDARY DRIVE
- Attach the Sabrent ROCKET 4 PLUS NVMe M.2 SSD as a secondary drive and load Windows® from your existing drive.
- In Windows 8® and later, move the mouse to the lower left corner of your desktop and right click on the Start Icon, then select 'Disk Management'.
- When Disk Management opens, a pop-up should appear and prompt you to initialize the SSD.
- Select MBR (Master Boot Record) or GUID partition table (GPT) and click OK. MBR is best for certain legacy software compatibility, while GPT is better for modern systems.
- Right click in the area that says Unallocated and select New Simple Volume...
- The New Simple Volume Wizard will open, click Next
- Leave the Specify Volume Size as the maximum (default value) and click Next
- Select a Drive Letter and click Next
- In the Format Partition screen, decide on a Volume label (the name you want to give the drive) and click Next The drive is now formatted and ready for use
LEGAL DISCLAIMER
SABRENT RESERVES THE RIGHT TO CHANGE PRODUCTS, INFORMATION AND SPECIFICATIONS WITHOUT NOTICE.
Products and specifications discussed are for reference purposes only. All information discussed herein may change without notice and is provided on an “AS IS” basis, without warranties of any kind. This document and all information discussed herein remain the sole and exclusive property of Sabrent. Sabrent products should not be used in critical care, life support, medical, safety equipment, or similar applications where product failure may result in loss of life or personal or physical harm, or any military or defense application, or any government procurement to which special terms may apply. For additional information about Sabrent products please visit Sabrent.com. All brand names, trademarks and registered trademarks belong to their respective owners.
Copyright 2020 Sabrent. All rights reserved.
BACKUP AND WARRANTY ON IMPORTANT DATA
Sabrent does not provide any warranty for data stored on any Sabrent product under any circumstances. Sabrent is not responsible for material or mental damages etc., from any loss or recovery of data stored.
SHOCK
Protect the device against any heavy shocks. This may cause the devise to malfunction otr could cause data loss.
DISASSEMBLY, DAMAGE, AND REMOVAL
Do not disassemble the product or damage or remove any stickers or labels attached to the product. Product warranty is void if the unit is disassembled, damaged, or the labels or sticker are removed.
Warranty Policy
SABRENT warrants to the purchaser of the Product in its original sealed packaging ("You") that the Product is free from defects in material and workmanship, subject to the conditions stated below, for THE LIMITED WARRANTY PERIOD, BEGINNING ON THE DATE THE PRODUCT WAS
PURCHASED IN ITS ORIGINAL SEALED PACKAGING.
In the event that a valid proof of purchase is not available, the limited warranty period will be determined by the date of manufacture. In the event SABRENT determines, in its sole discretion, that the Product suffers from defects in material or workmanship and does not conform to the published specifications for normal use and wear, for as long as You own the Product and during the limited warranty period, and subject to the conditions and exceptions stated in this Agreement, SABRENT will, at its option, either: (1) refund the then current market value of the Product at the time the warranty claim is made to SABRENT if SABRENT is unable to repair or replace the Product; or (2) repair or replace the Product with new or refurbished Product of equal or greater capacity and functionality.
In the case of replacements, SABRENT may replace Your Product with one that was previously used, repaired and tested to meet SABRENT specifications. The warranty period for repaired and replaced products will be applied for the longer of the remainder of the original warranty period or ninety (90) days. The returned Product for replacement service will not be sent back to You. You should always back up the important data. This warranty is provided only to You and is not transferable.
Extent of the Limited Warranty
The warranty stated herein shall NOT apply if: (i) the Product was not used in accordance with any accompanying instructions, (ii) the Product was not used for its intended function and environment (iii) any failure or defect arose out of the presence of a third party product, software or component, whether authorized or not, (iv) any failure or defect was a result of improper installation or testing, misuse, neglect, unauthorized repair, modification, accident, or other external causes, OR (v) there exist any other circumstances which SABRENT determines is evidence of a breach of this Agreement by You. You acknowledge and agree that the Product is not designed for and shall not be used in, including without limitation, life support systems, critical care, medical or safety equipment, or other applications where failure could result in loss of life or personal or physical harm, or any military or defense application, or any governmental
procurement to which special terms or provisions may apply. Accordingly, SABRENT disclaims any and all liability in connection with, arising out of, or related to, any such use of the Product and you assume all risks rising from any such or similar application of the Product. SABRENT'S warranty does NOT cover any costs and expenses relating to SSDs' overhaul/assembly and data recovery for repairs or replacements. SABRENT's warranty also does NOT cover Products which, by way of example, have been received improperly packaged, altered, or physically damaged. Products will be inspected upon receipt. You can refer to a non-exhaustive list of examples of the warranty exclusions below:
- Improperly packaged or shipped, including use of non-qualified shipping container;
- Any alterations, modifications, or physical damage of the Product, including but not limited to, deep scratches;
- Any alterations, modifications, or removal of any SABRENT labels or barcodes on the Product;
- Opened SSD casing; or
- Tampered or missing tape seal or serial number.
This equipment has been tested and found to comply with part 15 of the FCC rules. For Indoor use only. FCC Caution: Any changes or modifications not expressly approved by the party responsible for compliance could void the user's authority to operate this equipment.
State of California Proposition 65 Warning (US Only)
WARNING: This product contains chemicals known to the State of California to cause cancer and birth defects or other reproductive harm.
Product Warranty Period
| Product Model Number | Capacity | Product Warranty Period |
| SB-RKT4P-500 | 500GB | 1 Year Standard Warranty without product registration. |
| SB-RKT4P-1TB | 1000GB | |
| SB-RKT4P-2TB | 2000GB | 5 Year Warranty with free product registration if registered within 90 days of purchase. |
| SB-RKT4P-4TB | 4000GB | |
| SB-RKT4P-8TB | 8000GB |

Please contact our Technical Support Team for additional troubleshooting
WWW.SABRENT.COM


- ROCKET 4 PLUS
- SABRENT ROCKET 4 PLUS NVMe M.2 DESKTOP INSTALLATION GUIDE AS A PRIMARY DRIVE (NEW SYSTEM)
- REQUIRED TOOLS AND PARTS
- Note:
- Locate the M.2 slot on your motherboard.
- SABRENT ROCKET 4 PLUS NVME M.2 INSTALLATION GUIDE AS A SECONDARY DRIVE
- LEGAL DISCLAIMER
- BACKUP AND WARRANTY ON IMPORTANT DATA
- SHOCK
- DISASSEMBLY, DAMAGE, AND REMOVAL
- Warranty Policy
- Extent of the Limited Warranty
- State of California Proposition 65 Warning (US Only)
Brand : Sabrent
Model : SB-RKTG-1TB
Category : SSD