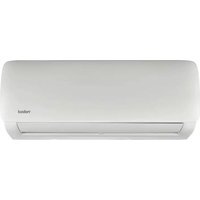
KSI06 - Air conditioner Kaden - Free user manual and instructions
Find the device manual for free KSI06 Kaden in PDF.


| Product Type | Air Conditioner |
| Brand | Kaden |
| Model | KSI06 |
| Cooling Capacity (BTU/h) | 6000 |
| Power Supply | 220-240 V ~ 50 Hz |
| Rated Power Input (Cooling) | 550 W |
| Airflow (High/Low) | 250 / 200 m³/h |
| Noise Level (Indoor) | ≤ 52 dB(A) |
| Refrigerant | R32 |
| Dimensions (W x H x D) | 450 x 310 x 280 mm |
| Weight (Net) | 9.5 kg |
| Operating Modes | Cool, Fan, Dehumidify, Auto |
| Timer Function | 1-24 hour on/off timer |
| Remote Control | Yes, included |
| Air Filter | Washable mesh filter |
| Installation Type | Portable / Window Kit included |
| Auto Restart | Yes, after power failure |
| Energy Efficiency | EER 10.9 |
| Spare Parts Available | Filter, remote control, exhaust hose, window kit |
| Repairability Index | 6.5/10 (estimated) |
Frequently Asked Questions - KSI06 Kaden
User questions about KSI06 Kaden
0 question about this device. Answer the ones you know or ask your own.
Ask a new question about this device
Download the instructions for your Air conditioner in PDF format for free! Find your manual KSI06 - Kaden and take your electronic device back in hand. On this page are published all the documents necessary for the use of your device. KSI06 by Kaden.
USER MANUAL KSI06 Kaden
USER MANUAL OF NETHOME PLUS SMART KIT
IMPORTANT NOTE:
Read the manual carefully before installing or connecting your Smart kit (Wireless module). Make sure to save this manual for future reference.
NOTE\*
Company will not be liable for any issues and problems caused by Internet, Wi-Fi Router and Smart Devices. Please contact the original provider to get further help.
CONTENTS
- SPECIFICATION......1
- PRECAUTIONS ....1
- DOWNLOAD AND INSTALLAPP......2
- INSTALL THE SMART KIT......3
- USER REGISTRATION 4
- NETWORK CONFIGURATION......5
- HOW TO USE APP....16
- SPECIAL FUNCTIONS....18
DECLARATION OF CONFORMITY
Hereby, we declare that this Smart kit is in compliance with the essential requirements and other relevant provisions of Directive 2014/53/EU.
1. SPECIFICATION
Model: OSK102
Standard: IEEE 802. 11b/g/n
Antenna Type: Printed PCB Antenna Frequency
: WLAN 2400\~2483.5 MHz Operation
Temperature:0 C\~45 C/32 F\~113 F Operation
Humidity: 10%\~85%
Power Input: DC 5V/300mA
Maximum Transmitted Power: 19.8dBm Max
2. PRECAUTIONS
Applicable system: iOS, Android.
(Suggest: iOS 8.0 or later, Android 4.0 or later)
Please keep the APP up to date with the latest version.
Due to special situations may be occurred, we explicitly claims below: Not all of the Android and iOS system are compatible with APP.
Wireless safety strategy
Smart kit only support WPA-PSK/WPA2-PSK encryption and none encryption.
WPA-PSK/WPA2-PSK encryption is recommended.
Cautions
If system time-out occurs, restart the configuration process. Smart Phone camera needs to be 5 million pixels or above to make sure scan QR code well
- Due to different network situation, sometimes, request time-out could happen, thus, it is necessary to do network configuration again.
- The APP system is subject to update without prior notice for product function improvement. The actual network configurat processmay be slightly different from the manual, the actual processshallprevail.
3. DOWNLOAD AND INSTALL APP
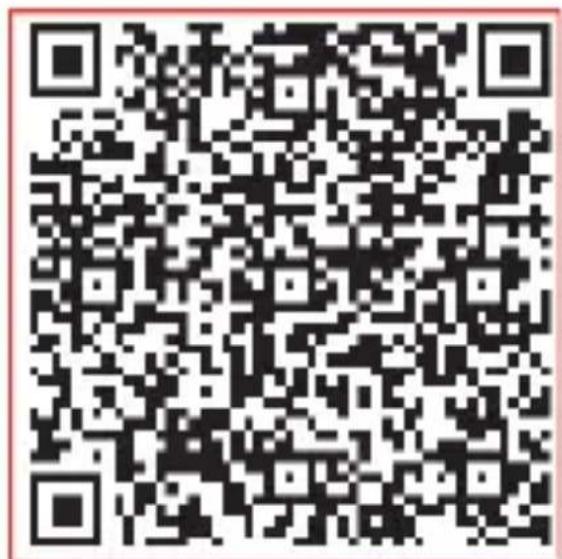
CAUTION: The following QR Code is only available for downloading APP. It is totally different with the QR code packed with SMART KIT.

Android
iOS
- Android Phone users: scan Android QR code or go to google play, search ‘NetHome Plus” app and download it.
- iOS users: scan iOS QR code or go to APP Store, search 'NetHome Plus" app and download it.
4. INSTALL THE SMART KIT (wireless module)
- Remove the protective cap of the smart kit (wireless module)

natural_image
Diagram of a device being inserted into a housing, showing a black arrow indicating direction (no text or symbols present)-
Open the front panel and insert the smart kit (wireless module) into the reserved interface.
-
Apply the Smart Kit QR sticker from inside the box to the side of the AC unit, or in a location that can be scanned by a smart device.

NOTE: Ensure the number on the QR code sticker matches the number on the Smart Kit installed in the unit.
WARNING: This Wi-Fi interface is compatible only with the Smart Kit provided by the manufacturer.
5. USER REGISTRATION
- Please ensure your mobile device is connected to Wireless router. Also, the Wireless router has already connected to Internet before doing user registration and network configuration.
- It is better to log in your email box and activate your registration account by clicking link. This will save login details in case you forget the password.
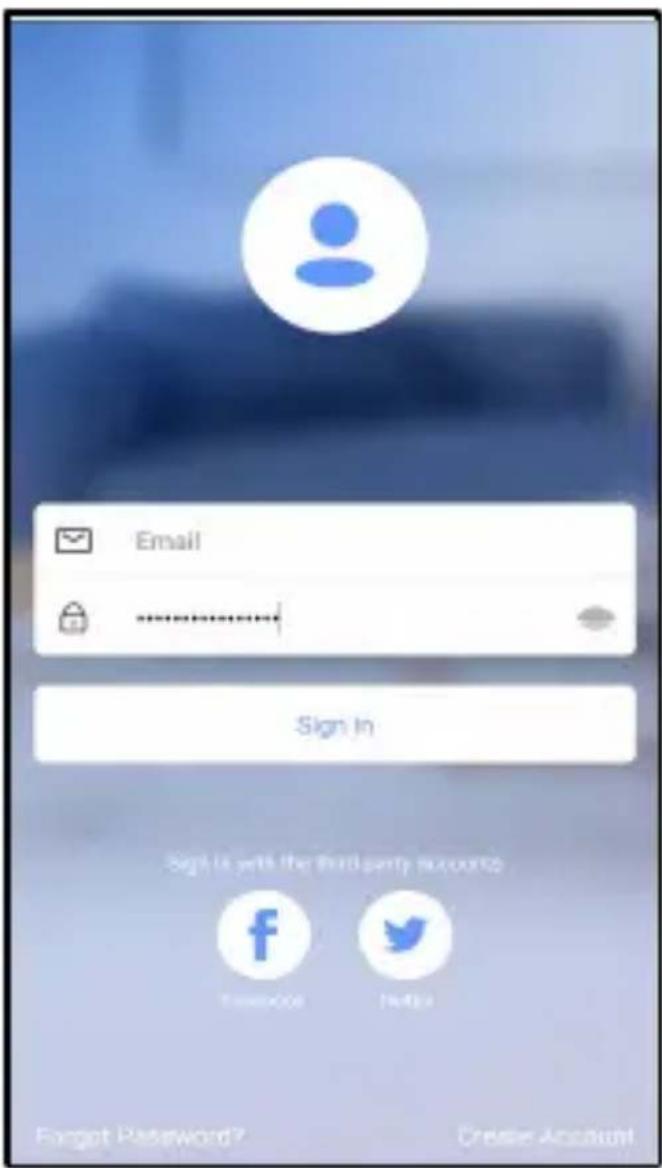
- Click "Create Account"

- Enter your email address and password, confirm password and then click "Register"
6. NETWORK CONFIGURATION
Cautions
- It is necessary to forget any other around network and make sure the Android or iOS device just connects to the Wireless network you want to configure.
- Make sure the Android or iOS device Wireless function works well and can be connected back to your original Wireless network automatically.
Kindly reminder:
When AC enters into 'AP' mode, the air-conditioning remote controller can't control it. It is necessary to finish network configuration or power the AC again in order to control it. Alternatively, you need to wait 8 minutes to let the AC quit 'AP' mode automatically.
Using Android device to do network configuration
- Make sure your mobile device has already been connected to the Wireless network which you want to use. Also, you need to forget other irrelevant Wireless network in case it influences your configuration process.
- Power on the AC, then continuously press the “LED DISPLAY” button button on the remote seven times in 10 seconds.
- When the AC displays “AP”, it means that the AC Wireless has already entered into “AP” Mode.
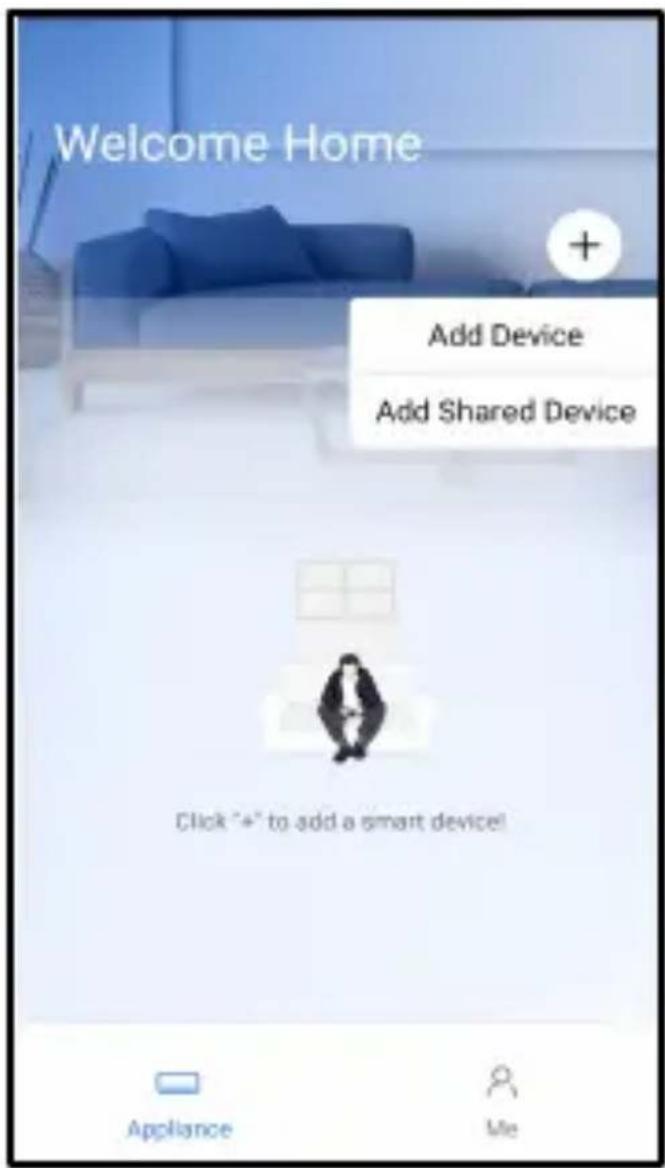
- Press " + Add Device "

- Select the appliance you are setting up


- Follow the above steps to enter "AP" mode "

- Choose the network configurationmethod

- Choose the “Scan the QR code” method.

- Or choose the "Manual Setup" method.

- Please enter password

- Network configuration is successful
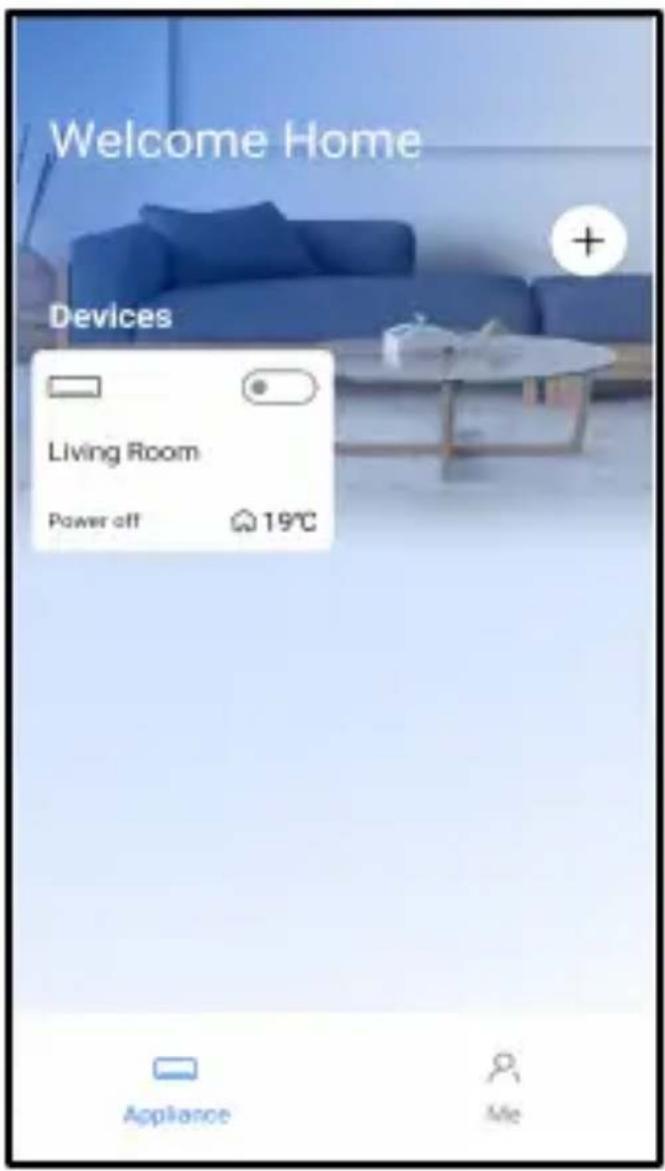
- Configuration Success, you can see the device on the list.
Using iOS device to do network configuration
- Make sure your mobile device has already been connected to the Wireless network which you want to use. Also, you need to forget other irrelevant Wireless network in case it influences your configuration process.
- Power on the AC, then continuously press the “LED DISPLAY” button button on the remote seven times in 10 seconds.
- When the AC displays “AP”, it means that the AC Wireless has already entered into “AP” Mode.

- Press " + Add Device "

- Select the appliance you are setting up


- Follow the above steps to enter "AP" mode "

- Connect to the wireless network
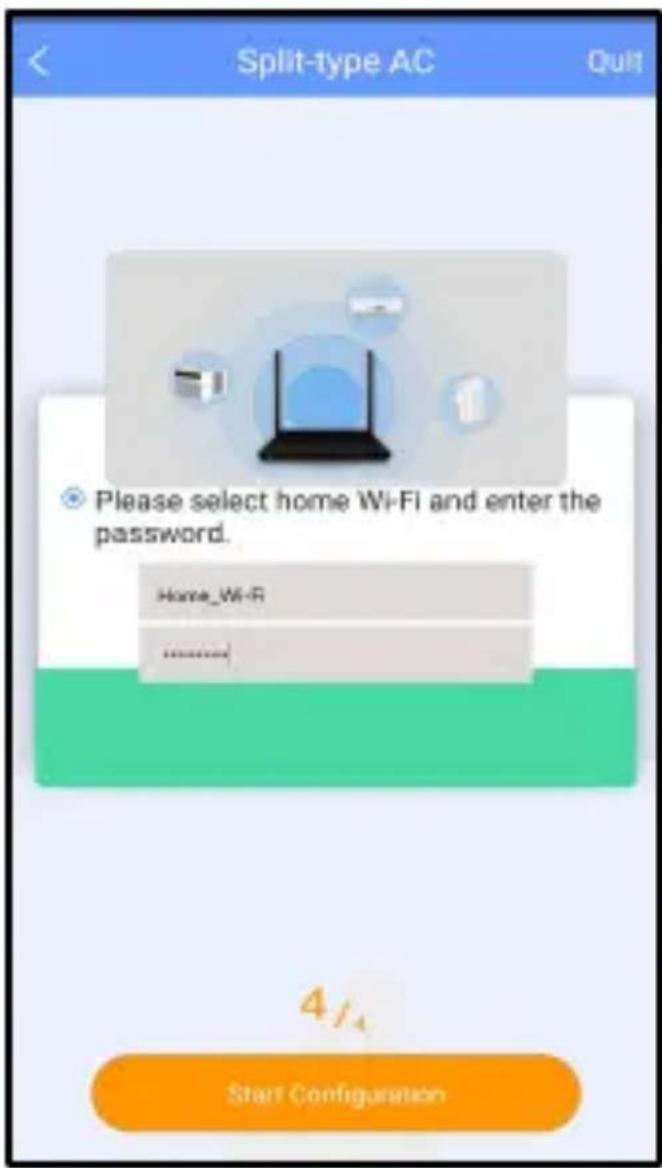
- Please enter password
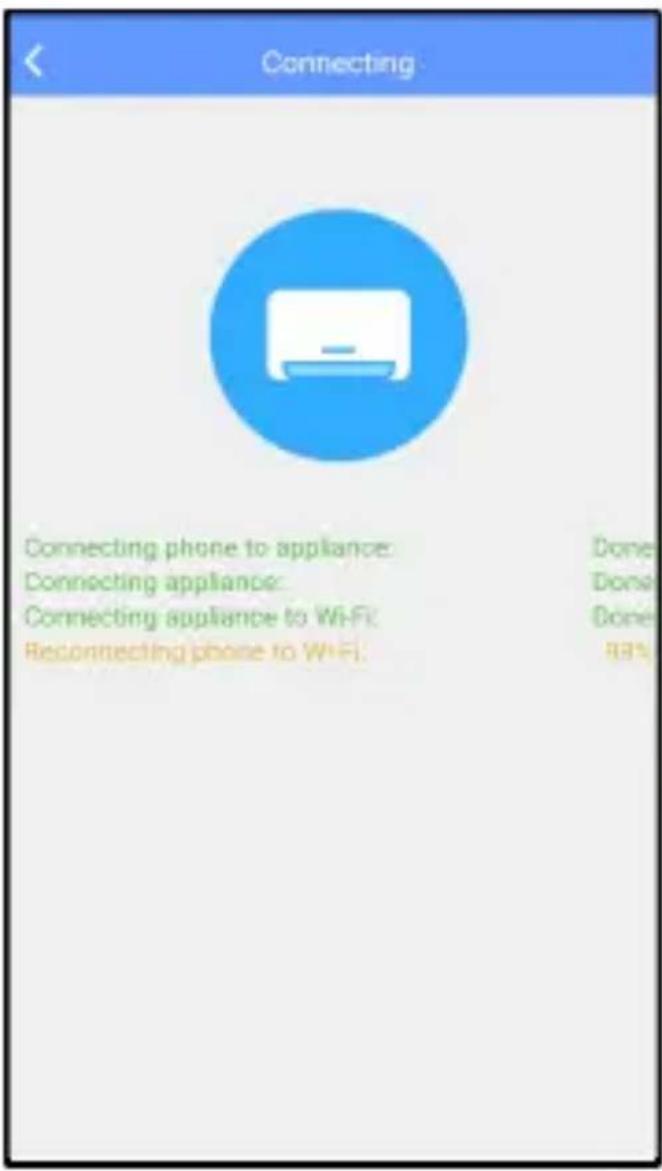
- Network configuration is successful.
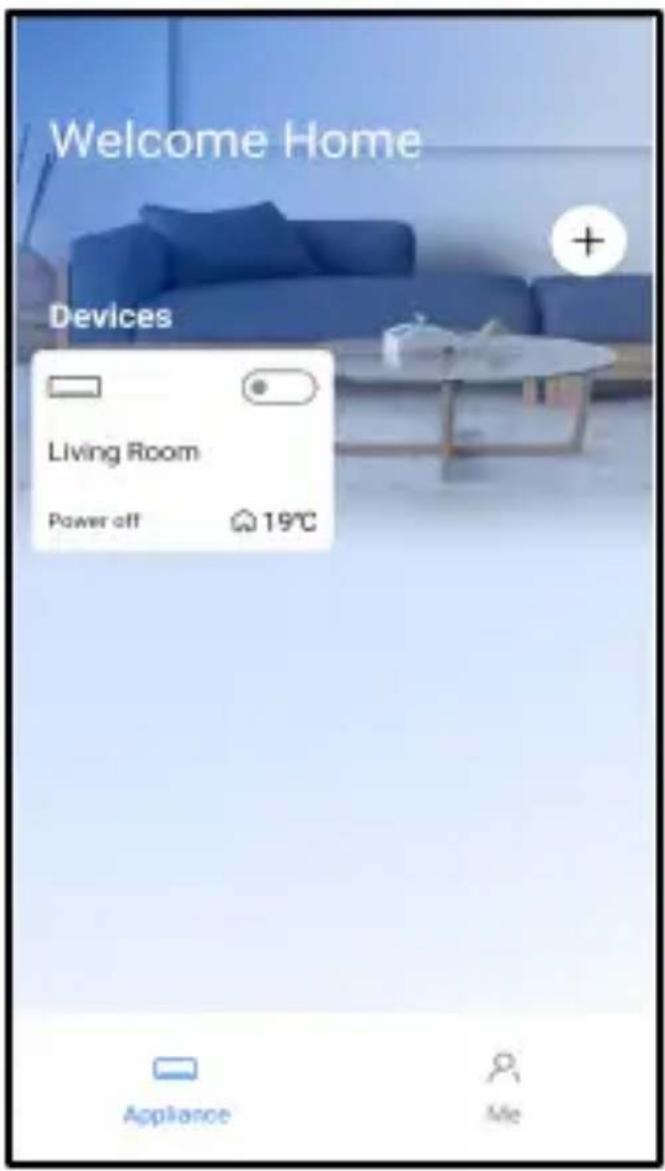
- Configuration Success, you can see the device on the list.
NOTE:
- When finishing network configuration, APP will display success cue words on the screen.
- Due to different internet environment, it is possible that the device status still display “offline”. If this situation occurs, it is necessary to pull and refresh the device list on the APP and make sure the device status become “online”. Alternatively, user can turn off the AC power and turn on it again, the device status will become “online” after few minutes.
7. HOW TO USE APP
Please ensure both your mobile device and air conditioner are connected to the Internet before using app to control the air conditioner via internet, please follow the next steps:

- Click "Sign up"
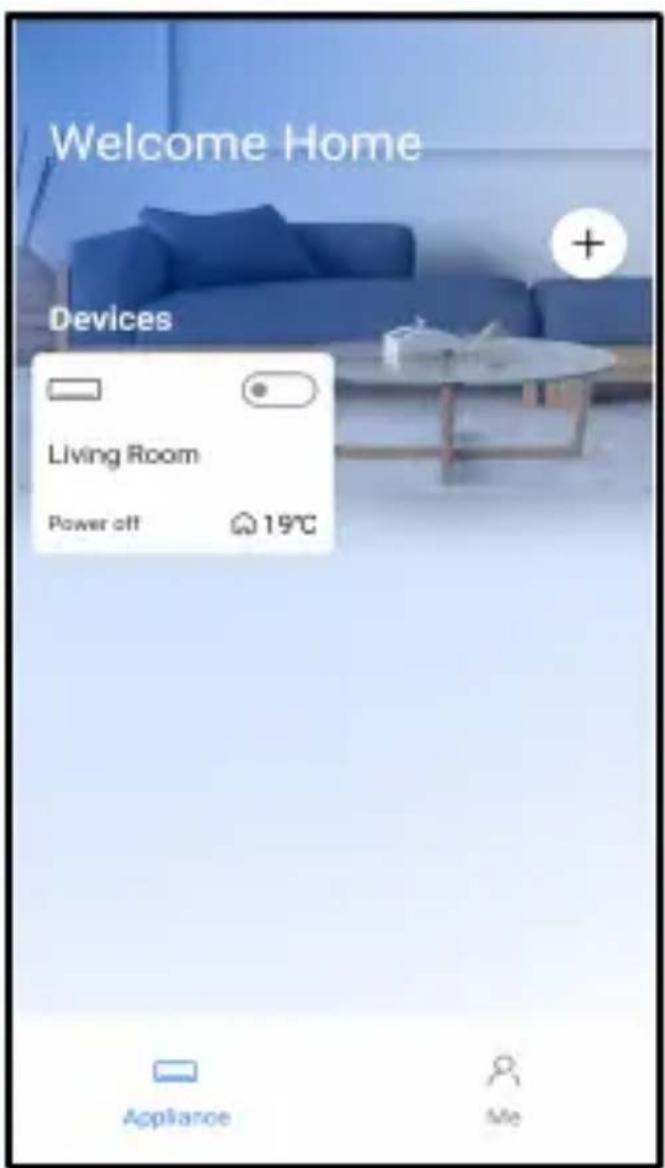
- Choose the air conditioner

- Thus, user can control air conditioners on/off status, operation mode, temperature, fan speed and other common functions.
NOTE: Not all the functions of the APP is available on air conditioner. For example: ECO, Turbo, Swing function, please check the user manual to find more information.
8. SPECIAL FUNCTIONS
Including: Timer on, Timer off, 8°C Heat, Sleep, Check.
NOTE: If the air conditioner do not support the above function, the function will be hided from the function list.
Timer on/Timer off
Weekly user can make an appointment to turn on or off AC on specific time. User also can choose circulation to keep the AC under schedule control every week.


Sleep
User can customize their own comfortable sleep by setting target temperature.

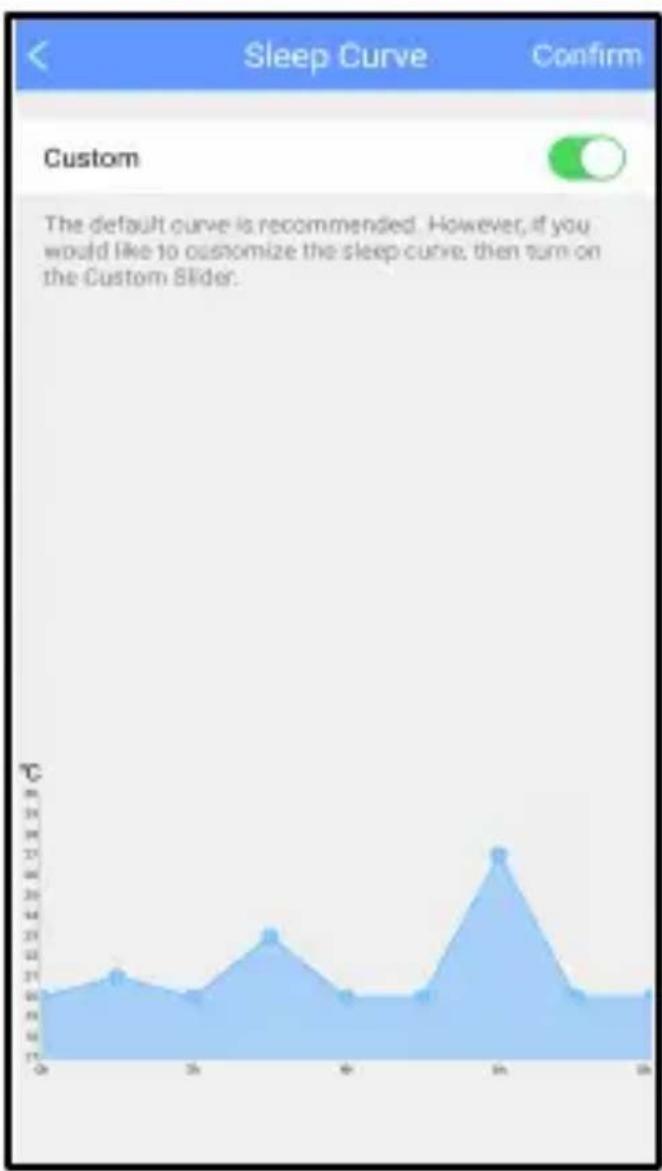
line
| Time | Temperature (°C) | | ---- | ---------------- | | 0 | 20 | | 1 | 21 | | 2 | 20 | | 3 | 22 | | 4 | 20 | | 5 | 21 | | 6 | 27 | | 7 | 20 | | 8 | 21 | | 9 | 20 | | 10 | 21 | | 11 | 27 | | 12 | 20 | | 13 | 21 | | 14 | 20 | | 15 | 21 | | 16 | 20 | | 17 | 21 | | 18 | 20 |Check
User can simply check the AC running status with this function. When finishing this procedure, it can display the normal items, abnormal items, and detail information.

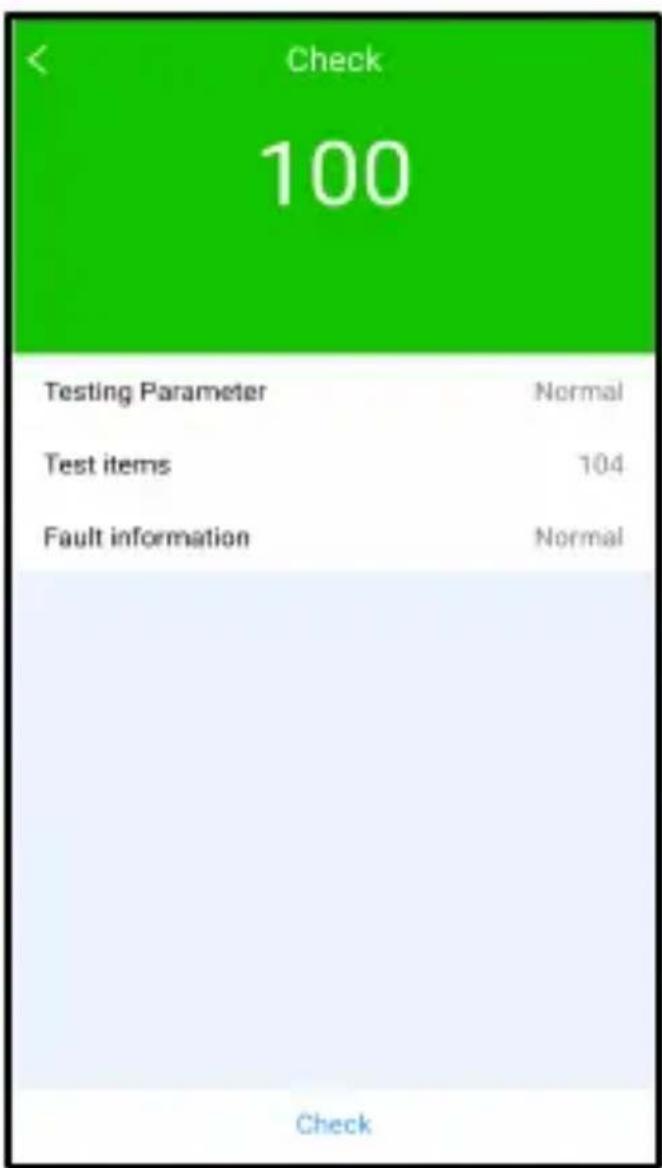
Share Device
The air conditioner can be controlled by multi-users at the same time by Share Device function.

- Click "Share QR code"
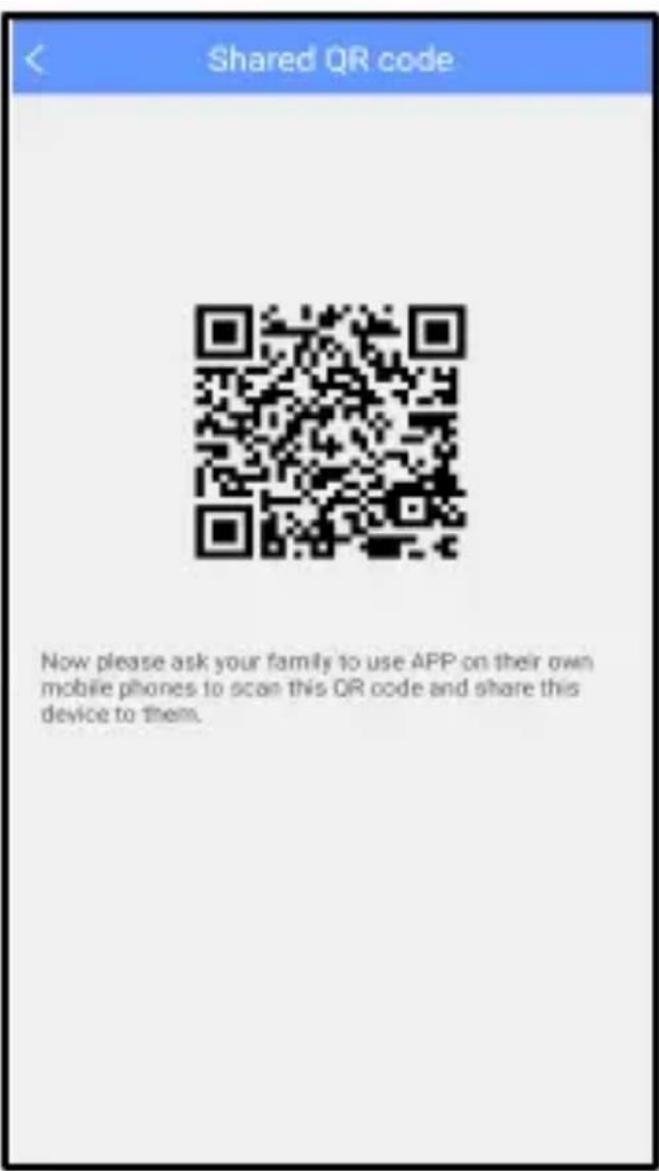
- QR code display


-
The other user must log in "Nethome Plus" app first, then click "Add Share Device" on their own mobile.
-
Scan the QR code. Now the others can add the shared device.
CAUTIONS:
- This device complies with Part 15 of the FCC Rules and RSS 210 of Industry & Science Canada. Operation is subject to the following two conditions: (1) this device may not cause harmful interference, and (2) this device must accept any interference received, including interference that may cause undesired operation.
- Only operate the device in accordance with the instructions supplied. This device complies with FCC and IC radiation exposure limits set forth for an uncontrolled environment. In order to avoid the possibility of exceeding the FCC and IC radio frequency exposure limits, human proximity to the antenna shall not be less than 20cm (8 inches) during normal operation.
- Changes or modifications not expressly approved by the party responsible for compliance could void the user's authority to operate the equipment.
- USER MANUAL OF NETHOME PLUS SMART KIT
- IMPORTANT NOTE:
- NOTE\*
- CONTENTS
- DECLARATION OF CONFORMITY
- SPECIFICATION
- PRECAUTIONS
- Wireless safety strategy
- Cautions
- DOWNLOAD AND INSTALL APP
- INSTALL THE SMART KIT (wireless module)
- USER REGISTRATION
- NETWORK CONFIGURATION
- Kindly reminder:
- Using Android device to do network configuration
- Using iOS device to do network configuration
- NOTE:
- HOW TO USE APP
- SPECIAL FUNCTIONS
- Timer on/Timer off
- Sleep
- Check
- Share Device
- CAUTIONS:
Brand : Kaden
Model : KSI06
Category : Air conditioner