
CT-3372 - Tripod Feisol - Free user manual and instructions
Find the device manual for free CT-3372 Feisol in PDF.


| Product Type | Carbon Fiber Tripod |
| Brand | Feisol |
| Model | CT-3372 |
| Maximum Height | Approx. 150 cm (without center column) |
| Minimum Height | Approx. 30 cm |
| Folded Length | Approx. 50 cm |
| Leg Sections | 3 |
| Weight | Approx. 1.5 kg |
| Load Capacity | Up to 10 kg |
| Material | Carbon Fiber Legs, Aluminum Alloy Components |
| Head Type | Compatible with Arca-Swiss plates (head not included) |
| Leg Locks | Twist Locks |
| Spiked Feet | Included (retractable rubber/spike combo) |
| Center Column | Removable, reversible |
| Main Functions | Three-angle leg adjustment, low-angle shooting, stable support for cameras and spotting scopes |
| Care & Cleaning | Wipe with dry cloth; avoid solvents; keep locks clean and dry |
| Safety | Do not exceed load capacity; tighten all locks before use; avoid extreme temperatures |
| Spare Parts & Repairability | Leg sections, twist locks, rubber feet available from Feisol or authorized dealers |
| General Information | Designed for travel and landscape photography; compact and lightweight |
Frequently Asked Questions - CT-3372 Feisol
User questions about CT-3372 Feisol
0 question about this device. Answer the ones you know or ask your own.
Ask a new question about this device
Download the instructions for your Tripod in PDF format for free! Find your manual CT-3372 - Feisol and take your electronic device back in hand. On this page are published all the documents necessary for the use of your device. CT-3372 by Feisol.
USER MANUAL CT-3372 Feisol
User Manual ▶ FEISOL CT-3372, CT-3372LV, CT-3472 and CT-3472LV
A. Mount and Center Column Installation
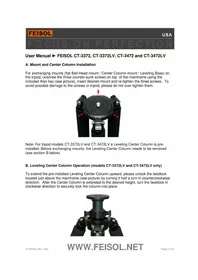
For exchanging mounts (flat Ball-Head mount / Center Column mount / Leveling Base) on the tripod, unscrew the three counter-sunk screws on top of the mainframe using the included Alan key (see picture), insert desired mount and re-tighten the three screws. To avoid possible damage to the screws or tripod, please do not over-tighten them.

Note: For tripod models CT-3372LV and CT-3472LV a Leveling Center Column is pre-installed. Before exchanging mounts, the Leveling Center Column needs to be removed (see section B below)
B. Leveling Center Column Operation (models CT-3372LV and CT-3472LV only)
To extend the pre-installed Leveling Center Column upward, please unlock the twistlock located just above the mainframe (see picture) by turning it half a turn in counterclockwise direction. After the Center Column is extended to the desired height, turn the twistlock in clockwise direction to securely lock the column into place.

To make Leveling adjustments, please unlock the twistlock located just below the mainframe (see picture) by turning it half a turn in counterclockwise direction. Once the lock is released, the axis of the Center Column can be moved to level. After setting the column at the desired angle, turn the twistlock in clockwise direction to securely lock the column into place. Please do not over-tighten.

To remove the Leveling Column (in order to install a flat Ball-Head mount/ Center Column mount/ Leveling Base), unscrew the plate at the bottom of the Center Column by turning it counterclockwise (see picture).
Next, unlock the twistlock of the Center Column by turning it one turn in counterclockwise direction, and pull the Center Column out of its mount. Finally, remove the remaining two pieces of the Leveling Mount by unscrewing them. (For directions for installing alternate mounts please see section A above).

C. Leg Tension Adjustment
Insert the two hexagonal wrenches (included) into the two screws at the base of the leg (see picture) and tighten or loosen them to the desired friction, by turning the wrenches in opposite directions.

D. Leg Extension
In order to extend a leg section, turn the twist-lock approximately one half turn in counterclockwise direction. Note: If the twistlock is turned too far, the leg section may fall out and compression rings may become lost or damaged.
To firmly lock a leg section into place, turn the twist-lock approximately one half turn in clockwise direction. Please do not over-tighten.

E. Weight Hook Installation
To increase tripod stability during windy conditions a Weight Hook is included, allowing for heavier objects (backpack, weight bags) to be attached to the tripod. The hook can be screwed onto the bottom plate of the pre-installed Center Column (see picture).

F. Ball-Head (optional) Installation
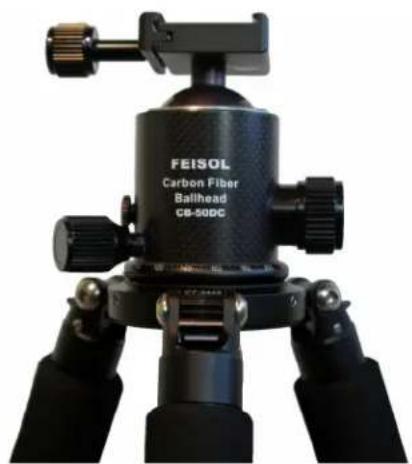
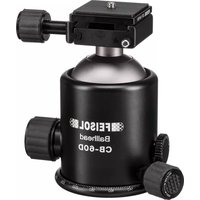
When using the flat mounting plate (pre-installed on models CT-3372 and CT-3472), screw the Ball-Head into the mounting screw by turning the Ball-head clockwise until it fits snugly. Please do not over-tighten.
When using a Center Column, making sure that the Center Column is securely locked, screw the Ball-Head onto the mounting screw by turning the Ball-Head clockwise (see picture). Please do not over-tighten.
G. Spike (optional) Installation
Remove the rubber caps on the end of the legs by inserting a wooden stick or similar object between the rubber cap and the aluminum ring at the end of each leg (see picture). By pushing forward around the ring, the rubber cap can be removed, exposing a thread into which the spike can be screwed and locked tightly into place with the included wrench.
Once the spike is in place, it does not need to be removed again, because the metal tip of the spike can be receded into its rubber sleeve when desired (for use on scratch-sensitive surfaces).

Please note that damage to your tripod's Carbon Tubes or Aluminum parts can occur when they dropped, squeezed, overloaded, or forced downward (eg. into sand dunes or snowbanks). Please exercise care to avoid such conditions.
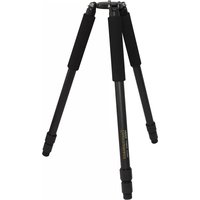
Brand : Feisol
Model : CT-3372
Category : Tripod