
JOS1E - Iron HITACHI - Free user manual and instructions
Find the device manual for free JOS1E HITACHI in PDF.


| Product Type | Steam Iron |
| Brand | Hitachi |
| Model | JOS1E |
| Power Consumption | 2200W |
| Voltage | 230V ~50Hz |
| Water Tank Capacity | 50 ml (max) |
| Spray Function | Yes (spray button) |
| Steam Function | Yes (variable steam control, settings 1-3) |
| Shot of Steam | Yes (steam button) |
| Dry Ironing | Yes (set variable steam control to 'X') |
| Self-Clean System | Yes (auto clean system) |
| Automatic Shut-Off | Yes (30 sec horizontal, 8 min vertical) |
| Temperature Control | Yes (control button with LED indicators) |
| LED Indicators | Green (ready), Red (heating), Amber (temperature transition) |
| Recommended Water | Distilled or demineralised for hard water areas |
| Descaling | Regular use of suitable descaler recommended |
| Storage | Allow to cool completely, wrap cord around iron |
Frequently Asked Questions - JOS1E HITACHI
User questions about JOS1E HITACHI
0 question about this device. Answer the ones you know or ask your own.
Ask a new question about this device
Download the instructions for your Iron in PDF format for free! Find your manual JOS1E - HITACHI and take your electronic device back in hand. On this page are published all the documents necessary for the use of your device. JOS1E by HITACHI.
USER MANUAL JOS1E HITACHI
natural_image
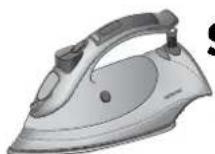
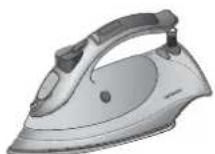
Illustration of a Hitachi steam iron with visible branding and mounting bracket (no text or symbols on the device itself)JET OF STEAM DIGITAL IRON
Model JOS 1E
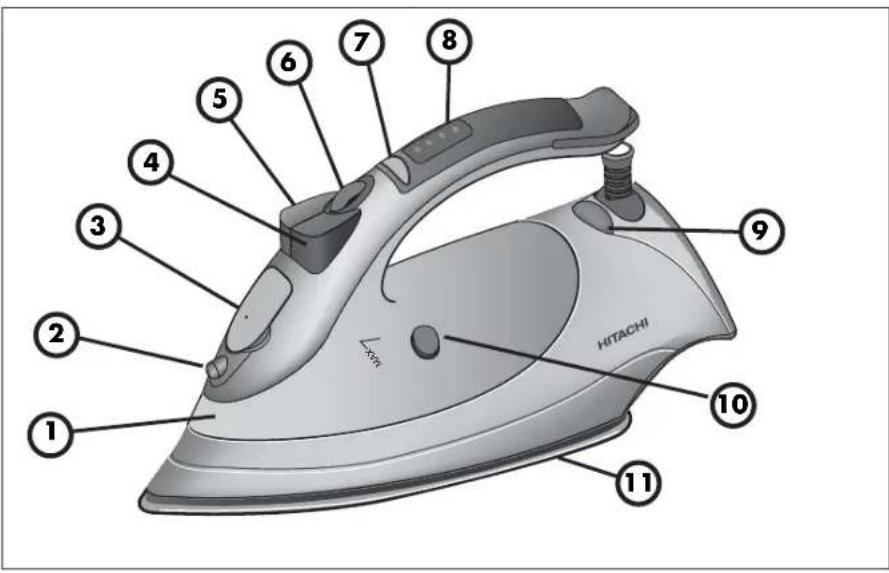
Know your steam iron
Please read these instructions before using your steam iron.
i
Information
-
WATER TANK
-
SPRAY NOZZLE
-
LID COVER (WATER TANK)
-
STEAM BUTTON
-
SPRAY BUTTON
-
VARIABLE STEAM CONTROL
-
TEMP. CONTROL BUTTON
-
CONTROL PANEL
-
INDICATOR LIGHT (STANDBY)
-
SELF CLEAN BUTTON
-
SOLEPLATE
Information and advice
Safety first!
Information

Before use unroll the power cord completely.
Remove the plug from the socket before filling your iron with water.
Always switch your iron off when you have finished.
Do not leave unattended while it is connect to the supply mains even if its only for a short while. Remove the plug from the socket and stand the iron upright.
Never immerse your iron in water.
If you want to wrap the power cord around the iron for storage, make sure the iron has cooled down.

If the suppy cord is damaged it must be replaced by a qualified person.
Do not remove any fixed covers. Never use this appliance if it is not working properly, or if it has been dropped or damaged.


Make sure that children cannot touch the iron when hot or pull the power cord.
As irons heat up quicker than they cool down, always start with articles requiring low heat (such as synthetic fibres or those with a gloss or wrinkle finish) and leave those requiring higher temperatures until last.
WARNING: If you are ironing fabric containing a mixture of fibres, always select the temperature for the fibre requiring the lowest heat. For example an article consisting of nylon and wool should be ironed at the temperature indicated for nylon.
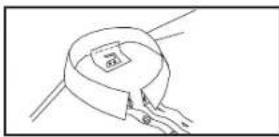
Check the ironing instructions on the label in your garment.
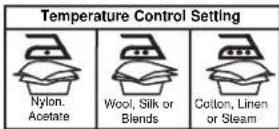
Sort fabrics according to ironing temperature. For example wool, cotton and linen.
Using your Iron for the first time
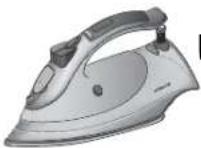
Remove any residue which may be left on the sole plate during manufacture.
1
natural_image
Illustration of a mechanical component with no visible text or symbolsRemove any stickers or protective foil and unroll the mains lead.
2
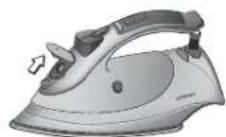
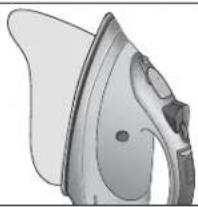
Gently open the lid cover.
i
Information
If the water in your area is very hard, the use of distilled or demineralised water is recommended to prevent scale build up.
Please be careful not to spill any water onto the appliance.
Wipe any spillages with a dry cloth.
3
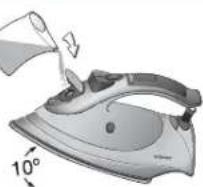
Turn the variable steam control to 'X'. Fill your iron with water to below the maximum level. (50ml)
4
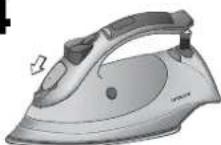
Close the lid cover.
natural_image
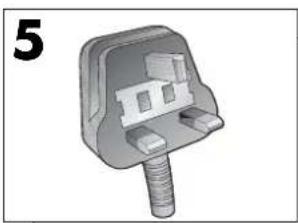
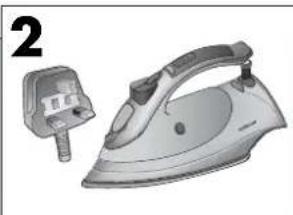
3D rendered mechanical component with threaded end and internal slots (no text or symbols)Plug into a suitable electrical socket. Switch on at the mains supply. The standby indicator will flash.
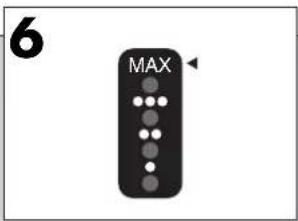
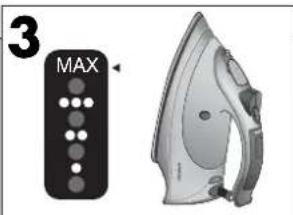
Press the temperature control button to MAX and wait for the control panel light to go green.
TROUBLESHOOTING
If the iron does not operate, try the following suggestions:
Make sure the plug is connected and switched on the mains
Make sure the temperature control button is set to the 1 dot setting or higher.
Try changing the fuse in the mains plug.
If you still have problems then return the unit to your nearest store.
If water leaks from the sole plate:
Make sure the steam rotary knob is set to the '0' position for dry ironing.
Make sure the temperature control button is set to setting 3 or above for steam.

Information
Never pull the cord to disconnect the plug from the wall socket.
natural_image
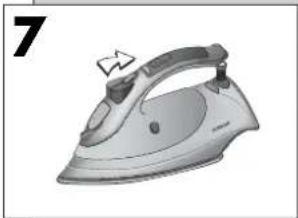
Illustration of a steam iron with a handle and spout, no text or symbols presentTurn the variable steam control to '3'.
natural_image
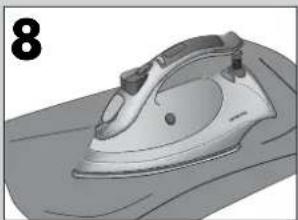
Illustration of a steam iron on a surface, no text or symbols presentIron an old cloth until no more steam is produced and the iron is dry. Your iron is now ready for use.
Steam ironing
Do not start steam ironing until the control panel light goes out.
1
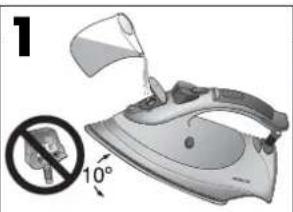
Remove the plug from the socket.
2
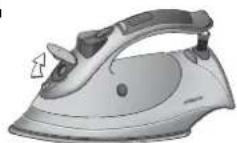
Gently open the lid cover.
3
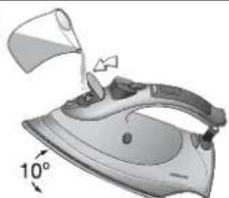
natural_image
Illustration of a steam iron with a 10° angle indicator (no text or symbols on the iron itself)Turn the variable steam control to 'X'.
Fill your iron with water to below the maximum level.
4
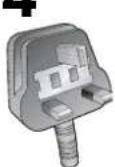
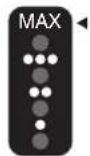
Plug into a suitable electrical socket. Press the temperature control button to select the desired temperature and wait for the control panel light to go green.
5
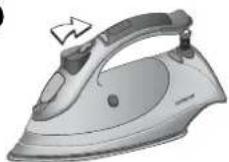
Turn the variable steam control to 1-3.
6
natural_image
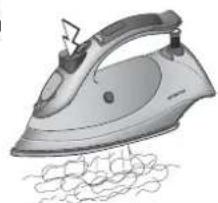
Illustration of a steam iron with steam rising from its base (no text or symbols)Shot of steam:
Press the steam button to release a shot of steam from the sole plate.
i
Information
Thick garments such as jeans require a greater amount of steam to iron them than lighter garments such as shirts and blouses.
If the sole plate is not hot enough, water will be emitted from the sole plate before turning to steam. By carefully following these instructions this can be avoided.
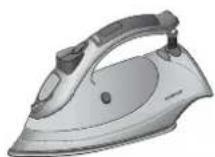
Dry ironing
Spraying
1
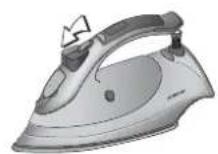
Turn the variable steam control to 'X'. This will stop the steam function.
1
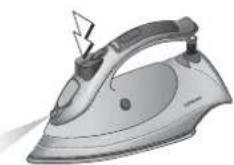
Ensure there is water in the tank before spraying.
Press the spray button.
2
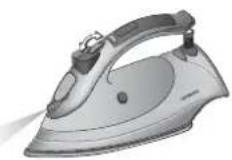
Spraying may be used on any setting.
i
Information
It may be necessary to prime the system by pressing the spray button several times.
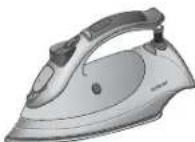
Draining your iron
Always drain your iron immediately after use and never store your iron with water in its tank.
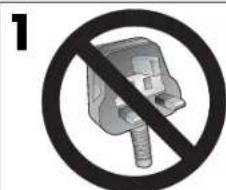
Remove the plug from the socket.
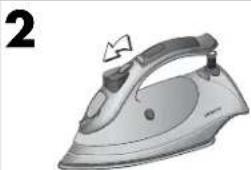
natural_image
Illustration of a steam iron with a triangular pointer indicating motion (no text or symbols)Turn the variable steam control to 'X'.
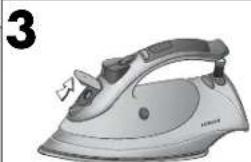
natural_image
Illustration of a steam iron with a button, no text or symbols presentGently open the lid cover.

Information
If the water in your area is hard, the regular use of a suitable descaler is recommended.
Clean with a dry cloth.
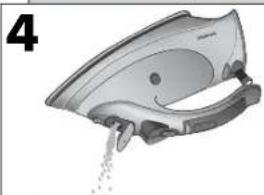
natural_image
Illustration of a hairless spray gun with spray particles (no text or symbols)Take your iron to a sink and tip it forwards so that water drains from the filling mouth. Shake it gently to remove all the water.
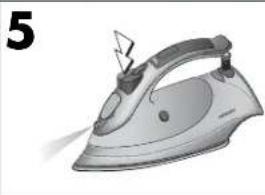
natural_image
Illustration of a steam iron with a visible plume and handle (no text or symbols)Press the spray button to clear any water left inside the tank.
Self clean (auto clean system)
Self clean should be carried out regularly to prolong the life of your iron.
Remove the plug from the socket. Turn the variable steam control to 'X'.
Fill your iron with water to the MAX level.
natural_image
Illustration of a steam iron with a small plug and its side view (no text or symbols)Stand your iron upright. Plug into a suitable electrical socket.
natural_image
Illustration of a maximum iron on a keyboard and a pair of iron holders, no text or symbols present.Turn the temperature control dial to MAX. Wait for the control panel light to go green.

Information
When cleaning your iron's sole plate, never use scouring pads, abrasives or harsh cleaners as this may scratch the surface.
Always allow your iron to cool down completely before storing.
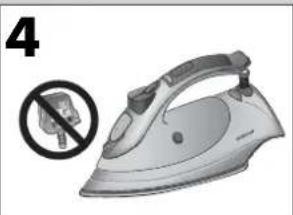
natural_image
Illustration of a steam iron with a prohibition symbol (no text or labels present)Remove the plug from the socket and hold your iron horizontally over a sink.
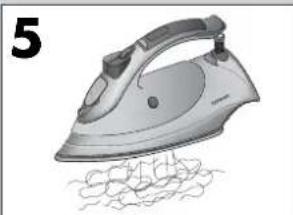
natural_image
Illustration of a steam iron with visible internal components and mesh texture (no text or symbols)Press the self clean button. Keep the self clean button pressed until the steam stops. Release the button and gently shake the unit to disperse any trapped waker. Dirt is washed away through the soleplate.
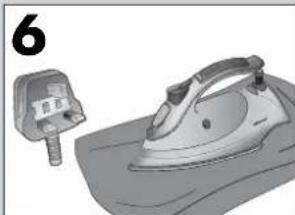
natural_image
Illustration of a steam iron with a small component nearby (no text or symbols)Plug back into a suitable electrical socket. Wait for your iron to heat up and iron an old cloth to clean the sole plate.
Auto off system
1
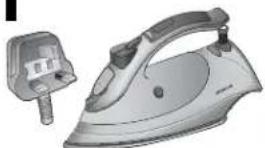
natural_image
Illustration of a steam iron with a small handle and plastic housing (no text or symbols)When the iron is plugged into the mains supply the unit will "beep" and the standby indicator will flash. This will automatically go off when the temperature control button is pressed.
2
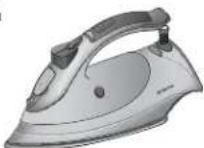
If the iron is placed in a horizontal position and is stationary (for 30sec) the unit will automatically go into standby. The indicator light will flash.
3
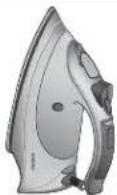
If the unit is left in the vertical position and is stationary, it will switch into standby mode after 8 minutes.
4
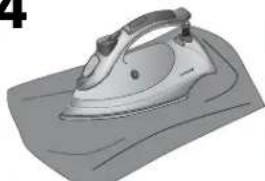
natural_image
Illustration of a steam iron on a surface (no text or symbols)When the iron is returned to ironing position, the previous temperature setup is resumed.

Information
When cleaning your iron's sole plate, never use scouring pads, abrasives or harsh cleaners as this may scratch the surface.
Always allow your iron to cool down completely before storing.
Control Panel - LED.
| LED. | IRONING | TEMP. UP | TEMP. DOWN |
| GREEN | OK | OK OK | |
| RED | Heating up | Selected temp. | Selected temp. |
| AMBER | Heating Cooling |
When you have chosen your selected temperature the indicator will glow red. Once the Iron has reached the desired temperature the light will glow green.
The amber LED indicates the transition of temperature (up or down) until your selected setting has been reached.
Specifications
230V \~ 50Hz 2200W
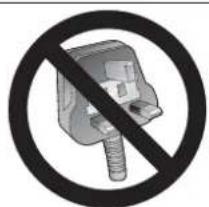
WARNING. A mains plug severed from the mains lead of this appliance must be destroyed. A mains plug with bared wires is hazardous if engaged in a mains output line socket.
Partmaster Direct
Partmaster Direct can provide accessories, spares, batteries and replacement parts with Next Day Delivery available upon request.
Please call: 0870 600 1338 (UK customers only) Calls charged at National Rate ...or visit our website at www.partmaster.co.uk

This symbol on the product or in the instructions means that your electrical and electronic equipment should be disposed at the end of its life separately from your house hold waste. There are separate collection systems for recycling in the MU. For more information. Please contact the local authority or your retailer where you purchased the product.
We continually strive to improve our products, specifications may change without notice. No part of this publication may be produced, stored in a retrieval system or transmitted in any form or by any means, without the prior permission in writing of Dixons Stores Group, nor be otherwise circulated in any form or binding or cover other than that in which is published and without a similar condition including this condition being imposed on the subsequent purchaser.
Brand : HITACHI
Model : JOS1E
Category : Iron