KS-1100 - Kitchen scale Whynter - Free user manual and instructions
Find the device manual for free KS-1100 Whynter in PDF.

| Product Type | Kitchen Scale |
| Brand | Whynter |
| Model | KS-1100 |
| Dimensions | 20 x 20 x 2 cm (7.9 x 7.9 x 0.8 in) |
| Weight | 200 g (7 oz) |
| Power Source | 1 x CR2032 lithium battery (included) |
| Display | LCD, large digits |
| Capacity | 5 kg / 11 lb |
| Readability | 1 g / 0.1 oz |
| Units | g, oz, lb:oz, ml (water), fl oz (water) |
| Tare Function | Yes, subtracts container weight |
| Auto-Off | Yes, after 2 minutes of inactivity |
| Overload Indicator | Yes, displays "Err" when overloaded |
| Platform Material | Tempered glass or stainless steel |
| Cleaning Instructions | Wipe with a damp cloth; do not submerge in water |
| Safety Precautions | Use on a flat, stable surface; avoid liquid ingress |
| Battery Life | Approximately 1 year (typical use) |
| Spare Parts | Not available separately |
| Repairability | Not user-serviceable; contact Whynter support |
| Certifications | CE, RoHS |
Frequently Asked Questions - KS-1100 Whynter
User questions about KS-1100 Whynter
0 question about this device. Answer the ones you know or ask your own.
Ask a new question about this device
Download the instructions for your Kitchen scale in PDF format for free! Find your manual KS-1100 - Whynter and take your electronic device back in hand. On this page are published all the documents necessary for the use of your device. KS-1100 by Whynter.
USER MANUAL KS-1100 Whynter
WHYNTER Digital Wall Kitchen Scale OWNER'S MANUAL
MODEL: KS-1100
Please read this instruction booklet completely before operating.
SPECIFICATIONS
■ Equipped with a high precision strain gauge sensor system
■ Capacity: 2kgx1g
■ Auto off & Manual off
Tare function
■ Over load / Low battery indicator
■ Electronic clock, countdown timer with alarm
POWER SUPPLY
1 x 3V CR2032 lithium battery (included)
When the LCD indicate 📁, please open the battery cover at the bottom of the unit and replace the battery with a new one.

ASSEMBLE AND INSTALL THE SCALE TO THE WALL
(Please choose a smooth and flat wall surface to install the scale.)
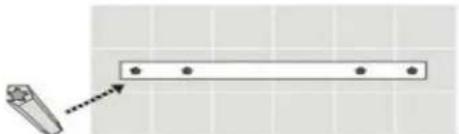
STEP 1: Use the paper card as reference to drill 4 holes on the wall. (Make sure that the reference card is horizontal)

natural_image
Simple horizontal line with four dots at top and bottom (no text or symbols)STEP 2: Drill in the screw knots(plug) into the 4 holes
natural_image
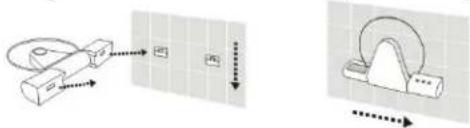
Simple line drawing of a tool interacting with a horizontal bar (no text or symbols)STEP 3: Install the fixture plates to the holes and drill in the screws tightly to secure the
plates.

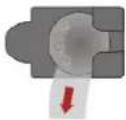
STEP 4: Pull the insulating tape out of the battery cover of the scale.
STEP 5: Insert the scale to the fixture plates and press downwards then push to the right.
flowchart
graph TD
    A["Process 1"] --> B["Grid"]
    C["Process 2"] --> B
    B --> D["Output"]
    style A fill:#f9f,stroke:#333
    style C fill:#f9f,stroke:#333
OPERATION
STEP 1: Pull down the glass platform of the scale.
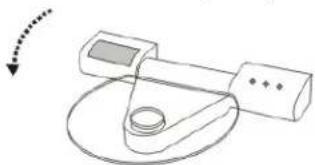
natural_image
Simple line drawing of a mechanical device with a circular base and a curved handle, no text or symbols present.STEP 2: Press the "ON/TARE" button and the scale will display "HELO", and then zero. The scale is now ready for weighing.

STEP 3: Put the food / ingredient on the glass platform, the weight will appear on the display.
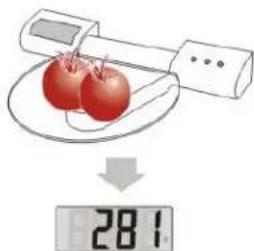
text_image
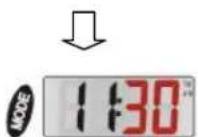
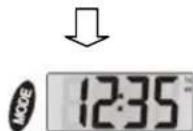
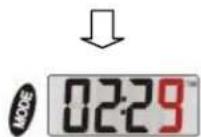
281STEP 4: After use, press the "MODE" button, the system return to clock mode.
STEP 5: Push glass platform upwards when not in use.
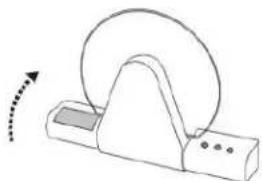
natural_image
Simple line drawing of a mechanical device with a rotating wheel and base (no text or symbols)TARE FUNCTION
STEP 1: In the weighing mode, put the container on the glass platform, the display will show the weight of container.

text_image
8 0 → 62STEP 2: Press the "ON/TARE" button again, the display will show zero. Put the food/ingredient into the container, the weight of the food/ingredient will appear on the display.

text_image
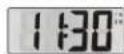
0 281. AF SETTINGTIME SETTING

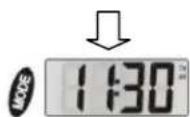
Press the "MODE" button for a few seconds to turn on the time setting function.
Minute will flash on the display.

Press the "UNIT" button to setup the minute.
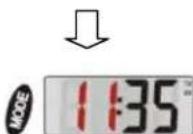
Press the "MODE" button again, hour will flash on the display.
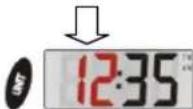
Press the "UNIT" button to setup the hour.
After finish setting the time, press the "MODE" button to exit Time Setting.
COUNTDOWN TIMER SETTING

Press the "MODE" button to change the scale to countdown timer mode.

Press the "MODE" button and the second will flash.
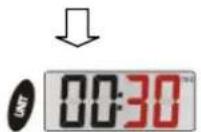
Press the "UNIT" button to setup the second.

Press the "MODE" button and the minute will flash.

Press the "UNIT" button to setup the minute.
After finishing the timer setup, press the "MODE" button to start the countdown.
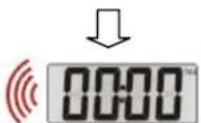
After finishing the countdown, "00.00" will appear on the LCD display and alarm will sound.
Press the "MODE" button to stop the alarm. Then press the "MODE" button again to switch back to clock mode.
If there is no operation in 60 seconds, the system will return to clock mode.
UNIT EXCHANGE
Press the "UNIT" button to switch from "g" gram to "oz" ounce.

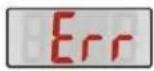
OVER LOAD INDICATOR
When the scale is over loaded, "Err" will appear on the display.
ADVICE FOR USE AND CARE
- Placing the scale on a hard and flat surface to ensure reliability and accuracy in weighing.
- Clean the scales with a damp cloth. Do not allow water to enter the unit.
- Do not use chemical abrasive cleaners.
- Do not drop or subject the scale to shock as this may damage the unit.
- Do not expose the scale under direct sunlight.
- Remove the battery if the scale is not in used for a long period of time.
- Not for commercial use.

text_image
Three labeled boxes with red X marks and symbolic graphics: droplet, light bulb, and sunburst.180 DAYS LIMITED WARRANTY
This WHYNTER scale is warranted, to the original owner within the 48 continental states, for 180 days from the date of purchase against defects in material and workmanship under normal use and service. Should your WHYNTER scale prove defective within 180 days from the date of purchase, return the defective part or unit, freight prepaid (within one month of purchase; after one month to one year, customer will be responsible for freight cost to Whynter's service department), along with an explanation of the problem/issue. Please carefully package the scale in its original packaging material to avoid damage in transit. Please retain original box and packaging material. Under this warranty, Whynter will repair or replace any parts found defective. This warranty is not transferable. After the expiration of the warranty, the cost of labor and parts will be the responsibility of the original owner of the unit.
THIS WARRANTY DOES NOT COVER:
- Acts of God, such as fire, flood, hurricanes, earthquakes and tornadoes.
- Damage, accidental or other wise, to the scale while in the possession of a consumer not caused by a defect in material or workmanship;
- Damage caused by consumer misuse, tampering, or failure to follow the care and special handling provisions in the instructions.
- Damage to the finish of the case, or other appearance parts caused by wear.
1) Surface
2) Damage caused by repairs or alterations of the scale by anyone other than authorized by the manufacturer.
3) Freight and Insurance cost for the warranty service.
To obtain service or information, contact
Whynter Innovations Group via Email at service@whynter.com or call 866-WHYNTER.