
EM-1805 - Microwaves SANYO - Free user manual and instructions
Find the device manual for free EM-1805 SANYO in PDF.


| Product Type | Commercial Microwave Oven |
| Brand | Sanyo |
| Model | EM-1805 |
| Power Output (High) | 1300 W |
| Power Output (Medium) | 650 W |
| Power Output (Low) | 280 W |
| Rated Voltage | 230 V ~ 50 Hz |
| Fuse Rating | 13 A |
| Net Weight | 44 kg |
| Control Panel | Digital timer, power select, programme keys, memory, stage, clear, buzzar |
| Programming | 10 memory programmes, 1-stage and 2-stage cooking |
| Multiple Quantity Selection | Double and triple quantity keys |
| Safety Features | Safety interlock system, door handle switch, auto power cut before door opens |
| Installation Clearance | At least 5 cm (2 inches) around exhaust vents |
| Earthing | Required; green-and-yellow wire to earth terminal |
| Accessories Included | Glass tray |
| Oven Cavity Material | Stainless steel (typical commercial) |
| Viewing Window | Glass shielded viewing window |
| Care & Cleaning | Wipe cavity after each use; clean stirrer shield and air filter with care |
| Usable Cookware | Microwave-safe containers; avoid metal and metallic trim |
Frequently Asked Questions - EM-1805 SANYO
User questions about EM-1805 SANYO
0 question about this device. Answer the ones you know or ask your own.
Ask a new question about this device
Download the instructions for your Microwaves in PDF format for free! Find your manual EM-1805 - SANYO and take your electronic device back in hand. On this page are published all the documents necessary for the use of your device. EM-1805 by SANYO.
USER MANUAL EM-1805 SANYO
Commercial Use Microwave Oven
OPERATING INSTRUCTIONS
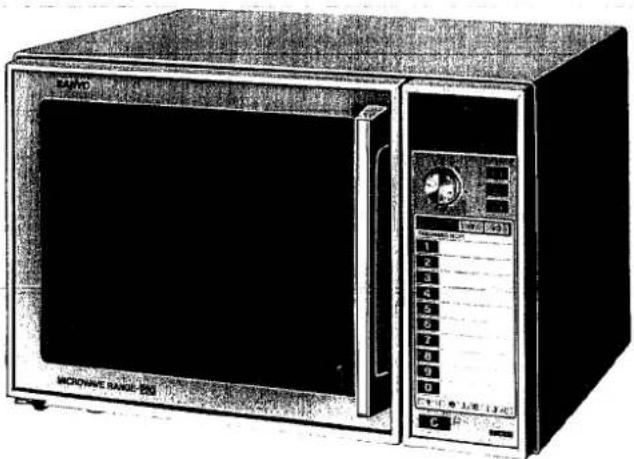
EM-1805
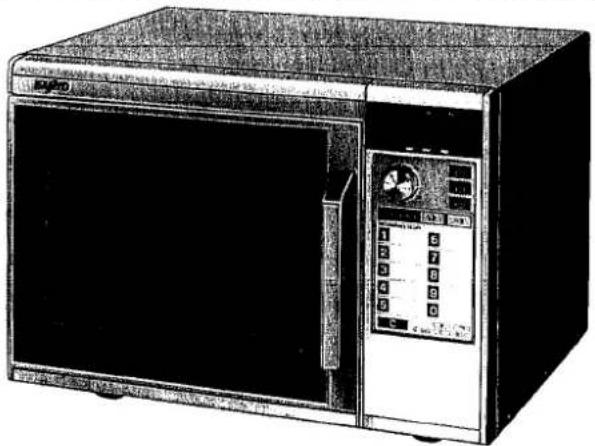
natural_image
Illustration of a vintage microwave oven with control panel and door (no visible text or symbols)EM-1005
CONTENTS
- NAME AND FUNCTION OF PARTS 2
- CONTROL PANEL 3
- INSTALLATION 4
- WARNING-This appliance must be earthend 4
- HOW TO USE YOUR SANYO MICROWAVE OVEN SAFELY 5
- HINTS FOR COOKING 5
- MICROWAVE OVEN COOKING KNOW-HOW 6
- OPERATING INSTRUCTIONS (1) TIMER (MANUAL AND REPEAT) WITH 3 TIMER SETTINGS .... 6
- OPERATING INSTRUCTIONS (2) USING THE PROGRAMME KEY FOR MEMORY STORAGE .... 7
- OPERATING INSTRUCTIONS (3) 8 \~ 11
- OPERATING INSTRUCTIONS (4) HEATING METHOD ...... 12
- PRECAUTION WHILE HEATING 13
- USABLE COOKING UTENSILS AND MATERIALS 13
- CARE AND CLEANING 14
- WHAT TO DO IF REPAIRS ARE NEEDED 14
- SPECIFICATIONS AND ACCESSORIES 14
NAME AND FUNCTION OF PARTS
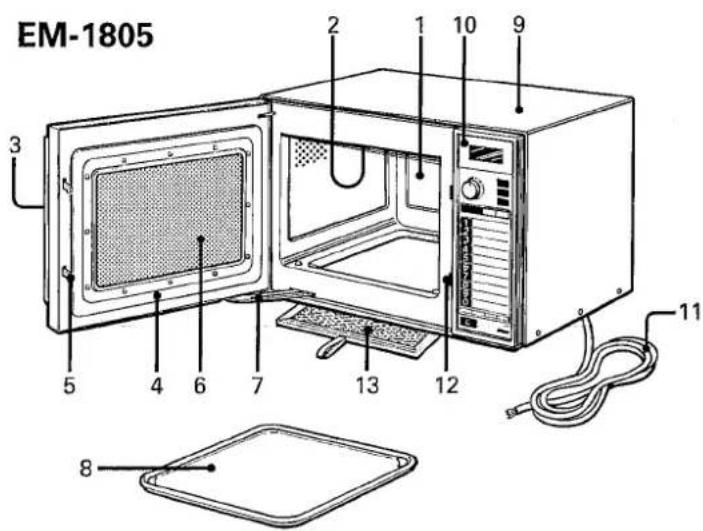
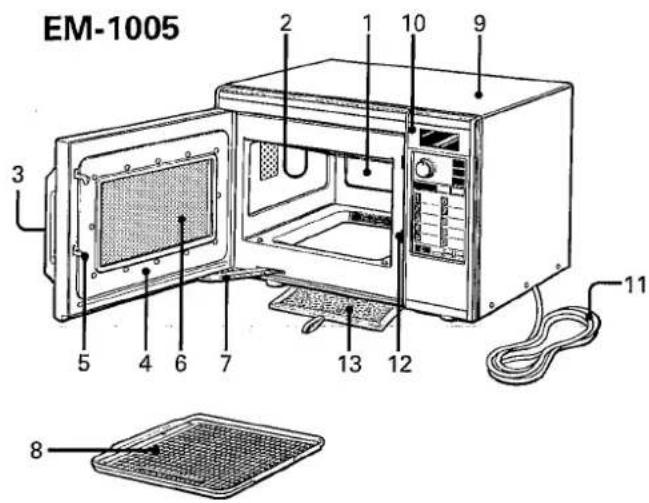
- Oven Cavity
Place food in this space to cook. Wipe the cavity clean each time the oven is used. - Stirrer Shield
Clean with care.
- Door Handle
When the door handle is gripped, a built-in switch turns off the power before the door is opened.
- Door
- Door Latch
- Glass Shielded Viewing Window
The progress of cooking can be observed while oven is operating.
- Door Arm
Prevents door swinging back.
- Glass Tray
Food in suitable container is placed on this tray for cooking.
-
Cabinet
-
Control Panel
-
Mains Lead
-
Safety Interlock System
With built-in safety interlocks.
- Air Filter
Clean with care.
CONTROL PANEL
EM-1805
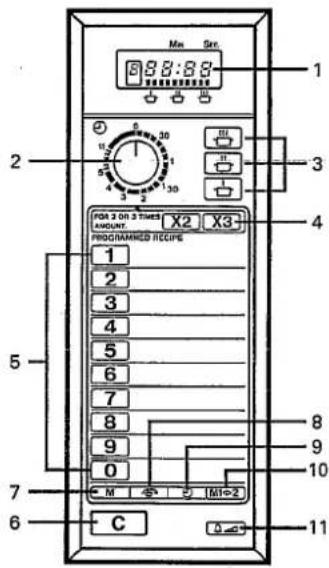
1. Digital Timer
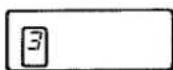
- Indicates when unit is operating and memory has been set. Programme is displayed by NO.
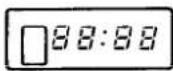
• Displays remaining cooking time.
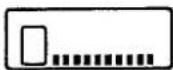
- Displays remaining cooking power levels.
2. Timer (Manual and Repeat)
3. Power Select Buttons (Manual cooking)
| EM-1805 | EM-1005 | ||
| High | 1300W | 1000W | |
| Medium | 650W | 500W | |
| Low | 280W | 200W | |
4. Multiple Quantity Selection Key
- For tailoring cooking to double or triple-quantity. These keys to be used in conjunction with the Programme key.
5. Programme Selection Keys

- The unit is ready to begin operation as soon as the heating time has been programmed, using these ten keys (numbered 1 to 0). The time selected will be displayed, and "count down" after the process is begun.

- For determining power output and cooking time during programming.

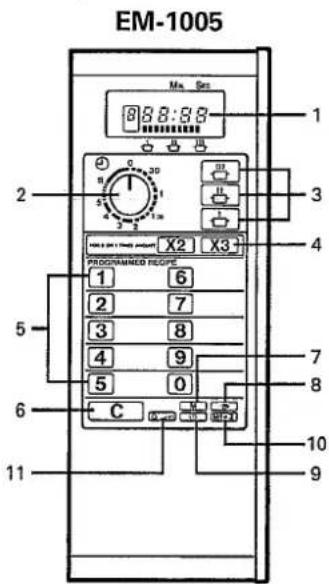
6. Clear Key
- For cancelling setting, interrupting the setting process when a mistake has been made, or stopping cooking before the completion of the cooking process.
7. Memory Key
- For entering the desired power output into the unit's memory.
8. Power Key
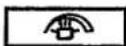
- For entering the desired power output into the unit's memory.
9. Timer Key
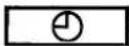
- For entering the desired cooking time into the unit's memory.
10. Stàge Key
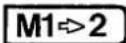
- For setting 2-stage cooking.
11. Buzzar Key

INSTALLATION
- The oven surround and also the surround of the control panel is covered by a protective plastic film, and this should be removed prior to putting the oven into use.
- Install the oven on a flat, level surface Strong enough to safely bear the weight of the oven, which is 44kg. To avoid the possibility of causing vibration or noise the oven must be in a stable position.
-
Keep the oven away from heat and water Exposure to heat and water can lower oven efficiency and lead to malfunctioning, so be sure to install the oven away from external heat and water sources.
-
Exhaust vents are located at the rear of the oven so maintain a minimum spacing of 5cm (2") between the oven and any adjacent surfaces at these points. Covering the exhaust vent may lead to malfunctioning. Hot air flows from these vents, so be sure not to obstruct cover or let curtains come between the oven and the rear wall.
WARNING-This appliance must be earthed
IMPORTANT
The wires in this mains lead are coloured in accordance with the following code:
Green-and-yellow: Earth.
Blue: Neutral.
Brown: Live.
As the colours of the wires in the mains lead of this appliance may not correspond with the coloured markings identifying the terminals in your plug, proceed as follows:
The wire which is coloured green-and-yellow must be connected to the terminal in the plug which is marked with the letter E or by the earth symbol 12 or coloured green or green-and-yellow.
The wire which is coloured blue must be connected to the terminal which is marked with the letter N or coloured black. The wire which is coloured brown must be connected to the terminal which is marked with the letter L or coloured red.
FUSE
The appliance must be protected by a fuse.
EM-1805 ······ 13A fuse.
EM-1005 ······ 10A fuse.
OPERATING INSTRUCTIONS (2)
USING THE PROGRAMME KEY FOR MEMORY STORAGE
1. Programmed (1-Stage) Cooking
(Example) To programme the following on programme No.3: (Power Level.....max power for 30 seconds.
| Operational flow | Display window | ||||
| 1 | 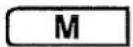 |  | key |  | The “0” will appear on th display |
| 2 |  |  | key | 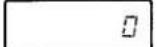 | No change |
| 3 | 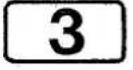 |  | 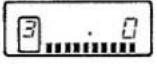 | Light No.3Power level bar “10” | |
| 4 | 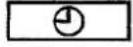 |  | key | 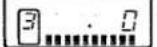 | No change |
| 5 |  |  | 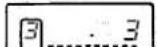 | The “3” will-appear on th display | |
| 6 |  |  | 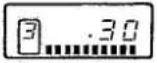 | The “0” will appear behind the “3” | |
| 7 |  |  | 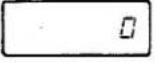 | The “0” will appear on th display | |
Note: When operate with Max. power, do not touch "☐" key. Max power operation automatically be made.
OPERATING INSTRUCTIONS (3)
USING THE PROGRAMME KEY FOR MEMORY STORAGE
2. Programmed (1-Stage) Cooking
(Example) To programme the following on programme No.4:(Power Level 5 for 45 seconds.
| Operational flow | Display window | |||
| 1 |  | ● Touch M key (1st time) | 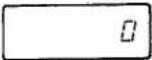 | ● The "0" will appear on the display |
| 2 |  | ● Touch M key (2nd time) | 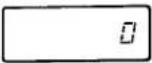 | ● No change |
| 3 |  | ● Touch PROGRAMME key number "4" | 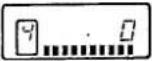 | ● Light No.4 Power level "10"bar |
| 4 |  | ● Touch 🔒 key | 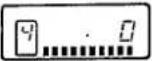 | ● No change |
| 5 |  | ● Input "power level 5" with PROGRAMME key Touch number "5' | 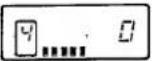 | ● Power Level "5" Bar |
| 6 |  | ● Touch 🔒 key | 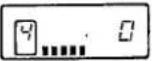 | ● No change |
| 7 |  | ● Input the operating time with the PROGRAMME keys Touch number "4" | 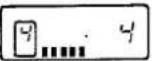 | ● The "4" will appear on the display |
| 8 |  | ● Then, touch number "5" | 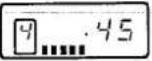 | ● The "5" will appear behind the "4". "45" then shows in the display window |
| 9 |  | ● Then, touch M key | 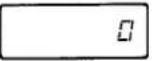 | ● The "0" will appear on the display |
4. Confirmation of Memory
(Example) When programme No.3 is programmed as:
1st input (Max power for 30 seconds.
2nd input (Power Level 2 for 10 minutes.
| Operational flow | Display window | |||
| 1 | Open the door | 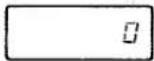 | The "0" will appear on the display | |
| 2 | 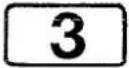 | Touch number "3" | 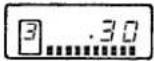 | Programmed No.3Input power Level Bar "10"Input time 30 sec. (1st stage) |
| 3 |  | Touch"M1<>2" key | 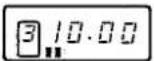 | Programmed No.3Input power Level Bar "2"Input time 10 min (2nd stage) |
| 4 |  | TouchCkey |  | The "0" will appear on the display |
NOTE:
- Touch "C" key after confirming the contents of the unit's memory.
- If nothing has been in the memory, the programme No. is flashing in the display window.
OPERATING INSTRUCTIONS (4)
HEATING METHOD
1. Ordinary Use
(Example) When programme No. 3 is programmed as:
First (Max power for 30 sec.
Second (Power Level 2 for 10 min.
| Operational flow | Display window | |||
| 1 | Place food in oven |  | The "0" will appear on the display | |
| 2 | 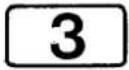 | Touch PROGRAMME key number "3"(Heating Starts) | 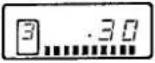 | Light programmed No.3Power Level Bar "10"The rest of heating time for 1st stage will show and count down to zero. |
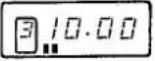 | After 1st stage is completed, the rest of heating time for 2nd stage will show and count down to zero. | |||
| 3 | Cooking time endsRemove the food from oven | 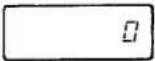 | The "beep" tone sounds, "0" will show | |
2. Multi-Quantity Key Use
(Example) When DOUBLE is used.
| Operational flow | Display window | ||
| 1 | Place food in oven | 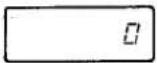 | The "0" will appear on the display |
| 2 |  Touch X2 key Touch X2 key | 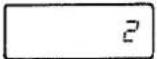 | "2" will show |
| 3 | 3 Touch PROGRAMME key number "3" (Heating Starts) | 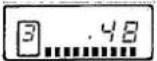 | Light programmed No.3Power Level Bar "10"The rest of heating time for 1st stage will show and count down to zero. |
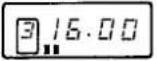 | After 1st stage is completed, the rest of heating time for 2nd stage will show and count down to zero. | ||
| 4 | Cooking time endsRemove the food from oven | 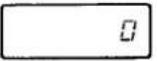 | The "beep" tone sounds, "0" will show |
PRE
- Checkir When it cooking suspend remaini closed.
- Resumi To resu close th
- Cutting The co touching
- When a selected In this d window heating
USA ANI
OVENPRO Ovenware bowls, bre cups, casse
CHINA Bowls, cu metallic de
POTTERY Dishes, cup
PLASTIC Plastic wrap wrap loose should be food, also As the foo touches t containers operations occur with
- Commercial Use Microwave Oven
- OPERATING INSTRUCTIONS
- CONTENTS
- NAME AND FUNCTION OF PARTS
- CONTROL PANEL
- Digital Timer
- Timer (Manual and Repeat)
- Power Select Buttons (Manual cooking)
- Multiple Quantity Selection Key
- Programme Selection Keys
- Clear Key
- Memory Key
- Power Key
- Timer Key
- Stàge Key
- Buzzar Key
- INSTALLATION
- WARNING-This appliance must be earthed
- IMPORTANT
- FUSE
- OPERATING INSTRUCTIONS (2)
- Programmed (1-Stage) Cooking
- OPERATING INSTRUCTIONS (3)
- Programmed (1-Stage) Cooking
- Confirmation of Memory
- NOTE:
- OPERATING INSTRUCTIONS (4)
- HEATING METHOD
- Ordinary Use
- Multi-Quantity Key Use
- PRE
- USA ANI
Brand : SANYO
Model : EM-1805
Category : Microwaves