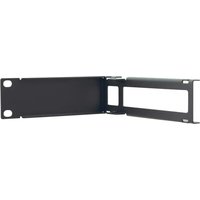
RK-21 - Professional audiovisual equipment Kramer - Free user manual and instructions
Find the device manual for free RK-21 Kramer in PDF.


| Product Type | Rack Mount Kit |
| Model | RK-21 |
| Brand | Kramer |
| Rack Width | 19 inches (standard) |
| Rack Height | 1U (1.75 inches) |
| Depth | 10 inches (approx.) |
| Weight | 1.5 lbs (approx.) |
| Material | Steel |
| Color | Black |
| Compatibility | Kramer AV equipment and standard 19-inch racks |
| Mounting Hardware Included | Screws and cage nuts |
| Max Load Capacity | 20 lbs (approx.) |
| Ventilation Slots | Yes, for airflow |
| Installation Type | Front or center mount |
| Maintenance | Wipe with a dry, soft cloth |
| Safety | Ensure rack is stable; do not exceed load capacity |
| Spare Parts | Contact Kramer support for replacement screws |
| Repairability | Non-repairable; replace if damaged |
| General Information | Designed for secure and organized mounting of AV gear |
Frequently Asked Questions - RK-21 Kramer
User questions about RK-21 Kramer
0 question about this device. Answer the ones you know or ask your own.
Ask a new question about this device
Download the instructions for your Professional audiovisual equipment in PDF format for free! Find your manual RK-21 - Kramer and take your electronic device back in hand. On this page are published all the documents necessary for the use of your device. RK-21 by Kramer.
USER MANUAL RK-21 Kramer
RK-21 Quick Start Guide
This guide helps you install and use your product for the first time. For more detailed information to http://www.kramerav.com/manual/RK-21 to download the latest manual or scan the QR code on the left.
Step 1: Check what's in the box
The RK-21 Rack Adapter: 2 extension brackets and 1 fastening bracket
6 M3x5 flat-head screws
1 Quick start guide
Step 2: mounting the RK-21
The RK-21 Rack Adapter lets you mount a Kramer (8.5"-wide) desktop device to fit into a 19" rack space.
Step 1
Turn the desktop device upside to Denver
VP-440 in this example).
Fit the two extension brackets to the sides of the device.
Step 2
Attach both extension brackets (one on each side of the device) by screwing four M3x5 screws (two on each side) through the brackets and onto the four holes in the device.

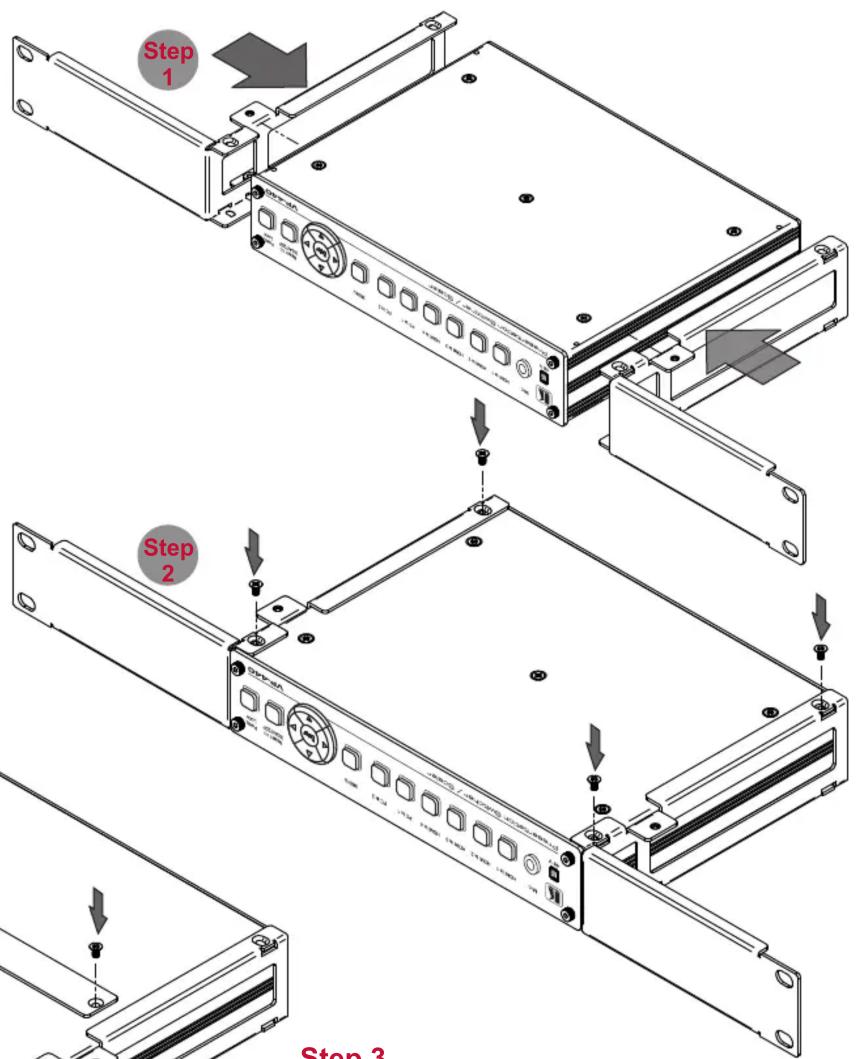
Step 3
Turn the device and attached brackets upright.
Attach the fastening bracket using 2 M3x5 screws.
The device can now be attached to a 19" rack space.
Brand : Kramer
Model : RK-21
Category : Professional audiovisual equipment