
KASCNCMB51B - Scanner Kogan - Free user manual and instructions
Find the device manual for free KASCNCMB51B Kogan in PDF.


| Product Type | Document Scanner |
| Model | KASCNCMB51B |
| Brand | Kogan |
| Dimensions (W x D x H) | 250 x 150 x 50 mm |
| Weight | 1.2 kg |
| Power Supply | USB 5V |
| Scan Resolution | Up to 600 dpi |
| Scan Speed | Up to 8 pages per minute |
| Media Size | Up to A4 |
| Connectivity | USB 2.0 |
| Supported Formats | JPG, PDF, PNG |
| Optical Sensor | Contact Image Sensor (CIS) |
| Software Included | Scan utility, OCR software |
| Operating System | Windows, macOS |
| Cleaning | Wipe exterior with dry cloth; clean glass with lens cleaner |
| Safety | Do not expose to liquids; unplug before cleaning |
| Spare Parts Availability | Replacement USB cable and power adapter available |
| Repairability | User-replaceable glass and rollers |
| Warranty | 1 year limited |
Frequently Asked Questions - KASCNCMB51B Kogan
User questions about KASCNCMB51B Kogan
0 question about this device. Answer the ones you know or ask your own.
Ask a new question about this device
Download the instructions for your Scanner in PDF format for free! Find your manual KASCNCMB51B - Kogan and take your electronic device back in hand. On this page are published all the documents necessary for the use of your device. KASCNCMB51B by Kogan.
USER MANUAL KASCNCMB51B Kogan
natural_image
Black Kugan digital camera with a photo inset showing a person in nature (no text or symbols on the device body)5-IN-1 COMBO SCANNER
KASCNCMB51B
Safety & Warnings 3
Components 4
Overview 5
Preparation 7
Before Use 10
Operation 11
Cleaning & Care 19
Troubleshooting 19
SAFETY & WARNINGS
Ensure to read all instructions and warnings in this user guide prior to first use. Retain this user guide for future reference.
- Do not use this scanner with wet hands.
- Do not use expose this scanner to water or other liquids.
- Do not expose this scanner to heat sources (for example, stoves, radiators).
- Do not block the openings of the scanner.
- Do not attempt to disassemble the scanner yourself.
- If damaged, stop use immediately and contact help.Kogan.com for assistance.
- Ensure the scanner is unplugged when not in use.
COMPONENTS

natural_image
Black Klogan printer with embedded photo and card slot, no visible text or symbols on the device itself.A Combo scanner

natural_image
Exterior view of a black plastic electronic device casing with four rectangular slots (no text or symbols visible)B Slide film holder
natural_image
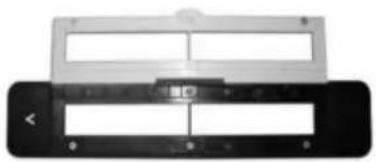
Close-up of a device with a transparent top and black base, no visible text or symbolsC Negative film holder

D Backlight holder
natural_image
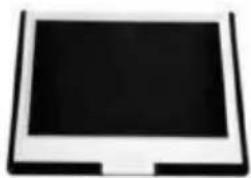
Simple black-and-white illustration of a flat rectangular frame with rounded corners (no text or symbols)E Photo/card holder

F Card cover

natural_image
Black cable with two connectors, no visible text or symbolsG Video cable
natural_image
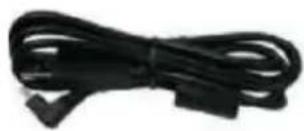
Black cable with connectors, no visible text or symbolsH USB cable
natural_image
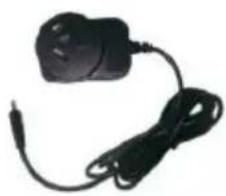
Black electronic device with coiled cable and connector (no visible text or symbols)I Power adapter

natural_image
Black and white object resembling a pen or tool, no visible text or symbolsJ Cleaning brush
K User guide
OVERVIEW
Front view
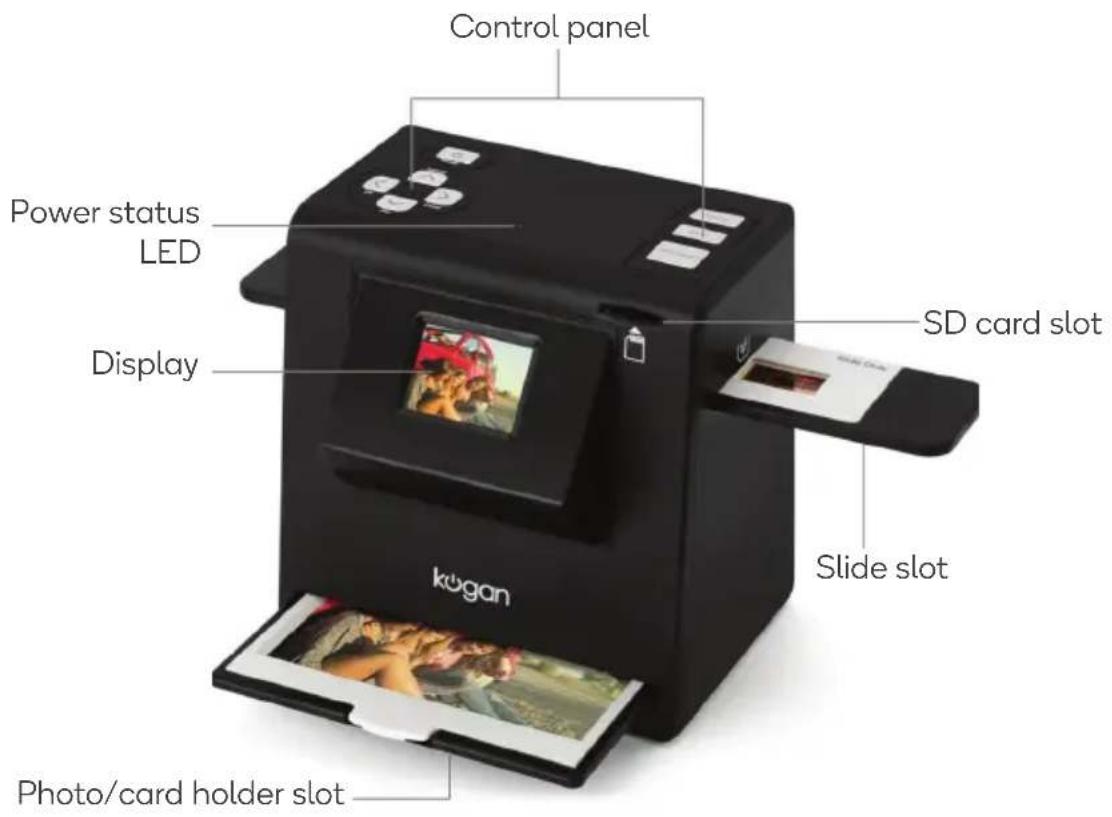
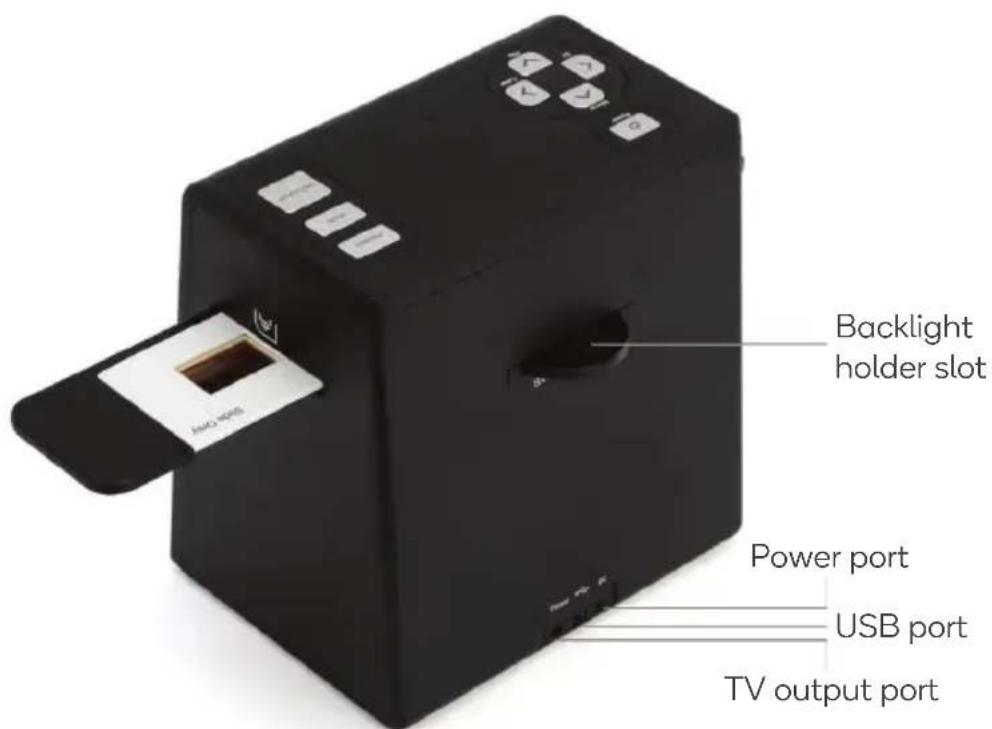
Back view
Control panel
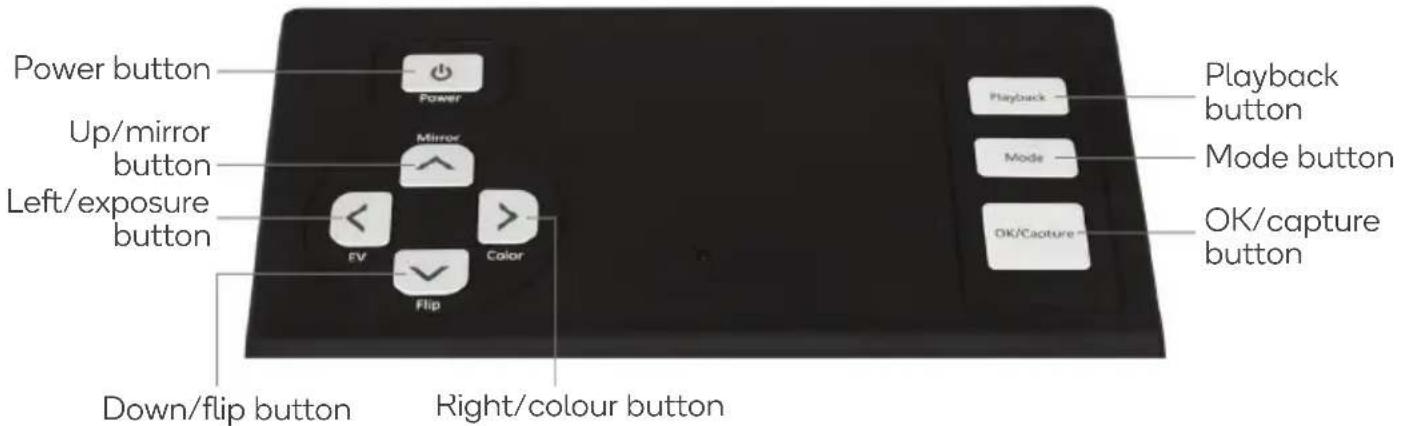
PREPARATION
Note:
Ensure all negative films, slides, film holders, and photos are free of dust and dirt before inserting them into the scanner, as this may affect the image quality when scanning.
Slide film
- Open the slide film holder.
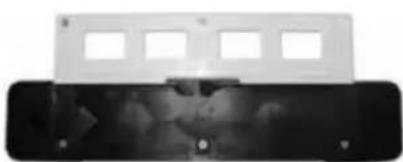
natural_image
Two rectangular electronic devices with four square cutouts above, one black and one white (no visible text or symbols)- Place the slide film into the holder.

natural_image
Close-up of a black electronic device with four square windows and a separate top panel (no visible text or symbols)- Close the slide film holder.

Negative film
- Open the negative film holder.

natural_image
Front view of a printer front panel with no visible text or symbols on the cover or body- Place the negative film into the holder.

natural_image
Close-up of a black electronic device with a white top panel and a black base (no visible text or symbols)- Close the negative film holder.
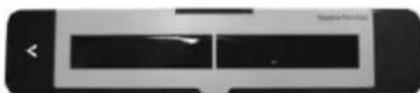
natural_image
Black and white abstract graphic with two vertical bars and a small arrow, no readable text or symbolsTo avoid mirror images, follow the serial numbers (from left to right) on the top of the film when inserting it into the holder.

natural_image
Black-and-white film strip showing two scenes of people in a natural setting, one with a large tree and the other with a large tree (no visible text or symbols)Photos
- Remove any film holders from the scanner by sliding them out on the left side. If the backlight holder is inserted, press down on the handle and pull it out of the scanner.

natural_image
Two-step diagram showing a device being inserted into a box and then being processed into a memory unit (no text or symbols visible)- Open the photo/card holder. Aligning with the base of the holder, place your photo inside. Close the holder.

natural_image
Diagram showing a device transitioning from blank to a white monitor displaying a street scene with bare trees and a canal (no text or symbols present)Business cards
- Remove the slide/negative film holders, and backlight holder from the scanner.
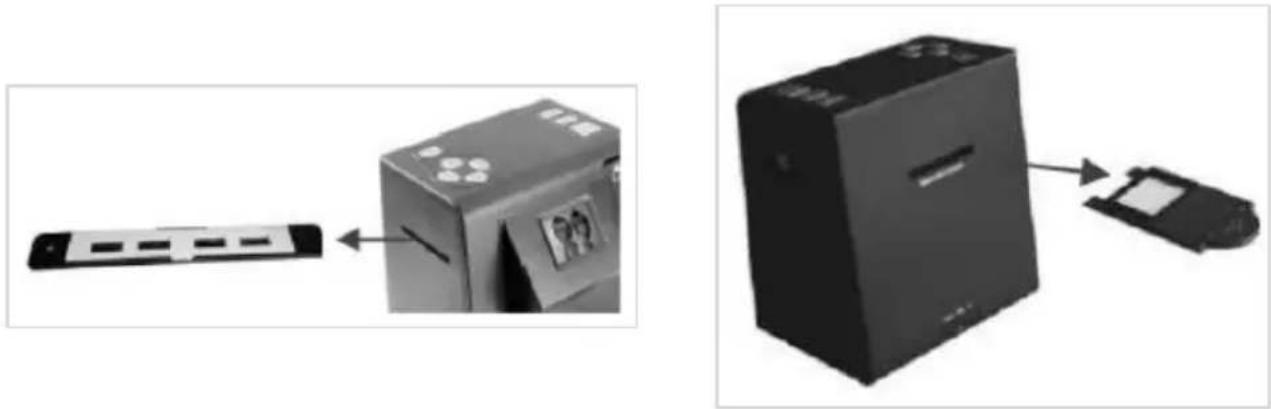
natural_image
Two-step diagram showing a device being inserted into a box and then being processed into a final device (no text or symbols visible)- Open the photo/card holder. Aligning with the guidelines in the centre of the holder, place the card inside.

natural_image
Diagram showing a device transitioning from a blank to a square-shaped component, with no visible text or symbols.- Place the card cover over the photo/card holder, then close the holder.

natural_image
Simple geometric shape: a rounded rectangle outline with no text or symbolsBEFORE USE
SD card
This scanner requires an SD card to store saved images.
Insert a FAT formatted SD card (not supplied, maximum 32GB) into the SD card slot.
For slide and negative films:
Insert the slide or negative film into the slide slot.
Insert the backlight holder into the backlight holder slot.

natural_image
Diagram showing three components of a printer: a remote control panel, a printer with a close-up view, and a device with a slot (no text or symbols visible)For photos and business cards:
Insert the photo/card holder into the photo/card holder slot.

natural_image
Black box containing a decorative item with floral patterns, no visible text or symbolsOPERATION
Placement
Place the scanner on a stable, dry, level surface.
Powering on/off
- Plug the ends of the power adapter into the power port on the scanner and a socket.
- Turn the socket on and press the power button to turn on the scanner.
- Press the power button again to turn off the scanner.
Live view mode
When powered, the scanner will show the live view as indicated by the flashing red indicator. This gives a plain view of the media inserted and allows for the following adjustments:
- Flipping
- Mirroring
- Exposure
- Colour balance
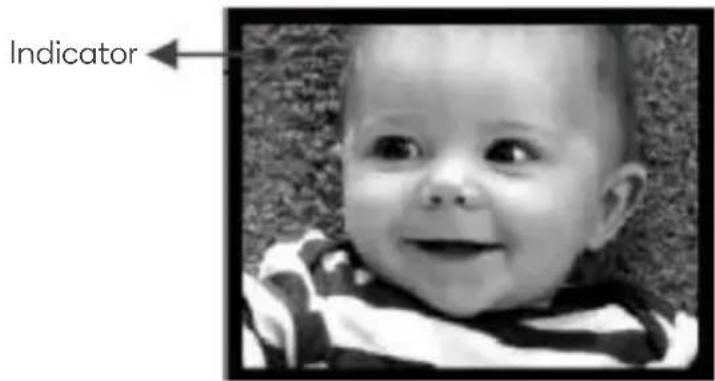
Mirroring
To mirror images, press the up/mirror button. Press the OK/capture button to save and exit.

natural_image
Black-and-white photo sequence showing a child's face before and after transformation (no text or symbols)Flipping
Flipping may be needed if film is placed upside down. To flip images, press the down/flip button. Press the OK/capture button to save and exit.

natural_image
Black-and-white photo sequence showing a person diving into water and another person holding a box, both moving right (no text or symbols)Exposure
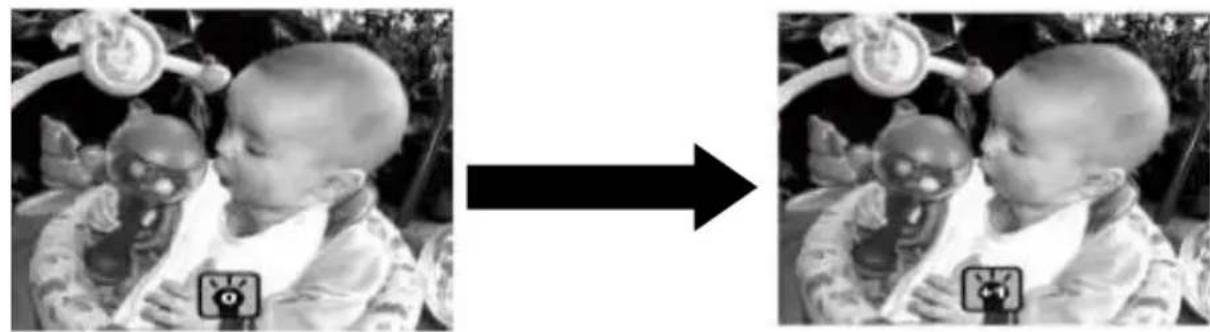
The exposure can be adjusted with a range between -3 to 3.
- Press the left/exposure button.
- Press the up/mirror and down/flip buttons to adjust the exposure.
- Press the OK/capture button to save and exit.
natural_image
Black-and-white photo sequence showing a baby in a bodysuit with a cat head, before and after transformation (no text or symbols)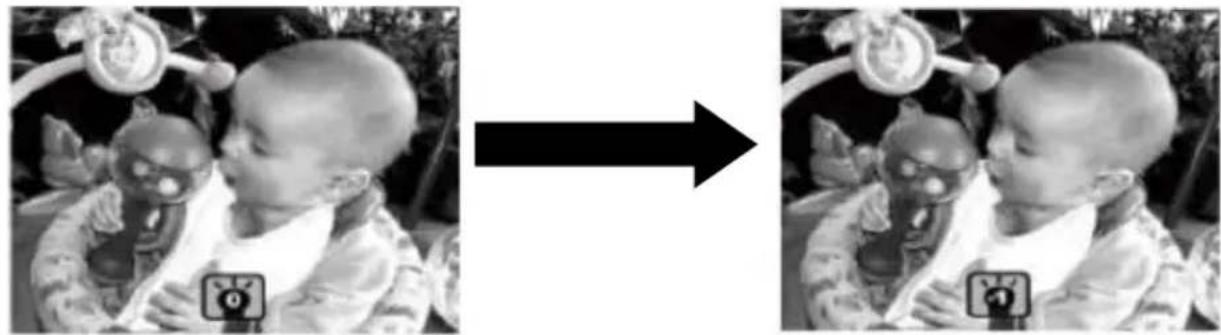
natural_image
Black-and-white photo sequence showing a baby in a bottle being processed, with no visible text or symbolsColour balance
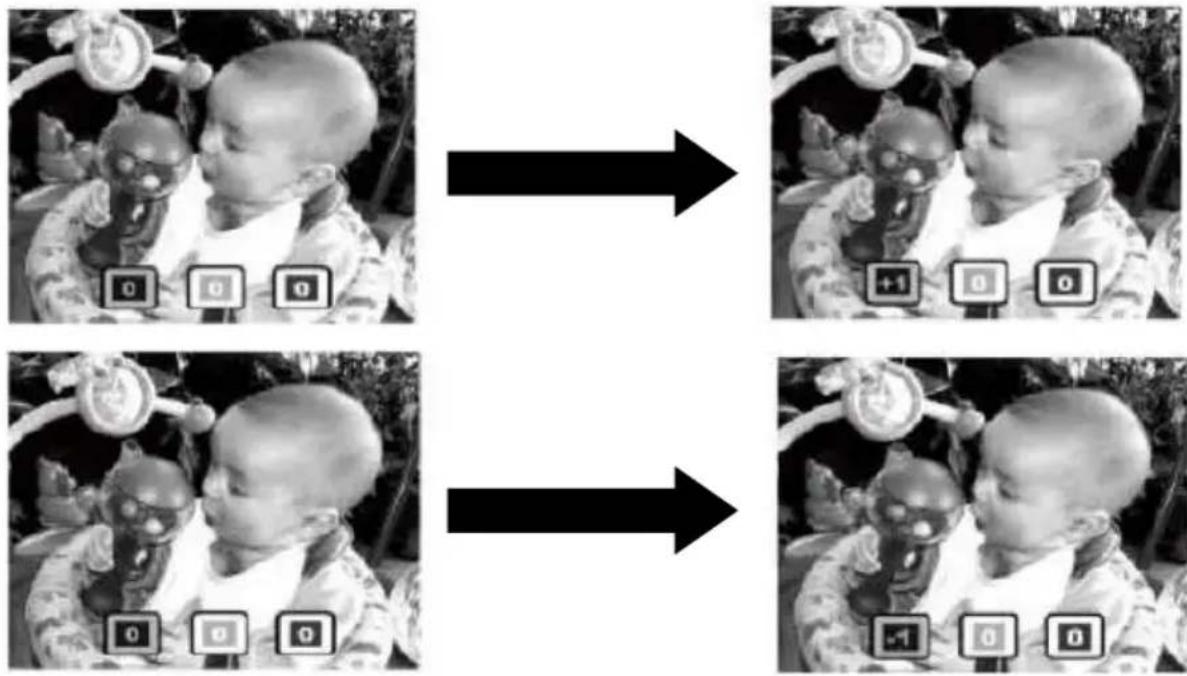
The RGB levels can be adjusted with a range between -3 to 3.
- Press the right/colour button.
- Press the up/mirror and down/flip buttons to adjust the level of redness.
- Press the left/exposure and right/colour buttons to switch between adjusting the red, green, and blue levels.
- Press the OK/capture button to save and exit.
natural_image
Black-and-white photo sequence showing a baby in two rows with camera lenses, each followed by an arrow indicating direction (no text or symbols)Settings mode
From the live view mode, press the mode button to enter the settings mode. Various settings can be adjusted.
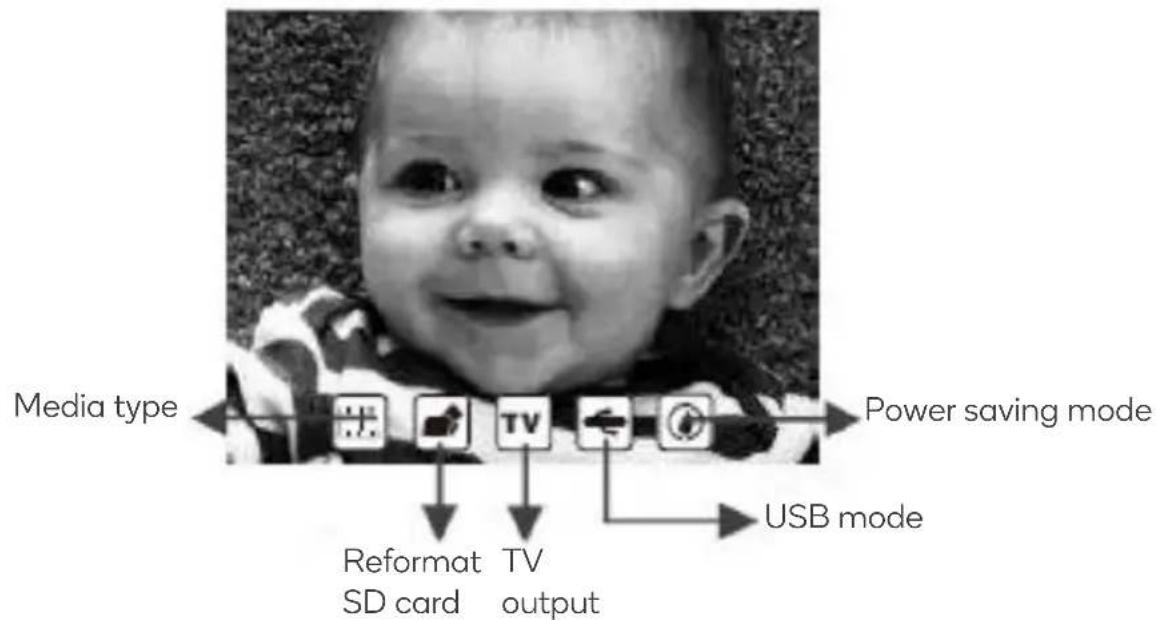
Media type
This is used to select the type of media inserted (negative film, slide film, B&W negative film, photo, card). This setting must be changed to match what has been inserted. The scanner will select negative film as default. To change the media type:
-
Press the OK/capture button. This will open a sub-menu displaying the different media types available.
-
Use the left/exposure and right/colour buttons to navigate over the media types.
-
Press the OK/capture button to confirm.

Scanning slide and negative films
-
Ensure the slide or negative film is inserted fully into the correct film holder and placed into the slide slot. Insert the backlight holder into the scanner.
-
Press the power button to turn on the scanner, then press the mode button.
-
Ensure the media type set matches that inserted into the scanner. Press the OK/capture button to scan.
You may either press the playback button or press the power button to turn off the scanner and remove the SD card to view scanned images. The images can also be transferred to a PC using USB mode.
Scanning photos and business cards
-
Ensure the photo/card holder is fully inserted. Ensure the slide/negative film holders, and backlight holder are removed. Press the power button to turn on the scanner, then press the mode button.
-
Ensure the media type set matches that inserted into the scanner. Press the OK/capture button to scan.
Reformat SD card
The SD card used must be in the FAT format. If the SD card needs to be reformatted:
-
In the settings mode, use the left/exposure and right/colour buttons to navigate to the SD card format icon. Press the OK/capture button to select. This will open a sub-menu to confirm reformatting.
-
Use the left/exposure and right/colour buttons to navigate to the ticked checkbox icon and press the OK/capture button to confirm.

USB mode
This mode allows the scanner to transfer saved/scanned images on the SD card into a PC.
- Connect the USB cable into the USB port on the scanner and your PC.
-
In the settings mode, use the left/exposure and right/colour buttons to navigate to the USB mode icon. Press the OK/capture button to select. The display will show a USB icon confirming this mode.
-
Transfer the images from the SD card to the PC.
TV output
Using this function allows your TV to be used as the display instead of the scanner.
- Connect the black connector of the video cable into the TV output port on the rear of the scanner. Connect the yellow connector of the cable into your TV.
- In the settings mode, use the left/exposure and right/colour buttons to navigate to the TV output icon. Press the OK/capture button to select. This will open a sub-menu.
- Use the left/exposure and right/colour buttons to navigate to 'PAL', then press the OK/capture button to select. The TV will now act as the display for the scanner.

natural_image
Black-and-white photo of a smiling baby with camera app icons above (no readable text or symbols)Power saving mode
Activating this mode will turn off the scanner after three minutes of non-use.
- In the settings mode, use the left/exposure and right/colour buttons to navigate to the power saving mode icon. Press the OK/capture button to activate the mode. The scanner will display the power-saving mode icon when activated.
Capture mode
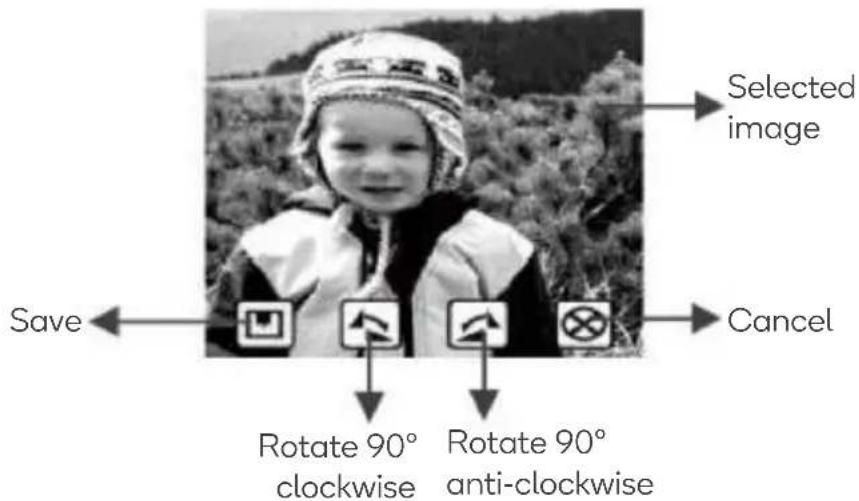
When in live view mode, press the OK/capture button and wait for 2–3 seconds to select an image and enter capture mode. In this mode, the image on the display can be saved and rotated.
Rotating
-
Use the left/exposure and right/colour buttons to highlight the rotate 90° clockwise/anti-clockwise icons.
-
Press the OK/capture button to select either icon to rotate the image clockwise/anti-clockwise.
-
Once rotated as desired, use the left/exposure button to highlight the save icon. Press the OK/capture button to save the image. The scanner will then return to the live view.
Note:
If you do not want to save the image, use the left/exposure and right/colour buttons to highlight the cancel icon. Press the OK/capture button to cancel and return to the live view.
Full SD card
Once the SD card is full, a full icon will appear on the display and no additional images can be saved. To continue capturing and saving images, there are two methods:
- Transfer the saved images into a PC using USB mode.
- Turn off the scanner and remove the SD card. Replace with a different SD card.

natural_image
Black-and-white photo of a smiling baby face with a 'PULL' logo on her forehead (no text or symbols on the image itself)Playback mode
In this mode, you can view, rotate, and delete saved images. Press the playback button to enter this mode.
- Once entered, the scanner will enter an automatic slideshow transitioning every two seconds to show all saved images. This is indicated by the indicator in the top left corner.
- Press the playback button again to return to the live view.

Pausing and manual control of the slideshow
- To pause the slideshow, press the mode or OK/capture button. This will allow for manual control of the slideshow. Press the left/exposure and right/colour buttons to view saved images.
- To return to the automatic slideshow, press the OK/capture button.
Rotating and deleting
When in manual control of the slideshow, press the mode button to open a menu that allows saved images to be rotated and deleted.
- Use the left/exposure and right/colour buttons to highlight the rotate 90° clockwise/anti-clockwise icons.
- Press the OK/capture button to select either icon to rotate the image clockwise/anti-clockwise.
- To delete an image, use the left/exposure and right/colour buttons to highlight the delete icon. Press the OK/capture button to confirm.

- After rotating or deleting, the scanner will then return to the manually controlled slideshow. To rotate or delete other images, press the mode button again and repeat the steps as necessary.
- If there are no images stored on the SD card/all have been deleted, the display will show as below for two seconds before returning to the live view.

natural_image
Simple black background with a white question mark icon in the center (no text or symbols)CLEANING & CARE
Ensure the scanner is turned off and unplugged before cleaning.
- Use a clean, dry, non-alcohol cotton swab or an additive-free lens tissue to clean the glass surfaces on the backlight holder and card cover. This should be performed periodically to produce clear images.
- Use the cleaning brush to clean the film holders.
- Wipe the exterior with a soft, dry cloth.
Storage
Store the scanner is a cool, dry place.
TROUBLESHOOTING
The SD card is locked.
When locked, the scanner will show the locked icon and will be unable to scan or save photos. The SD card will need to be unlocked.
-
Turn the scanner off and remove the SD card.
-
Slide the lock switch on the side of the SD card into the unlocked position.
-
Reinsert the SD card into the SD card slot and turn on the scanner to resume use.
There is an error on the SD card.
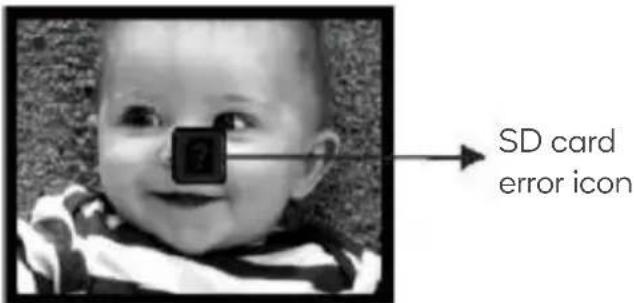
If the display shows the SD card error icon, the scanner is unable to detect a working or compatible SD card.
- Format the SD card or remove and replace the SD card (maximum 32GB).

Need more information?
We hope that this user guide has given you the assistance needed for a simple set-up.
For the most up-to-date guide for your product, as well as any additional assistance you may require, head online to help.kogan.com
kogan.com
- 5-IN-1 COMBO SCANNER
- SAFETY & WARNINGS
- COMPONENTS
- OVERVIEW
- Control panel
- PREPARATION
- Note:
- Slide film
- Negative film
- Photos
- Business cards
- BEFORE USE
- SD card
- For slide and negative films:
- For photos and business cards:
- OPERATION
- Placement
- Powering on/off
- Live view mode
- Mirroring
- Flipping
- Exposure
- Colour balance
- Settings mode
- Media type
- Scanning slide and negative films
- Scanning photos and business cards
- Reformat SD card
- USB mode
- TV output
- Power saving mode
- Capture mode
- Rotating
- Full SD card
- Playback mode
- Pausing and manual control of the slideshow
- Rotating and deleting
- CLEANING & CARE
- Storage
- TROUBLESHOOTING
- The SD card is locked.
- There is an error on the SD card.
- Need more information?
Brand : Kogan
Model : KASCNCMB51B
Category : Scanner