
RVCHN-76D - Dash cam CRUX - Free user manual and instructions
Find the device manual for free RVCHN-76D CRUX in PDF.


| Product Type | Dash Cam |
| Brand | CRUX |
| Model | RVCHN-76D |
| Dimensions (approx.) | 6.0 x 4.0 x 3.0 cm |
| Weight (approx.) | 65 g |
| Power Supply | 12V DC via car cigarette lighter adapter |
| Recording Resolution | Full HD 1080p |
| Field of View | 170° wide angle |
| Loop Recording | Yes, automatic overwriting |
| G-Sensor | Built-in, locks files on impact |
| Night Vision | Infrared LEDs for low light |
| Memory Card Support | MicroSD up to 32GB (Class 10 recommended) |
| Display | 2.7 inch LCD screen |
| Mounting | Suction cup or adhesive bracket |
| Parking Mode | Motion detection when parked (requires hardwire kit) |
| Maintenance | Clean lens with soft cloth; format card regularly |
| Safety | Do not install where it obstructs driver’s view |
| Spare Parts | Contact CRUX for replacement mount or power cable |
| Repairability | Non-user-serviceable; contact support for issues |
| General Information | User manual available at notice-facile.com |
Frequently Asked Questions - RVCHN-76D CRUX
User questions about RVCHN-76D CRUX
0 question about this device. Answer the ones you know or ask your own.
Ask a new question about this device
Download the instructions for your Dash cam in PDF format for free! Find your manual RVCHN-76D - CRUX and take your electronic device back in hand. On this page are published all the documents necessary for the use of your device. RVCHN-76D by CRUX.
USER MANUAL RVCHN-76D CRUX
- Automatically switches to rear-view when vehicle is in reverse gear.
- Aftermarket lip mount rear view camera included.
- Plug & Play Installation.
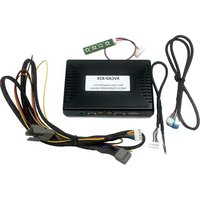
PARTS INCLUDED:

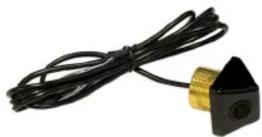
RVCHN-76D Harness CUL-03 Lip Mount Camera
INSTALLATION DIAGRAM:
![graph TD A["Radio"] --> B["To factory screen"] A --> C["To factory harness"] B --> D["Video Connection"] C --> E["Camera Power"] D --> F["Red wire Not Used (Insulate)"] E --> G["*Camera Ground (to chassis)"] F --> H["Regulator"] G --> H H --> I["Make sure the arrows line up and push in the connector…](/content/2026/05/1044775/images/2c3741e70890861d96f0cf54d434f5b021672a9238af7ca1a112e749ea7b2bbd.jpg)
Use a length of 18 gauge wire (not included) and tap the RED camera power wire from the Yellow RCA to the pin# 4 (BROWN/SILVER) wire on the Green connector in the fuse panel. This is the factory reverse trigger wire.

1 of 2
rev.102120
INSTALLING THE CAMERA:
- Remove the rear liftgate panel cover.
- Drill a 5/8" hole using the hole saw included on the lip under the Honda emblem. Drill the hole at the as close as you can to the center of the vehicle.
- Fish the camera cable through 5/8" hole. Do not secure the camera yet until after testing the viewing angle.
- Plug the 4 pin barrel connector of the camera cable to the extension cable provided.
- Route the cable towards the radio location.
- Remove the radio to gain access to the factory screen.
- Plug the Yellow male RCA of the extension cable to the Yellow female RCA of the RVCHN-76D harness.
- Unplug the 32 pin connector from behind the screen and plug it to the RVCHN-76D t-harness. Plug the other end of the t-harness to the screen.
- To power the camera, you will need to tap the red wire coming out of the Yellow RCA to the BROWN/SILVER reverse wire found at the fuse panel.
- Test the camera for functionality before installing. Note that the rear liftgate needs to be closed otherwise the reverse camera will not show on the screen.
VEHICLE APPLICATIONS:
HONDA
2011 - 2013 Odyssey (with 8" screen)
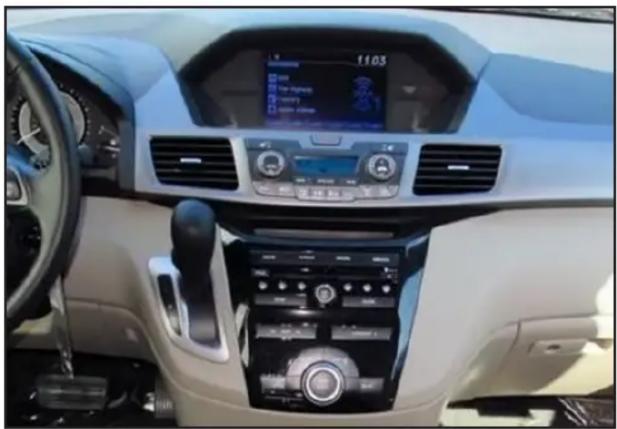
Brand : CRUX
Model : RVCHN-76D
Category : Dash cam