
AL-S - Nicht kategorisiert KONICA MINOLTA - Kostenlose Bedienungsanleitung
Finden Sie kostenlos die Bedienungsanleitung des Geräts AL-S KONICA MINOLTA als PDF.


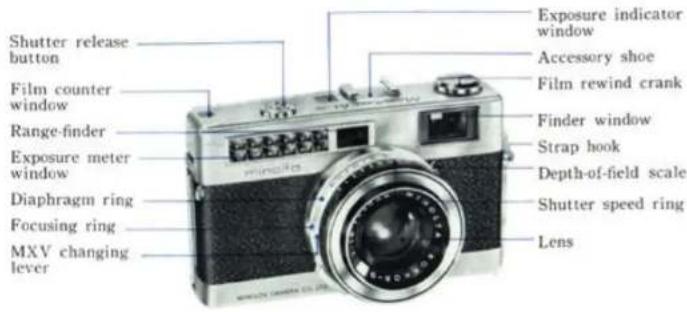
| Produkttyp | 35-mm-Messsucherkamera mit eingebautem Belichtungsmesser |
| Objektiv | Rokkor QF f/1.8 40 mm (6 Linsen in 4 Gruppen) |
| Verschluss | Seiko SLV, B, 1–1/500 Sek., eingebauter Selbstauslöser |
| Belichtungsmessung | Nullmethode, kreuzgekoppelt mit Verschlusszeit und Blende; Arbeitsbereich EV 6,7–17 (bei ASA 100) |
| Filmempfindlichkeit | ASA 25–800 (DIN 15–30) |
| Sucher | Leuchtrahmensucher mit gekoppeltem Entfernungsmesser und Parallaxenmarkierungen |
| Fokussierbereich | 0,8 m bis Unendlich |
| Filmtransport | Hebeltransport (140°), automatischer Verschlussaufzug, Doppelbelichtungssperre |
| Rückspulung | Kurbeltyp |
| Abmessungen (H×B×T) | 128 × 60 × 74 mm |
| Gewicht | 540 g |
| Blitzsynchronisation | M und X (alle Verschlusszeiten) |
| Selbstauslöser | ca. 10 s Verzögerung |
| Stromversorgung | Keine Batterie erforderlich (Selen-Fotozelle) |
| Bildformat | 24×36 mm auf 35-mm-Film |
Häufig gestellte Fragen - AL-S KONICA MINOLTA
Benutzerfragen zu AL-S KONICA MINOLTA
0 Frage zu diesem Gerät. Beantworten Sie die, die Sie kennen, oder stellen Sie Ihre eigene.
Eine neue Frage zu diesem Gerät stellen
Laden Sie die Anleitung für Ihr Nicht kategorisiert kostenlos im PDF-Format! Finden Sie Ihr Handbuch AL-S - KONICA MINOLTA und nehmen Sie Ihr elektronisches Gerät wieder in die Hand. Auf dieser Seite sind alle Dokumente veröffentlicht, die für die Verwendung Ihres Geräts notwendig sind. AL-S von der Marke KONICA MINOLTA.
BEDIENUNGSANLEITUNG AL-S KONICA MINOLTA
natural_image
Black-and-white portrait of a woman with curly hair and a collared shirt (no visible text or symbols)Minolta means better picture
Minolta
Printed in Japan
TS-312IA
Minoltina AL-S
natural_image
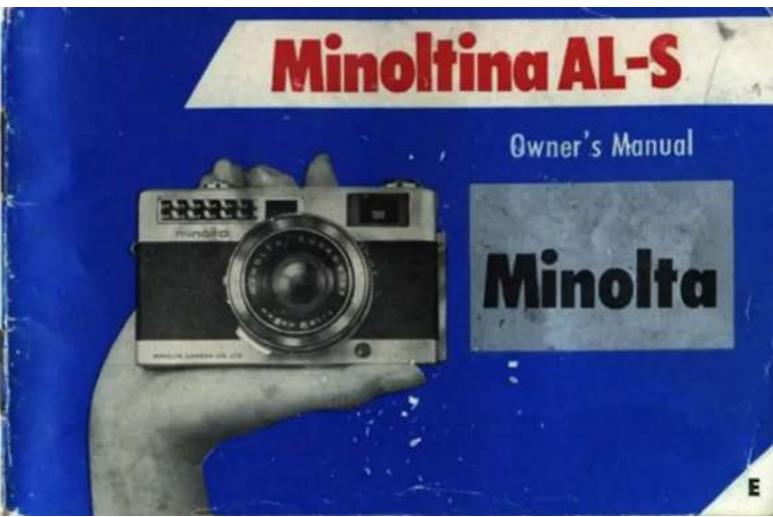
Silver minolta digital camera with black bezel and circular lens (no visible text or symbols)We thank you for your purchasing Minoltina AL-S. Of many cameras, the Minoltina AL-S is a genuine 35 mm. camera—the most compact precision 35 mm. camera in the world equipped with an exposure meter and a range-finder. It enables even beginners to take good pictures with the very first role of film. It also enables experts who are not satisfied with EE cameras to create excellent photographs, using their own inventiveness.
For proper operation of this camera we suggest that you carefully read this manual prior to use
Contents
Specification 4
Camera parts 5
How to take pictures 7
How to load film 10
Shutter speed and diaphragm 13
How to decide exposure 16
Depth of field 19
Table of depth of field.... 21
How to focus 22
Viewfinder 24
How to hold camera.... 26
Unloading film 29
Taking flash pictures 31
Self-timer 33
Accessories 35
Specification
Type: Picture size 24×36 mm (standard size) on 35 mm film.
Cross-coupled built-in exposure meter.
Lens: Rokkor QF f 1.8 40 mm, 6 elements in 4 groups.
Shutter: Seiko SLV, B, 1-1/500 and built-in self-timer.
Flash
Syncaronization: M and X contact point.
Exposure Meter: Zero method, cross-coupled with shutter speed and diaphragm.
Meter working range is EV 6.7-17 (on ASA 100).
Range of Usable Films: ASA 25-800, DIN 15-30.
Viewfiner: Lumi-framed viewfinder with coupled range-finder and parallax
Minis
Minimum Focus Distance: 0.8 m (2.6 feet)
Winding of Film: Lever-type winding, automatic shutter cocking, and rotary angle-
140°. Double exposure prevention. Crank type film rewinding.
Counter: Automatic zero return.
Accessories: Lens shade (42 μ).
Screwed-in filter (40.5 μ).
Size and Weight: 128 (height)×74 (depth)×60 (width) mm.
540 g.
Camera Parts
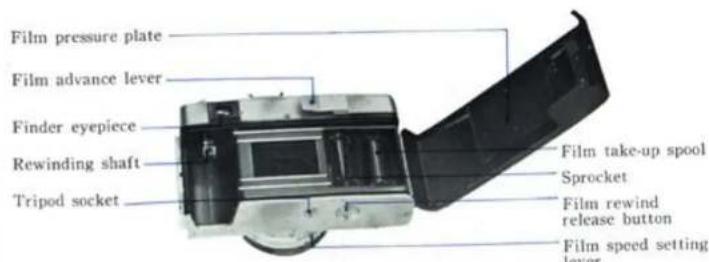
- Load the film. (Detailed explanation for loading film is given on page 10.)
-
Set film speed. (Set the film speed using the film speed set lever. See page 16.)
-
Decide shutter speed according to the amount of light on the object photographed. Set the needle of the exposure indicator to the fixed pointer of the black line by turing the diaphragm ring. (This can also be done by turning the shutter speed ring, after the diaphragm is set.)
natural_image
Close-up of a mechanical component with metallic bands and a small inset slot (no visible text or symbols)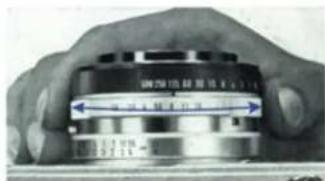
natural_image
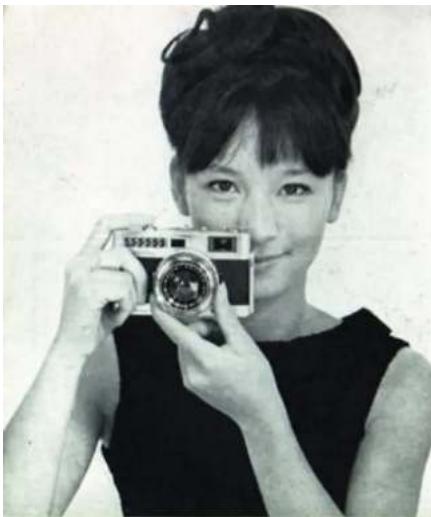
Black-and-white photo of a woman holding a vintage camera, smiling (no visible text or symbols)- Focus.
When the object is seen through the viewer as a single image (rather than a double image), it is in focus. - Compose picture frame, and press the shutter release button. The picture frame is the area within the bright frame inside the viewfinder.
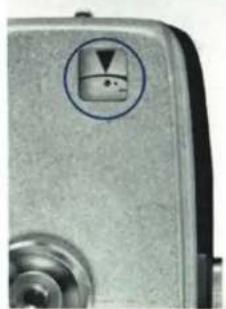
- Before taking pictures, make it sure if M or X is seen in the MXV window. For general purpose photography, use the X mark. If V appears, the self timer is in operation.
How to load film
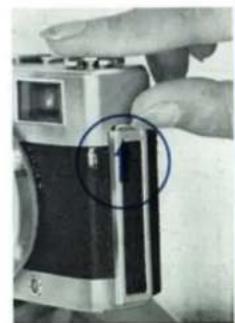
- Pull up the back locking tab in the direction of the arrow, and the back cover opens automatically.
- Put in film by fitting the axis of the magazine to the rewinding shaft.
natural_image
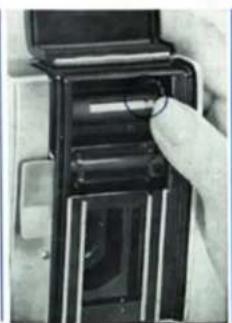
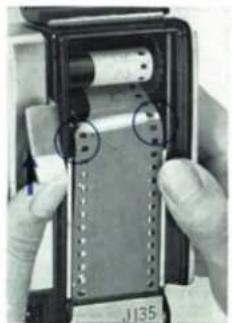
Close-up of a hand holding a small electronic device with a blue circular annotation highlighting the component (no visible text or symbols)- Hold the groove of the take-up spool up, turning the gear at its end with your finger tip until the white groove is showing
- Pull the tip of the film out of the magazine and then insert it into the
natural_image
Close-up of a hand inserting a component into a device (no visible text or symbols)groove of the film take-up spool.
NOTE: Load and unload in subdued light area.
-
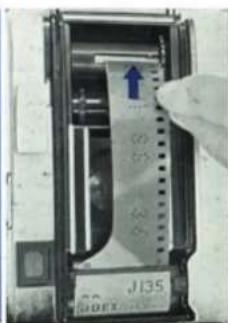
Wind the film until its perforations are engaged with the gears of the sprocket. If the winding lever stops on the way, press the shutter release button in order to continuing winding.
-
Shut the back cover after confirming proper advancing of the film. When pressed slightly, the back cover shuts automatically.
natural_image
Close-up of gloved hands holding a mechanical device with circular features, no visible text or symbols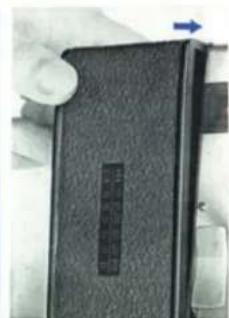
natural_image
Close-up of a black rectangular electronic device with a blue arrow pointing to its side (no visible text or symbols)- Raise up the rewinding crank and turn it in the direction of the arrow to take off the slack left in the film. Return the crank to its normal position.
natural_image
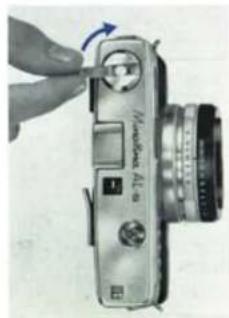
Close-up of a digital camera with a hand adjusting its lens (no visible text or symbols)- When the back cover is closed, a red dot (start mark) appears in the film counter window. Keep turning lever until "1" appears. (To do this you must press the shutter release after each advance of the winding lever.) It is advisable to keep the lens cap on during this operation. (Since the film counter is automatic, it returns to the start mark when the back cover is opened.)
natural_image
Close-up of a metallic mechanical component with a circular button and a small icon, no visible text or symbols.- Now, as you photograph, the number of pictures exposed will be shown in the film counter window. Notice that the reddining crank rotates as the film is advanced. This indicates proper advancement of the film.
natural_image
Black-and-white photo of a smiling woman holding a vintage camera on a tripod (no visible text or symbols)Shutter speed and diaphragm
Shutter
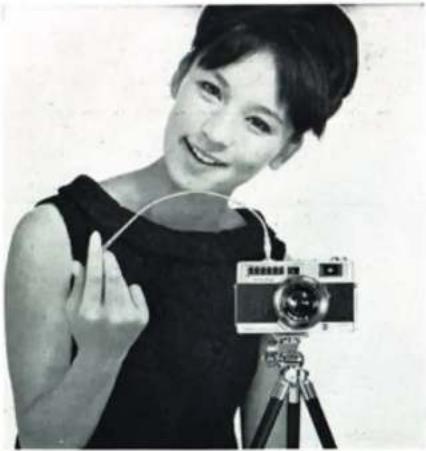
The shutter speed determines the amount of light that will strike to the film. When the shutter speed is raised one step at the same diaphragm, light volume is halved. The shutter speed of this camera ranges from 1 second to 1/500 second. Use B (bulb) for giving exposures more than 1 second.
The B position, or bulb, enables you to keep the shutter open as long as the shutter release button is pressed down. At speeds slower than 110 second or B position, it is advisable to use a tripod and cable release.
Fast-moving object requires fast shutter speeds so there will be no blur- 12 second is recommended for general photography.
Diaphragm

Light volume 2.4
2.8

1

1/2
5.6

1/4

1:8

1/16

1/32
Diaphragm
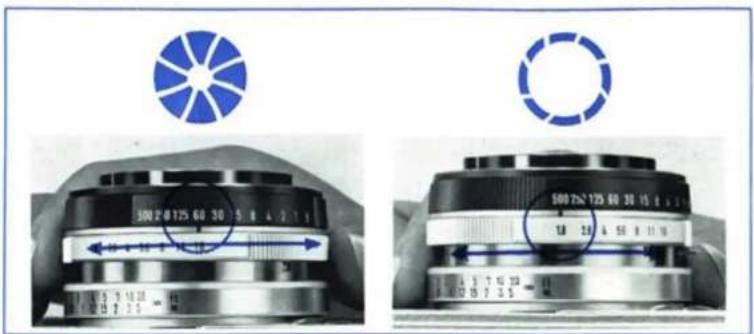
The diaphragm as well as the shutter determines the amount of light which will strike to the film. However, the diaphragm also affects focus. The indicator of the diaphragm is shown as F.
The smaller the F value, the larger the aperture opening and vice versa. Each F stop higher increased the amount of exposure time necessary by 2. Each F stop lower, decreases the exposure time necessary by 1/2. The diaphragm indicator of this camera ranges from 1.8 to 16, and their relationship is shown left based on F 2.8.
When taking pictures outdoors, the aperture opening should be small (large in F value), while on cloudy day or in a dark place it should be large (small in F value).
natural_image
Close-up of a camera lens with measurement scale and control buttons (no readable text or symbols)How to decide exposure
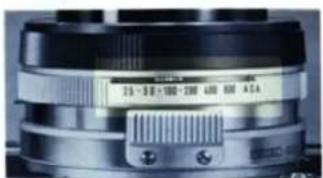
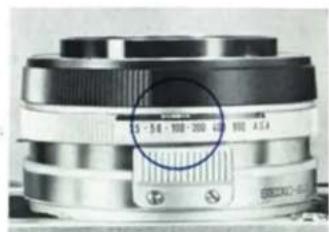
- To set the ASA speed, move the film speed set lever to the speed of the film being used.
For DIN emulsion, convert into ASA according to the ASA-DIN conversion table attached to the back of the camera.
The dot on the ASA dial represents ASA 32, 64, 125 respectively.
natural_image
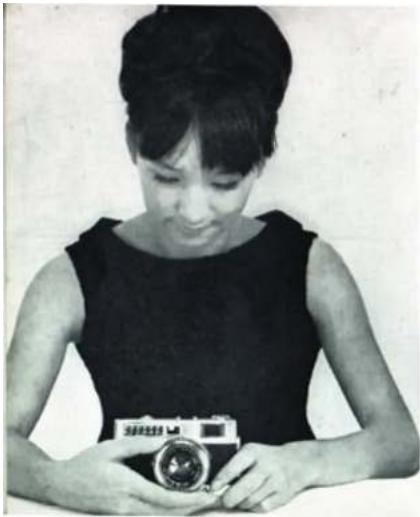
Black-and-white photo of a woman holding a vintage camera (no visible text or symbols)- When the camera is pointed at the object to be photographed, you will see the green needle moves in the exposure indicator window on top of the camera. Turn the shutter speed ring or diaphragm ring so that the needle lines up on the golden index. Then for further shutter speed adjustments, use the diaphragm setting control. It is suggested that you do this because the diaphragm ring has intermediate stops while the shutter speed has not.
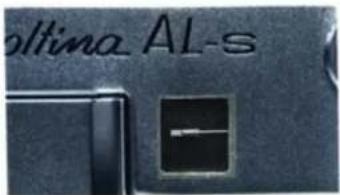
- Hints on measuring
A. When taking pictures of fast moving objects, first set the shutter to the fastest position, turning the diaphragm control.
B. If you want to focus on large group people or on things of deep depth, small the aperture opening (refer to Depth of Field on P. 19) and adjust the exposure meter, turning the shutter speed ring. When the shutter speed ring comes to the center, set it to the stop on either side, then adjust the needle turning the diaphragm ring. Be careful to hold the camera steady when the shutter speed is slower than 1/30 second.
C. While taking pictures of people, stand as close as possible.
When shooting a landscape, be careful that no reflection of the sky light enters. D. The adjustable range of the film speed is ASA 25–800 (DIN 15–30).
E. When using ASA 100 film, the working range of exposure meter is EV 6.7 (F 1.8, 1/30)—EV 17 (F 22, 1/500).
F. The exposure meter will not function if the light is less than EV 6.7
G. If the green needle cannot be made to move by turning the diaphragm ring, adjust it by turning the shutter speed ring.
H. When using a filter, exposure must be increased by the same extent as the light multiple of the filter. In this case, all you have to do is apply onto the camera the value obtained through division of ASA speed value by the light multiple of the filter used.
(For instance, when using a filter of "2 times" light multiple for ASA 100 film, 50 (ASA 100 ÷ 2 = 50) is set to the camera.)
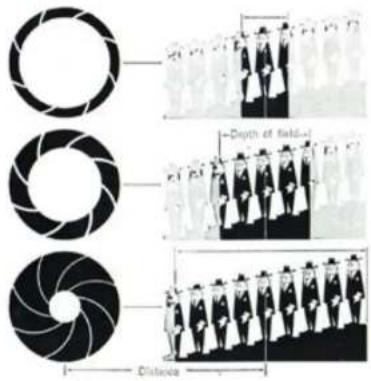
Depth of Field
When a lens is accurately focussed on an object, there exists a certain depth considered to be in focus both in the foreground and the background of the object. This is called depth of field. This becomes greater as the aperture opening is made smaller (closing diaphragm), and smaller as the aperture opening is made larger (opening diaphragm).
Thus, appropriate diaphragm size is necessary in order to achieve depth in a photograph.
The pictures show the relationship.
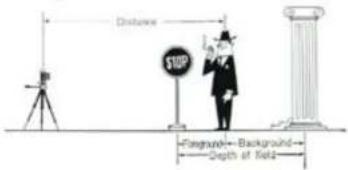
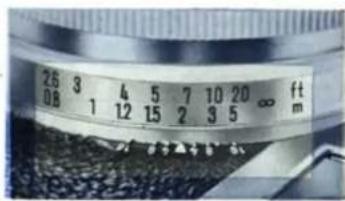
As shown in the picture, this camera has a scale of depth of field and when the camera is focussed on an object it indicates the depth of the photograph that will be in focus.
The picture gives an example of depth of field. When focussed at 2 m. (6.6 ft.) distance with F8-approximately 1.5-3 m. (5-10 ft.) will be in focus and with F16-approximately 1.2-5 m. (4-17 ft.) will be in focus.
See details in table of depth of field on the next page.
Table of Depth of Field (3.3 feet=1m, 1 foot=0.3m)
| Dist. (ft.)\F No. | 1.8 | 2.8 | 4 | 5.6 | 8 | 11 | 16 |
| ∞ | ∞ | ∞ | ∞ | ∞ | ∞ | ∞ | |
| 20 | 16.3 | 14.8 | 13.6 | 11.8 | 10.1 | 8.4 | 6.8 |
| 25.8 | 30.8 | 39.6 | 66.9 | ∞ | ∞ | ∞ | |
| 10 | 9.0 | 8.5 | 8.1 | 7.4 | 6.8 | 5.9 | 5.1 |
| 11.2 | 12.1 | 13.2 | 15.2 | 19.5 | 32.3 | ∞ | |
| 7 | 6.50 | 6.25 | 6.00 | 5.67 | 5.25 | 4.8 | 4.3 |
| 7.58 | 7.92 | 8.42 | 9.17 | 10.50 | 13.3 | 21.5 | |
| 5 | 4.74 | 4.58 | 4.50 | 4.33 | 4.08 | 3.75 | 3.42 |
| 5.25 | 5.42 | 5.67 | 6.00 | 6.50 | 7.50 | 9.42 | |
| 4 | 3.83 | 3.75 | 3.67 | 3.58 | 3.42 | 3.17 | 2.92 |
| 4.17 | 4.25 | 4.42 | 4.58 | 4.92 | 5.42 | 6.33 | |
| 3 | 2.92 | 2.83 | 2.83 | 2.75 | 2.67 | 2.50 | 2.38 |
| 3.08 | 3.17 | 3.25 | 3.33 | 3.50 | 3.67 | 4.08 | |
| 2.6 | 2.50 | 2.50 | 2.50 | 2.42 | 2.33 | 2.25 | 2.17 |
| 2.67 | 2.67 | 2.75 | 2.83 | 2.92 | 3.08 | 3.33 |
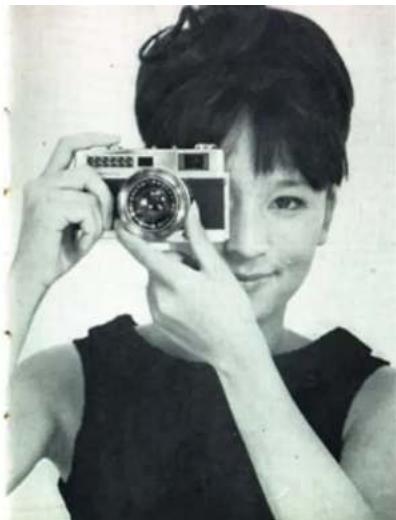
natural_image
Black-and-white photo of a person holding a camera, smiling (no visible text or symbols)How to focus
Look through the viewfinder, keeping your eye at the center of the eye-piece.
For focussing, turn the focussing ring until the double image seen in the diamond at the center of the bright frame overlaps.
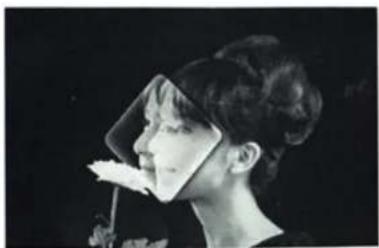
natural_image
Black-and-white photo of a woman wearing a head covering, holding a white object (no visible text or symbols)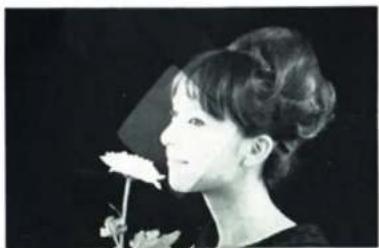
natural_image
Black-and-white portrait of a woman holding a white flower, no visible text or symbolsWhen out of focus
When the subject is seen double in the diamond, the camera is not properly focused.
When in focus
As shown in the picture, the object has overlapped in the diamond and is already in focus.
The distance of the camera to the subject is indicated on the focusing dial.
Viewfinder
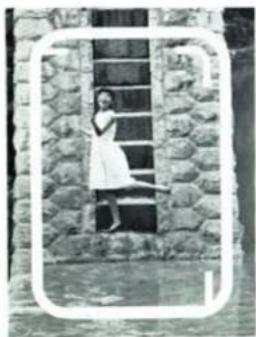
natural_image
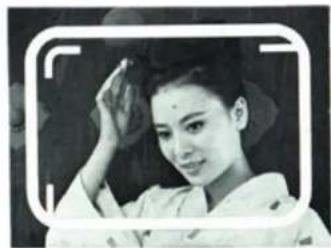
Black-and-white photo of a person standing beside a stone wall, no visible text or symbolsAs you look through the viewfinder you will note a white bright frame near the outer edge. The actual picture you take will be inside this frame. Make sure your picture is composed inside the bright frame. When taking a close-up picture, because of parallax (the difference between what the viewfinder 'sees' and what the lens 'sees,' ) you have to compose your picture inside of the lumi-mark, using as the edges the hook mark seen on the upper left, the short line on the upper right and the vertical line on the lower left.
natural_image
Black-and-white portrait of a woman in traditional attire, no visible text or symbols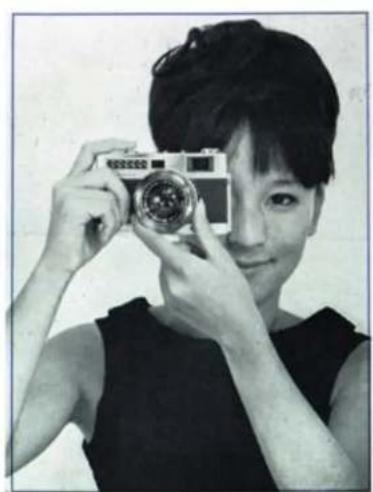
natural_image
Black-and-white photo of a person holding a camera, no visible text or symbols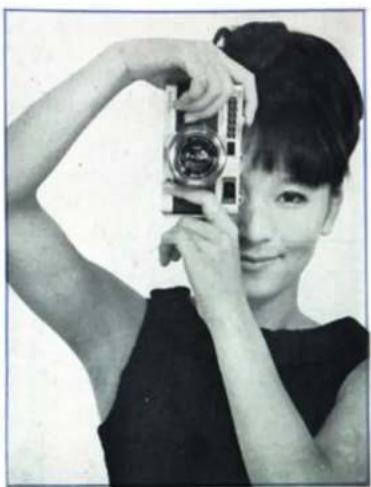
natural_image
Black-and-white portrait of a woman holding a vintage camera (no visible text or symbols)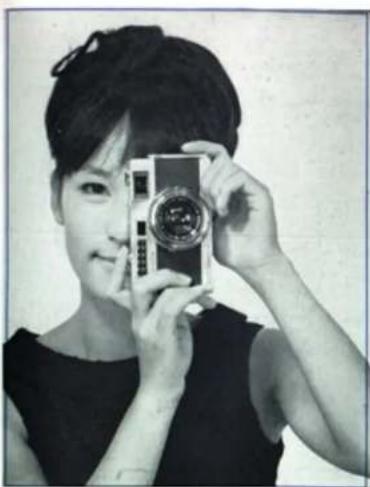
natural_image
Black-and-white photo of a person holding a vintage camera, no visible text or symbolsHow to hold the camera
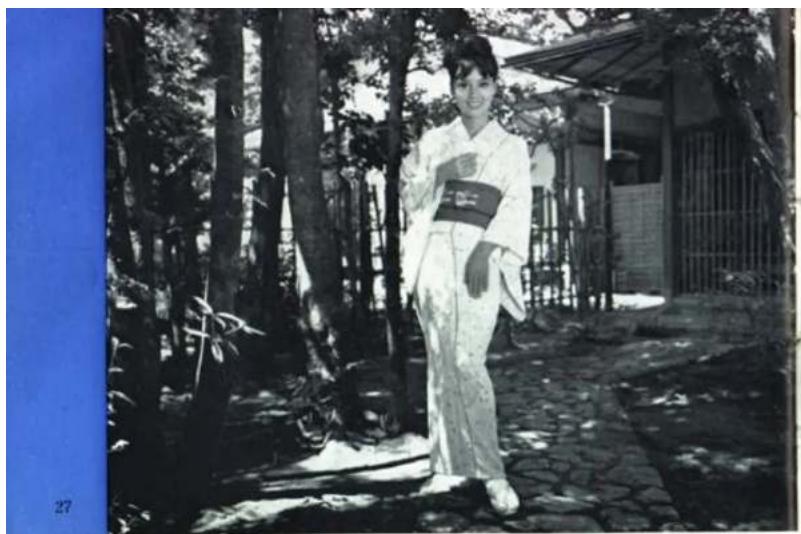
There are two basic ways to hold your camera while taking pictures; vertical and horizontal. Press the shutter release button gently, supporting the camera rigidly against your face so it does not move.
Note: If the number 36 or 20 appears in the film counter window and the film winding lever feels stiff, it means you have come to the end of the film. For-cible winding may cut the film or cause it to be pulled off the magazine, making rewinding impossible.
natural_image
Black-and-white photo of a person in traditional Japanese-style attire standing outdoors in a wooded area (no visible text or symbols)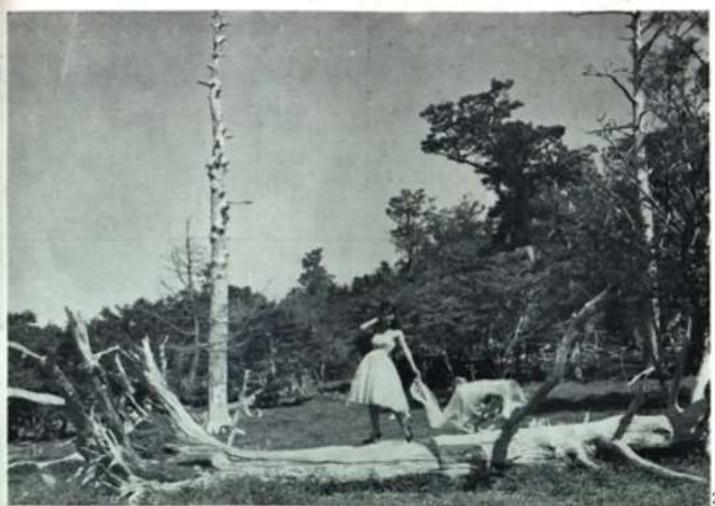
natural_image
Black-and-white photo of a person standing on a log surrounded by fallen trees and dense forest (no visible text or symbols)Unloading film
Before removing the magazine the exposed film must be rewound into the magazine.
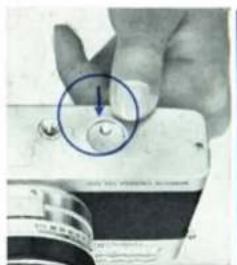
To do this, simply depress the rewinding button on the bottom of the camera. It is not necessary to keep the button depressed while rewinding - it will return to its regular position when winding the lever.
Lift the rewinding crank and turn it to the direction of the arrow. As the film comes off the spool, a slight resistance is felt. When you feel resistance, the rewinding is nearly done.
When all resistance is gone, open the camera back and take out the magazine.
natural_image
Close-up of a hand holding a small object with a blue circle highlighting a point, no visible text or symbols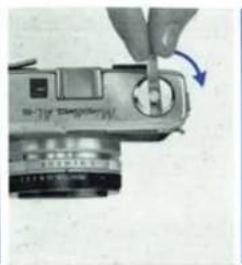
natural_image
Close-up of a hand using a camera to press or install a digital camera module (no visible text or symbols)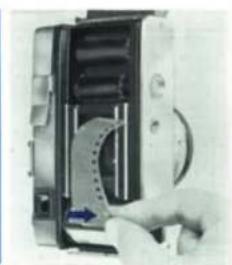
natural_image
Close-up of a hand pressing down on a mechanical component with a blue arrow indicating force (no visible text or symbols)
natural_image
Black-and-white photo of three people posing on a curved ship deck, no visible text or symbols
natural_image
Black-and-white photo of a woman holding a vintage camera, with a circular object above her (no visible text or symbols)Taking flash pictures
When taking pictures at night or indoors where light is dim, it is advisable to use a flash bulb or a speed-light (electronic flash).
Insert the plug of the flash gun's cord in the synchro-terminal. Set the MXV changing lever to the "X" for speed-light, and to the "M" for M bulbs.
For taking flash pictures, exposure is decided according to the guide number of the flash bulb or the speed-light.
This camera synchronizes with all speeds of both "M" and "X".
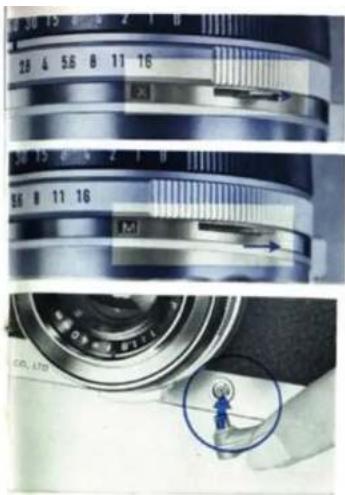
- When setting the MXV changing lever to the "X".
- When setting the MXV changing lever to the "M".
Setting exposure
- When using flash bulb or speed-light, read the corresponding guide number according to the film used and the shutter speed. (The guide numbers are given in the explanation for flash bulbs or speed-lights.)
- When the guide number is found, diaphragm or distance to the object is obtained by the following formula:
Diaphragm Guide number Distance to the object
Distance to the object = Guide number Diaphragm
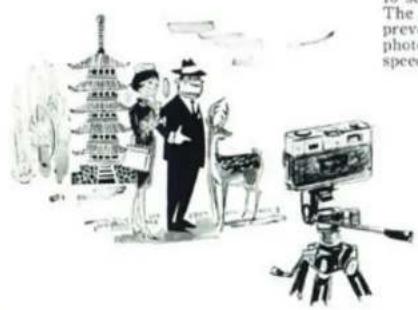
How to use the self-timer
If you want to take your own picture, use the self-timer.
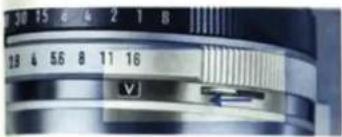
When the MXV changing lever is set to the V mark, the self-timer releases the shutter about after a 10 seconds delay.
The self-timer may also be used to prevent camera movement when photographing at a very slow shutter speed.
natural_image
Close-up of a camera lens with measurement markings (no readable text or symbols)- Move the MXV changing lever toward the direction of the arrow, and you will see the "V" appear. This sets the self-timer.
- After deciding the diaphragm and the shutter speed, push the shutter release button.
- The shutter will be released approximately 10 seconds later.
When the MXV changing lever is set to "V", the synchro contact point becomes "X". When you use a flash-hulb, set the shutter speed at 1/30 second.
natural_image
Two metallic ring-shaped objects with engraved markings, shown from different angles (no text or symbols visible)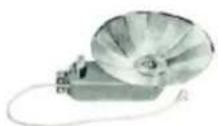
Accessories
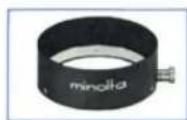
• Minolta Lens Hood
When taking flash pictures, it is recommended that you use a lens hood, thus preventing extraneous harmful light from entering the lens during exposure.
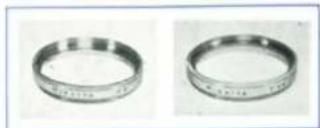
- Minolta Filters
UV This filter allows penetration of ultraviolet rays only, and is useful for taking pictures at the seashore and on high mountains. Since no needs on exposure multiple, it can be kept on the lens as a lens protector all the time. It also is convenient as a filter for taking color pictures.
Y-48 When using black and white film and taking pictures of the seashore or scenes with clouds in the background, this filter emphasizes white by reducing the blue tone.
- Minolta Flash Gun
The powerful Minolta De Luxe II Gun enables you to take photographs at any time and in any place.
natural_image
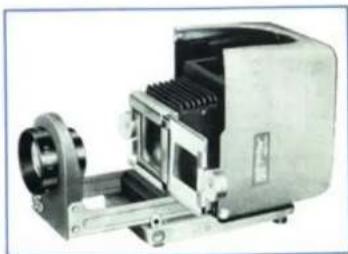
Group photo of five people seated at a table with a camera, no visible text or symbolsFor enjoying color pictures, we recommend the Minolta Mini 35 Slide Projector.
It projects slides on a large screen even in a small room and will give you many hours of enjoyment.
natural_image
Exterior view of a mechanical device with cooling fan and housing (no visible text or symbols)Other cameras by Minolta
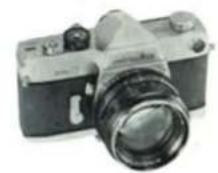
MINOLTA SR-7 — World's first still camera with built-in CdS light meter. Brilliant pentaprism viewfinder, automatic pre-set diaphragm, instant return mirror and many other professional features. Rokkor lens F1.4/58 mm (or F1.8/55 mm), speeds 1 to 1/1000.
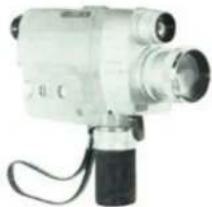
MINOLTA AUTO ZOOM 8—You sight and shoot. A powerful CdS light meter automatically calculates correct exposure for you. Power zooming from wide angle to tight telephoto, pan or zoom from dark shadows to bright light. Rokkor lens F1,4/8,5—34 mm, speeds 12, 16, 24 FPS, and single frame.
natural_image
Exterior view of a modern office building (no signage)
natural_image
Solid blue surface with a few small white marks, no text or symbols visible- Minolta
- Minoltina AL-S
- Contents
- Specification
- How to load film
- Shutter speed and diaphragm
- Shutter
- Diaphragm
- How to decide exposure
- Depth of Field
- How to focus
- When out of focus
- When in focus
- How to hold the camera
- Unloading film
- Taking flash pictures
- Setting exposure
- How to use the self-timer
- Accessories
- Other cameras by Minolta
Marke : KONICA MINOLTA
Modell : AL-S
Kategorie : Nicht kategorisiert