GT-60D - Nicht kategorisiert GVM - Kostenlose Bedienungsanleitung
Finden Sie kostenlos die Bedienungsanleitung des Geräts GT-60D GVM als PDF.


Benutzerfragen zu GT-60D GVM
0 Frage zu diesem Gerät. Beantworten Sie die, die Sie kennen, oder stellen Sie Ihre eigene.
Eine neue Frage zu diesem Gerät stellen
Laden Sie die Anleitung für Ihr Nicht kategorisiert kostenlos im PDF-Format! Finden Sie Ihr Handbuch GT-60D - GVM und nehmen Sie Ihr elektronisches Gerät wieder in die Hand. Auf dieser Seite sind alle Dokumente veröffentlicht, die für die Verwendung Ihres Geräts notwendig sind. GT-60D von der Marke GVM.
BEDIENUNGSANLEITUNG GT-60D GVM

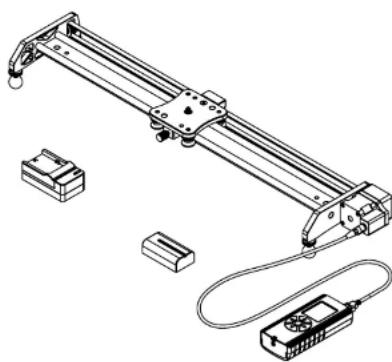
Packing list
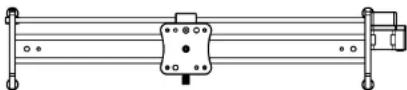

Remote controller*1

Battery*1

battery charger*

Remote cable*1
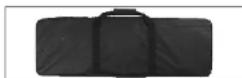
Carry bag*1

Mounting the camera on the slider
- Please charge the battery before use the product.
- Please install the battery on the controller as shown in the picture. (As shown below)
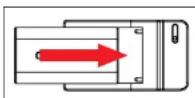
Schematic diagram of charge the battery
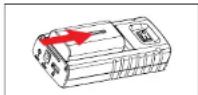
Schematic diagram of mount the battery
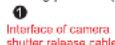
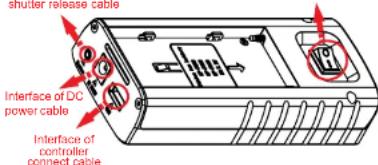
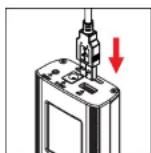
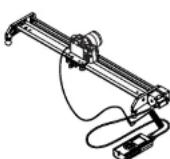
- Connect the controller and slider as shown in the following pictures. (As shown below)
text_image
shutter release cable Interface of DC power cable Interface of controller connect cable1
②
③
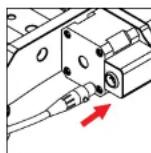
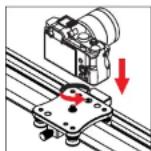
- Mounting the camera on the slider. (As shown below)
1
②
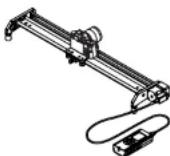
5 Time-Lapse photography connect method :
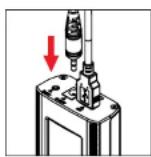
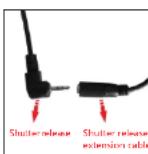
1) After finished above steps, take out the shutter release cable and extension cable. (The cables need to be purchased separately)
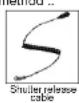
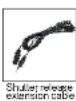
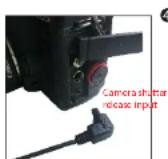
2) Insert the cable into the controller's shutter release cable interface (use the extension cable if needed). Connect the other side to the camera shutter release cable interface. (As following pictures show)
1
②
③
4
2

Settings Menu
- Turn off power to reset the remote control.
2. Settings Menu
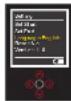
1/ Set the Language:
- Press the up or down arrow and highlight the Language menu option (P1).
- Press the right or left arrow button to change language between English and
Chinese. Long press the middle button to save your settings.
PI
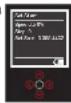
2/ Set the start point:
- Press the up or down arrow and highlight the Settings menu option (P2).
- Press the middle button.
- Highlight the Set Start option and press the middle button (P3)
- Press the right or left arrow button to move the slider. Press the middle button to stop the motion.
- Press the middle button a second time to select the start point (P4)
- Long press the middle button to save the start point.


P4
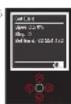
3/ Set the end point:
- Highlight the Set End option and press the middle button (P5)
- Press the right or left arrow button to
move the slider. Press the middle button to stop the motion. - Press the middle button a second time to select the end point (P6)
- Long press the middle button to save the end point.
P5

P6
14
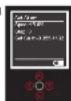
5/ Reset:
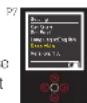
- Highlight the Resel option(P7).
- Press the right r left arrow button to choose "Yes" or "No". Press the middle button to reset the remote control or go back setting menu.
- Long press the middle button to save the setting.
3. Time lapse menu
1/ Set the start point:
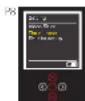
- Press the up or down arrow and highlight the Time Lapse menu option (P8).
- Press the middle button.
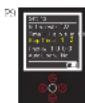
- Highlight the parameter you want to change and adjust its value by pressing the right or left arrow button (P9).
- Press the middle button when complete.
- Press the right or left arrow button to begin lime lapse shooting.
- Press the middle button to pause any motion.
- "Interval" means the slider moving time, the time unit is "seconds".
- "Time-lapse" means the camera shuller shot time after stop moving, the time unit is "seconds".
- "Slop lime" means the lime interval between the slider's two movements, the time unit is "seconds".
- The minimum Interval time is 0.1 second, the minimum Time-lapse time is 0.1 second, the minimum stop time is 1 second. Note: the Stop Time needs longer than the Time-lapse time at least 0.2 seconds.
4. Video shot menu
1/ Manual Mode:
-
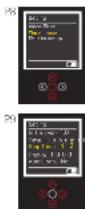
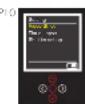
Press the up or down arrow and highlight the Video Shot menu option (P10) and then press the middle button.
-
Highlight Manual Mode and then press the middle button(P11)
- Press the left or right arrow button to begin motion (P12).
- You can adjust the speed at any time by pressing the Up or Down arrow buttons.


5. Auto Mode
Auto Mode has two options: Auto Loop and Auto Stop. To use either one, you first must set the start and end points as described in the Settings section.
- Press the up or down arrow and highlight the Video Shot menu option. Then press the middle button.
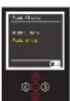
- Press the up or down arrow buttons and highlight the Auto Mode menu option (P13).
1/ Auto Loop will provide motion between the start and end points indefinitely.
- Highlight the Auto Loop button and then press the middle button (P14).
- Press the right or left arrow to start motion.
- Press the middle button to pause the motion.
2/ Auto Stop will provide motion between the start and end points one time.
- Highlight the Auto Stop button and then press the middle button (P15).
- Press the right or left arrow to start motion.
- Press the middle button to pause the motion.


TROUBLE SHOOTING
- Use a standard Sony NP-F550/F570/F770/F9XX series battery.
- Monitor the battery power level shown on the bottom of the remote controller.
- Make sure all cables are firmly inserted into all devices.
- If the slider is not horizontal, make sure to lock the center brake before turning off the power or disconnecting the cable. Under normal operations, the motor acts as a break and any loss of power will permit the camera base to quickly fall to its lowest point potentially damaging your camera or slider.
GVM
Great Video Maker
natural_image
Technical line drawing of a mechanical linkage system with attached components (no text or symbols)GT - 60D
MOTORIZED SLIDER