2D - Nicht kategorisiert GVM - Kostenlose Bedienungsanleitung
Finden Sie kostenlos die Bedienungsanleitung des Geräts 2D GVM als PDF.


Benutzerfragen zu 2D GVM
0 Frage zu diesem Gerät. Beantworten Sie die, die Sie kennen, oder stellen Sie Ihre eigene.
Eine neue Frage zu diesem Gerät stellen
Laden Sie die Anleitung für Ihr Nicht kategorisiert kostenlos im PDF-Format! Finden Sie Ihr Handbuch 2D - GVM und nehmen Sie Ihr elektronisches Gerät wieder in die Hand. Auf dieser Seite sind alle Dokumente veröffentlicht, die für die Verwendung Ihres Geräts notwendig sind. 2D von der Marke GVM.
BEDIENUNGSANLEITUNG 2D GVM

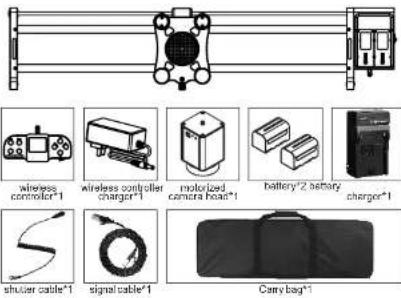
Packing list
text_image
wireless controller*1 wireless controller charger*1 motorized camera head*1 battery*2 battery charger*1 shutter cable*1 signal cable*1 Carry bag*1
Mounting the slider and camera
1. Please charge the wireless controller and battery before using this product.
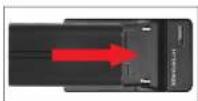
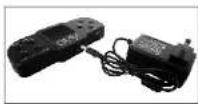
sketch of charge the wireless controllerskatch of charge the battery
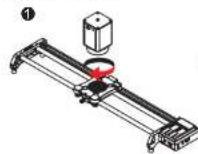
2. Please install and use this product as shown in the picture.
1) Mounting the motorized camera head on the slider. (As shown below)
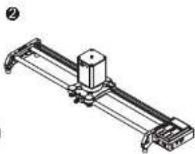
1
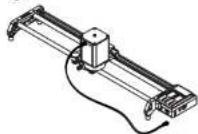
2) Use the signal cable to connect the motorized camera head and slider. (As shown below)
1
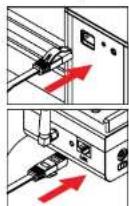
②
3) Mounting the camera on the slider. (As shown below)
1
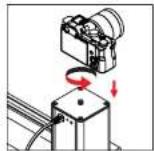
②
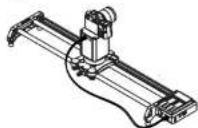
4) Use the shutter cable to connect the motorized camera head and camera. (As shown below)
1
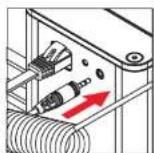
②
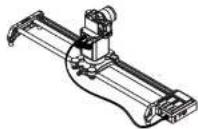
5) Install the battery on the slider and check the signal cable or shutter cable connecting correctly or not. (As shown below)
①
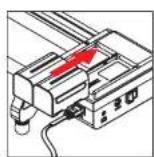
②
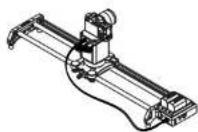
2

Slider motion
1. Tum on the slider and wireless controller. (The slider's LED indicator light open and blinking, the controller's screen open as shown below)
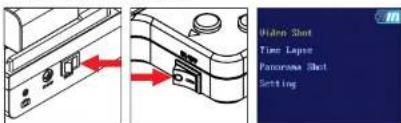
text_image
Video Shot Time Lapse Panorama Shot Setting- Bluetooth wireless connection: press 'Setting'-'Bluetooth Setting'-'Searching Device'-choose the device code which start with letter D-press'OK' button to confirm the device(The upper right of the screen will show -X-> the connecting is successful)
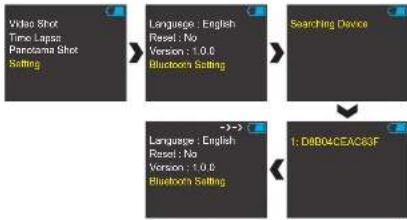
flowchart
graph TD
    A["Video Shot\nTime Laps\nPanorama Shot\nSetting"] --> B["Language: English\nReset: No\nVersion: 1.0.0\nBluetooth Setting"]
    B --> C["Searching Device"]
    C --> D["Language: English\nReset: No\nVersion: 1.0.0\nBluetooth Setting"]
    D --> E["1: D8004CEAC83F"]
- Manual operation mode: "Video Shot"-Manual Mode" (Press the button of the controller and the orbit will act accordingly)-choose the 'speed' menu can adjust the current speed.
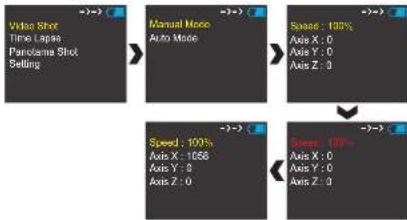
flowchart
graph TD
    A["Video Shot"] --> B["Manual Mode"]
    B --> C["Speed: 100%"]
    C --> D["Speed: 100%"]
    D --> E["Speed: 100%"]
3
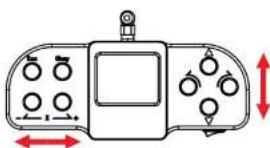
natural_image
Line drawing of a handheld device with control panel and directional arrows (no text or symbols)- Auto operation mode:
① Setting the append point:
A: "Video Shot"-Auto Mode"-Set key"-Append Point A" (Move the camera to the start point you need)-"Save:Yes" (As shown below)
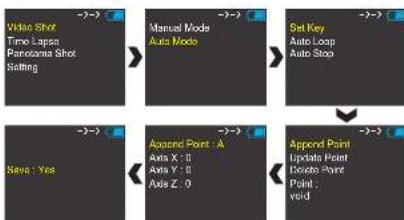
flowchart
graph TD
    A["Video Shot"] --> B["Manual Mode"]
    B --> C["Set Key"]
    C --> D["Auto Loop"]
    D --> E["Auto Stop"]
    E --> F["Append Point"]
    F --> G["Update Point"]
    G --> H["Point, void"]
    I["Save: Yes"] --> J["Acuped Point -A"]
    J --> K["Axis X : 0"]
    J --> L["Axis Y : 0"]
    J --> M["Axis Z : 0"]
B: "Video Shot"-Auto Mode"-Set key"-Append Point B" (Move the camera to the end point you need)-"Save:Yes" (As shown below)
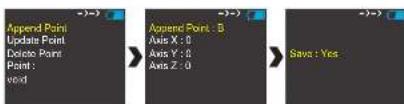
text_image
Append Point Update Point Delete Point Point: void Append Point : B Axis X : 0 Axis Y : 0 Axis Z : 0 Save : Yes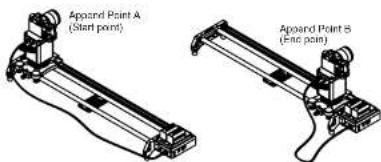
text_image
Apoard Point A (Start point) Apoard Point B (End point)4
② Auto Loop mode
"Video Shot"-Auto Mode"-Auto Loop"-adjust the "Speed"-setting the start point-setting the end point-setting the "Loop Count"-Execution"(As shown below)

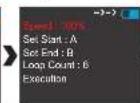
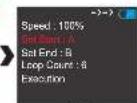
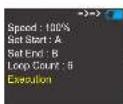
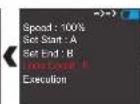

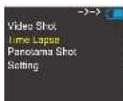
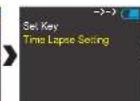
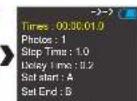
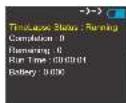
5. Time Lapse: "Time Lapse Setting" - setting the "Times", "Photos", "Stop Time", "Delay Time", Set start and "set End" - "Execution"(As shown below)

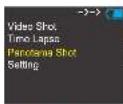
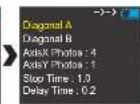
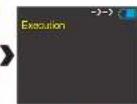
6. panorama shot: Setting the "Diagonal A" and "Diagonal B" - Setting the "Axis X photos"(As shown below), then press "Execution"
Diagonal A

natural_image
Panoramic cityscape with a lake, distant buildings, and boats under a clear sky (no visible text or symbols)5

Great Video Maker
natural_image
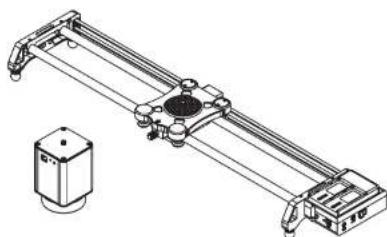
Technical line drawing of a mechanical device with a small inset showing a cylindrical component (no text or symbols)GVM-2D
MOTORIZED SLIDER