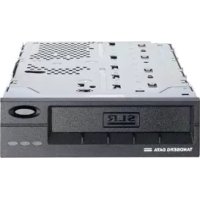
8781-RDX - Externe Festplatte Tandberg Data - Kostenlose Bedienungsanleitung
Finden Sie kostenlos die Bedienungsanleitung des Geräts 8781-RDX Tandberg Data als PDF.


Benutzerfragen zu 8781-RDX Tandberg Data
0 Frage zu diesem Gerät. Beantworten Sie die, die Sie kennen, oder stellen Sie Ihre eigene.
Eine neue Frage zu diesem Gerät stellen
Laden Sie die Anleitung für Ihr Externe Festplatte kostenlos im PDF-Format! Finden Sie Ihr Handbuch 8781-RDX - Tandberg Data und nehmen Sie Ihr elektronisches Gerät wieder in die Hand. Auf dieser Seite sind alle Dokumente veröffentlicht, die für die Verwendung Ihres Geräts notwendig sind. 8781-RDX von der Marke Tandberg Data.
BEDIENUNGSANLEITUNG 8781-RDX Tandberg Data
text_image
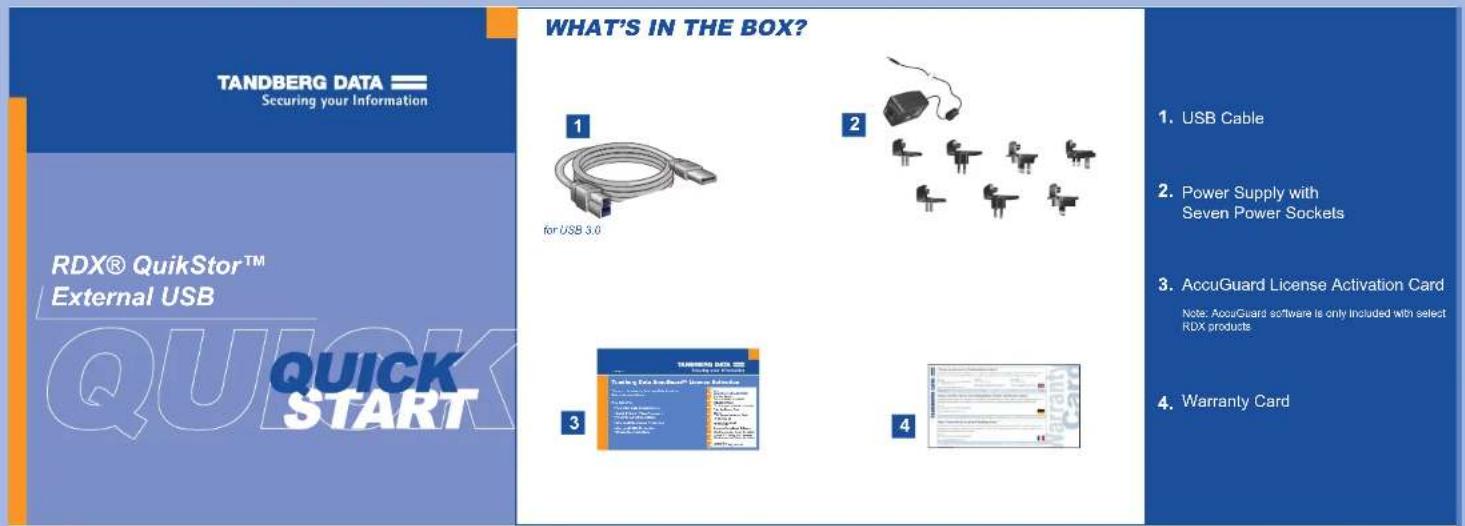
TANDBERG DATA Securing your Information RDX® QuikStor™ External USB QUICK START WHAT'S IN THE BOX? 1. for USB 3.0 2. 3. 4. 1. USB Cable 2. Power Supply with Seven Power Sockets 3. AccuGuard License Activation Card Note: AccuGuard software is only included with select RDX products 4. Warranty Card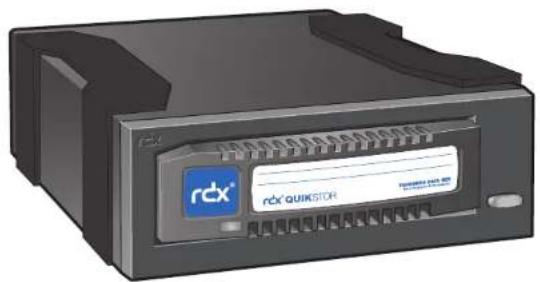
natural_image
Exterior view of a black electronic device labeled 'rx' with 'quikstor' branding (no additional text or symbols visible)Power Ratings
The following power ratings represent typical-use performance.
USB 3.0 DC Input Voltage and Rated Input Current 12VDC/0.5A
For More Information
Visit the Support section of the Tandberg Data web site (www.tandbergdata.com) for more information, including product warranty and registration, knowledge base articles, user documentation, and technical support.
START HERE
TANDBERG DATA
Securing your Information
1 Install RDX Utility
Note: The RDX Utility installs only on Windows.
• Go to www.Tandbergdata.com.
- Chose „Support“ from the main menu.
- Click on „Drivers and Downloads“ at the right hand side of the page.
- Click the „Go“-Button near RDX QuikStor.
- Choose „RDX_Utility.zip“.
- Click on ,Download RDX Utility".
- Register and download the RDX Utility.
- Unpack the zip-file, start „setup.exe“ and follow the installation instructions.
- Download and install the latest Firmware
2 Connect Data and Power Cables

- Connect the USB cable to the RDX drive and to the host computer.
- Attach the power socket that is appropriate for your region to the power supply.
- Connect the power cable to the drive, and plug it into a power outlet.
3 Load RDX Cartridge
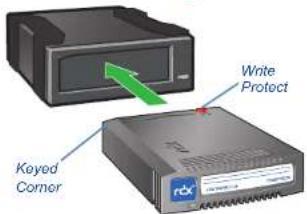
text_image
Write Protect Keyed Corner4 Install AccuGuard Server for RDX
Tandberg Data AccuGuard backup and recovery software is only included with select RDX products. If your product includes an AccuGuard licence activation card, follow the instructions on the card to download and install the software.
Note: AccuGuard installs only on Windows operating systems.
- Follow the steps on your AccuGuard License Activation card to download the software.
- Run the AccuGuard Server for RDX.exe file.
- At the final screen of the setup wizard, be sure the checkbox "Run AccuGuard Server for RDX now" is selected. Click [Finish]
- Click "Add a License Key." Enter the license key that you received via email in the above download process.
- Click [Yes]to activate the software license, then click [OK] The AccuGuard Home screen opens.
5 Create a Data Protection Plan

- From the Home screen, select "Add a Protection Plan" in the upper-right area of the screen.
The Create a Protection Plan interface opens. - Complete the tasks in order, beginning with the Start tab and ending with the Schedule tab.
Refer to the AccuGuard Server RDX User Guide (available at www.tandbergdata.com) for detailed information about Protection Plan tab tasks.
RDX QuikStor Features

text_image
Emergency Eject Hole Activity LED Eject Button/ Power LEDEject Button/Power LED
The following table describes the Power LED's function:
LED Status Meaning Description
| Off No Power Unit does not have power. | ||
| On Green Ready Power is On and the unit is working properly. | ||
| Blinking Green | Ejecting Unit is rejecting the cartridge. | |
| On Amber | Fault | Unit has detected a fault condition. For more information, run a diagnostic application. |
| Blinking Amber | Prevent | Host computer is accessing the media and the user has pressed the Eject Button. The unit will eject the cartridge after the Host access completes. |
Activity LED
The following table describes the Activity LED's function:
LED Status Meaning Description
| On Green Ready Cartridge is ready. | |
| BlinkingGreen | Activity Reading, writing, seeking. |
| On Amber Fault Unit has detected a cartridge fault condition. For more information, run a diagnostic application. | |