UT-3AR - Stativ Velbon - Kostenlose Bedienungsanleitung
Finden Sie kostenlos die Bedienungsanleitung des Geräts UT-3AR Velbon als PDF.


Benutzerfragen zu UT-3AR Velbon
0 Frage zu diesem Gerät. Beantworten Sie die, die Sie kennen, oder stellen Sie Ihre eigene.
Eine neue Frage zu diesem Gerät stellen
Laden Sie die Anleitung für Ihr Stativ kostenlos im PDF-Format! Finden Sie Ihr Handbuch UT-3AR - Velbon und nehmen Sie Ihr elektronisches Gerät wieder in die Hand. Auf dieser Seite sind alle Dokumente veröffentlicht, die für die Verwendung Ihres Geräts notwendig sind. UT-3AR von der Marke Velbon.
BEDIENUNGSANLEITUNG UT-3AR Velbon
Manual Velbon UT-3AR
natural_image
Close-up of a hand adjusting a black device with a red arrow indicating rotation (no text or symbols visible)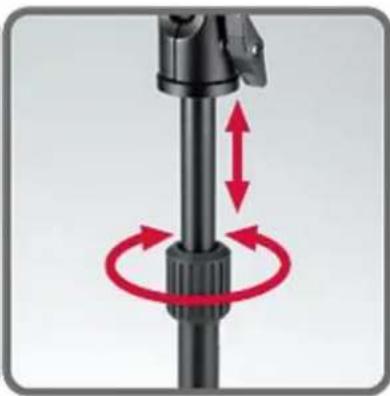
natural_image
Close-up of a black mechanical component with red directional arrows indicating rotational motion (no text or symbols)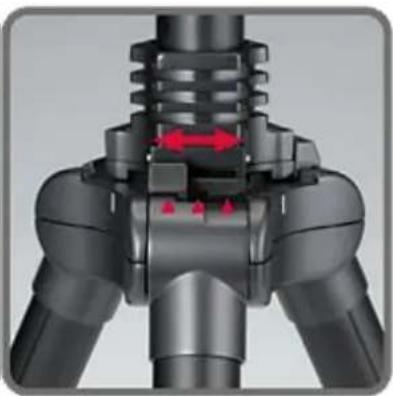
natural_image
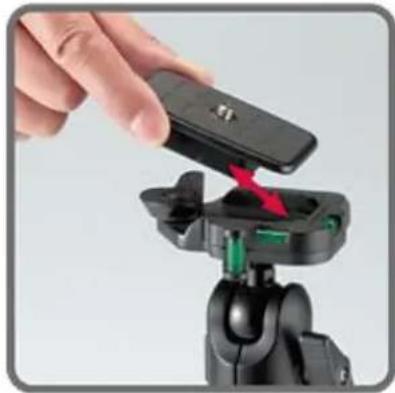
Mechanical component diagram showing a spring-loaded assembly with red directional arrows indicating movement or force (no text or symbols present)Quick release plate slides in and is locked automatically by shoe lever.
Shoe lever can be further rotated for extra-sure locking.
Rotate center column nut right or left to adjust height with desired extension. Twisting the nut further for extra-sure locking.
Pull up the central leg adjuster to change the leg- locking position.
Twist it right to make legs non-reversible. This allows leg angle to be changed to semi-low and full-low position for macro photography.
natural_image
Close-up of a black mechanical tripod with a red arrow pointing to the base (no text or symbols visible)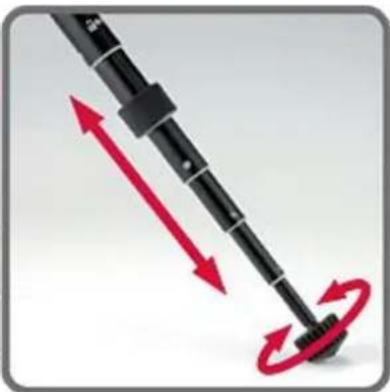
natural_image
Close-up of a black mechanical component with red directional arrows indicating motion or force (no text or symbols)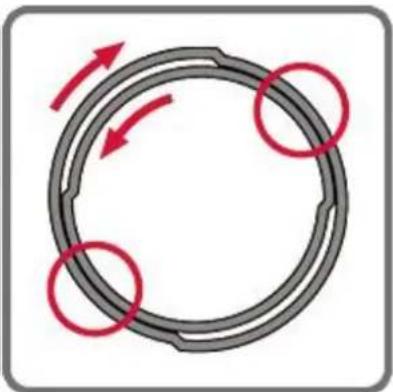
natural_image
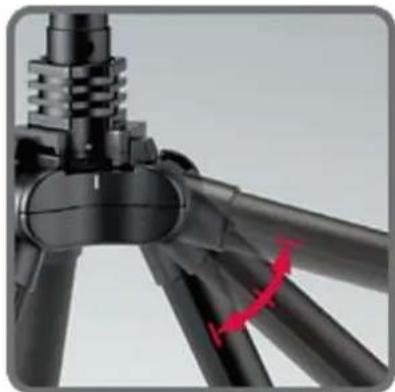
Circular mechanical component with red arrows indicating rotational motion, no text or symbols presentLeg angles can be opened from standard 25^ to 45^ and then to 75^ step by step on each leg. Leg angle positioned can be cancelled by pushing to right.
By twisting the leg end tip in the anti-clockwise direction, all leg sections are loosened and can be collapsed.
Twisting leg end tip in the clockwise direction locks all leg sections with one action. Make sure all legs are locked tightly before mounting the camera.
Make sure all legs are locked tightly before mounting the camera.
*Caution: Take care when gripping Rubber Foot to avoid staining hands with mud etc. Avoid pinching fingers or hands between Rubber Foot and legs.