
Travel EC - Akustischer Alarm IROX - Kostenlose Bedienungsanleitung
Finden Sie kostenlos die Bedienungsanleitung des Geräts Travel EC IROX als PDF.


Benutzerfragen zu Travel EC IROX
0 Frage zu diesem Gerät. Beantworten Sie die, die Sie kennen, oder stellen Sie Ihre eigene.
Eine neue Frage zu diesem Gerät stellen
Laden Sie die Anleitung für Ihr Akustischer Alarm kostenlos im PDF-Format! Finden Sie Ihr Handbuch Travel EC - IROX und nehmen Sie Ihr elektronisches Gerät wieder in die Hand. Auf dieser Seite sind alle Dokumente veröffentlicht, die für die Verwendung Ihres Geräts notwendig sind. Travel EC von der Marke IROX.
BEDIENUNGSANLEITUNG Travel EC IROX

RADIO CONTROLLED
CLOCK
WITH INDOOR
THERMOMETER
TRAVEL-EC
INSTRUCTION MANUAL
text_image
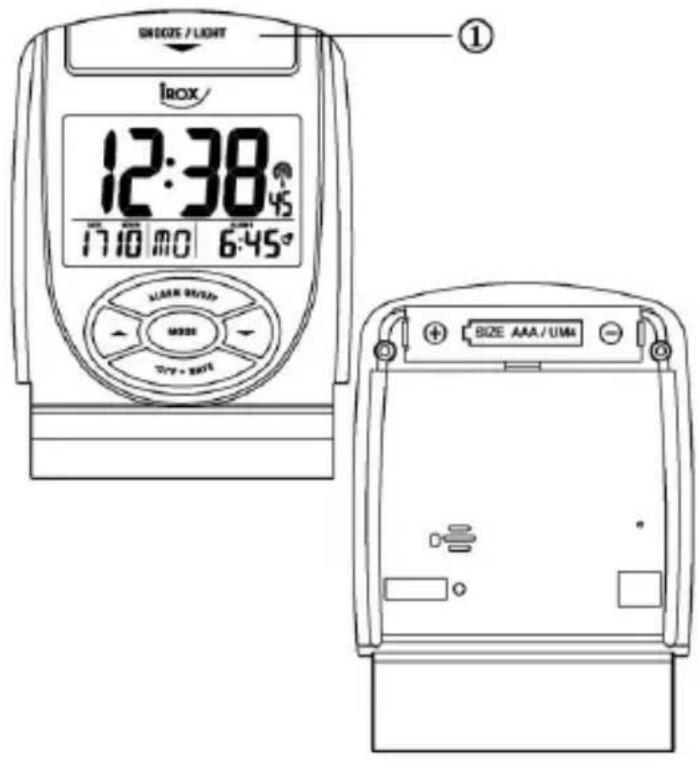
SNOOZS / LIGHT IROX 12:38 45 17:10 MO 6:45° LIMEI 25/25 MODE TYPE + MODE SIZE AAA / UMI ①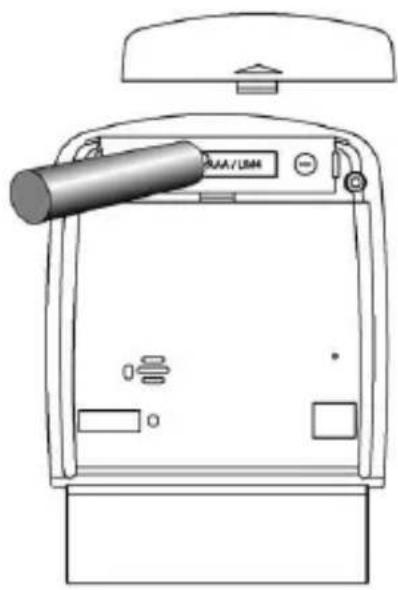
natural_image
Line drawing of a medical device with a cylindrical rod inserted, no text or symbols presentInstallation:
Install 1 battery AA 1,5 V (incl.) strictly according to the polarities shown.
| INDICATOR | STANDING FOR | INDICATOR | STANDING FOR |
| RADIO SIGNAL | ? | RADIO SIGNAL WEAKLY | |
| D | DATE | 2° | REPEAT ALARM INDICATION |
| M | FOREIGN TIME INDICATION | M | MONTH |
| PM | PM (12 HR DISPLAY ONLY) | B | SUMMER TIME INDICATION |
| AM | AM (12 HR DISPLAY ONLY) | °C | DEGREE CELSIUS |
| O | ALARM 1 | F | DEGREE FAHRENHEIT |
| G | ALARM 2 | DUAL TIME | DUAL TIME |
* After the batteries are installed, the LCD will turn on and beep for 2 seconds. The clock will automatically search the radio signal. It takes about 3-5 minutes to finish this process.
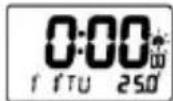
* If the radio signal is received, the date & time will be set automatically with radio control signal icon [↑] turns on.
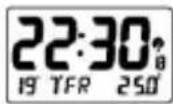
* If the clock fails to receive the time signal, it will be in Time/Temperature display with the [↑] icon turns off. Then user can set the time manually.
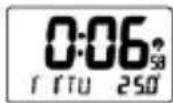
* Radio-controlled signal will be scheduled to receive every hour.
Selecting Temperature/Alarm 1/Alarm 2/Dual time Display
* Press MODE will display the Alarm 1 time:
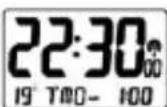
* Press MODE again will display the Alarm 2 time:
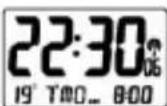
* Press MODE again will display the Dual Time:
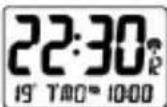
* Press MODE again will display the Temperature:
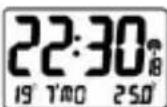
Manual Time Setting
The system date and time can be set by pressing MODE for 3 seconds in Time/Temperature display with the [♠] icon turn off.
Setting the Time
*Press MODE: the hour digits are blinking and can be set by pressing ▲ or ▼ key.
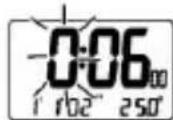
*Press MODE again: the minute digits are blinking and can be set by pressing ▲ or ▼ key.
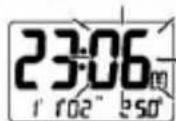
*Press MODE again: the year digits are blinking and can be set by pressing ▲ or ▼ key.
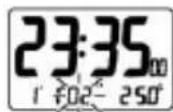
*Press MODE again: the month digits are blinking and can be set by pressing ▲ or ▼ key.
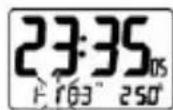
*Press MODE again: the date digits is blinking and can be set by pressing ▲ or ▼ key.
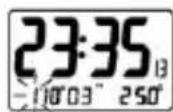
*Press MODE one last time: the normal time display appears.
Select 12 hour or 24 hour display format
* Press ▲ will toggle the display format between 12 hour and 24 hour.
N.B.:1. If no key is pressed within 30 seconds, it will exit the Manual Time Setting Mode and go back to Time / Temperature Display without the data update.
- During any setting mode, press and hold ▲ or ▼ key for 2 seconds for fast setting.
Calendar
To change the weekday display from one language to another language, press ▼ key for 3 seconds - the display will show the current language (GER for German display, ENG for English display).
①"EN" for English → ② "GE" for German → ③*FR" for French → ④ *IT" for Italian → ⑤ "SP" for Spanish.
Press & Hold ▼ key for 2 seconds will toggle to the other languages.
Setting the Alarm time
ALARM 1 setting
-In the ALARM 1 Display,
* Press MODE for about 3 seconds: the hour digits are blinking and can be set by pressing ▲ or ▼ key.
* Press MODE again: the minute digits are blinking and can be set by pressing ▲ or ▼ key.
* Press MODE again, the Alarm time is set and [ ] icon will turn on.
ALARM 2 setting
-In the ALARM2 Display,
*Press MODE for about 3 seconds: the hour digits are blinking and can set by pressing ▲ or ▼ key.
* Press MODE again: the minute digits are blinking and can be set by pressing ▲ or ▼ key.
*Press MODE again, the Alarm time is set and [ ] icon will turn on.
Enable Alarm 1/Alarm 2:
*Press ALARM ON/OFF will enable ALARM 1 with [ ] icon turns on.
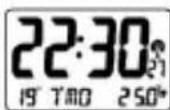
*Press ALARM ON/OFF again will enable ALARM 2 with [icon turns on.
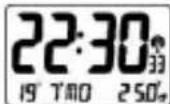
*Press ALARM ON/OFF again will enable both ALARM 1 and ALARM 2 with [ ] and [ ] icons to turn on.
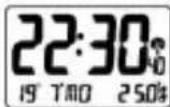
*Press ALARM ON/OFF again will disable both ALARM 1 and ALARM 2 with [ ] and [ ] icons to turn off.
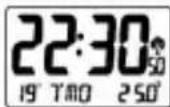
Activating the Alarm
When the ALARM 1/ALARM 2 is ringing, the relative alarm icon [ ] / [ ] will be flashing.
* Press ALARM ON/OFF key to turn the alarm off.
* Press [SNOOZE / LIGHT] - alarm stops and the backlight will turn on for 5 seconds with deleted, the repeat alarm indicator (z) flashing. The alarm sounds again after 4 minutes.
* If the alarm is not turned off, it will stop automatically after 4 minutes.
Foreign Time Display & setting
* Press and hold ▲ key for 3 seconds, the icon "F" will turn on.
* Press and hold MODE for 3 seconds in Foreign Time / Temperature display.
The Foreign time can be set as described above by pressing ▲ or ▼ key.
* Press MODE key again to confirm the setting of foreign time.
* Press and hold ▲ key for 3 seconds to choose between local and foreign time display.
Setting the Dual Time
* The dual time can be set by pressing MODE for 3 seconds in Dual Time Display. The hour will flash for input.
* Press MODE: the hour of dual time display digits are blinking and can be set by pressing ▲ or ▼ key.
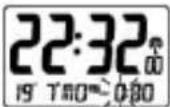
*Press MODE again
: the minute of dual time display digits are blinking and can be set by pressing ▲ or ▼ key.
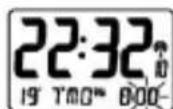
*Press MODE again to confirm the setting.
Light ON / OFF
*Press top button [SNOOZE / LIGHT] key - light will come on and turn off automatically after 5 seconds.
Temperature function
Press [°C/°F·WAVE] to select the temperature display between Celsius or Fahrenheit.
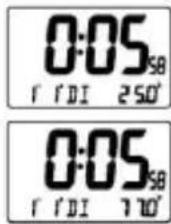
Receiving the DCF77 Time CODE
The clock will automatically receive the DCF77 time code every hour.
Besides, you can force the clock to receive the signal by pressing [°C/°F·WAVE] for 3 seconds. It will take 3-5 minutes to receive the radio signal. It the time signal is received, the [T] icon will be on otherwise it will be off.
Specifications
Indoor Temperature measurement
Proposed operating range
Temperature resolution
Temperature sensing cycle
Power
Weight
Dimension
: 0°C to +50.0°C
(32.0°F to 122.0°F)
:0.1°C
(0.2°F)
: approx. 1 minute
: use 1 pc UM-3
"AA" 1.5V batteries
:164g
:87×64×22mm
Precautions
This product is engineered to give you years of satisfactory service if you handle it carefully. Here a few precautions:
-
Do not immerse the unit in water
-
Do not clean the unit with abrasive or corrosive materials. They may scratch the plastic parts and corrode the electronic circuit.
-
Do not subject the unit to excessive force, shock, dust, temperature or humidity, which may result in malfunction, shorter electronic life span, damaged battery and distorted parts.
-
Do not tamper with the unit's internal components. Doing so will invalidate the warranty on the unit and may cause unnecessary damage. The unit contains no user-serviceable parts.
-
Only use fresh batteries as specified in the user's manual. Do not mix new and old batteries as the old ones may leak.
-
Always read the user's manual thoroughly before operating the unit

Attention! Please dispose of used batteries in an ecologically safe manner.