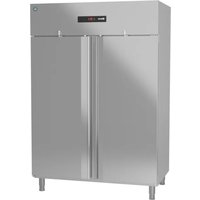
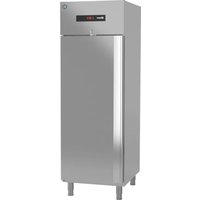
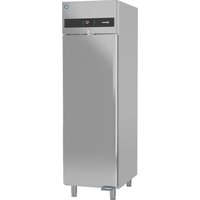
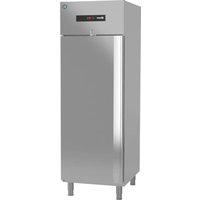
Commercial HS-5172 - Kylskåp Hoshizaki - Gratis bruksanvisning och manual
Hitta enhetens manual gratis Commercial HS-5172 Hoshizaki i PDF-format.

Användarfrågor om Commercial HS-5172 Hoshizaki
0 fråga om denna apparat. Svara på dem du kan eller ställ din egen.
Ställ en ny fråga om denna apparat
Ladda ner instruktionerna för din Kylskåp i PDF-format gratis! Hitta din manual Commercial HS-5172 - Hoshizaki och ta tillbaka ditt elektroniska enhet i hand. På denna sida publiceras alla dokument som behövs för att använda din enhet. Commercial HS-5172 av märket Hoshizaki.
BRUKSANVISNING Commercial HS-5172 Hoshizaki
Commercial Undercounter, Worktop, and Prep Table Overshelf Kit
HS-5163, HS-5164, HS-5165, HS-5166, HS-5172, HS-5173, HS-5174, HS-5175, HS-5236, HS-5237
For Use with Hoshizaki Commercial Series Undercounter/Worktop/Prep Table Models
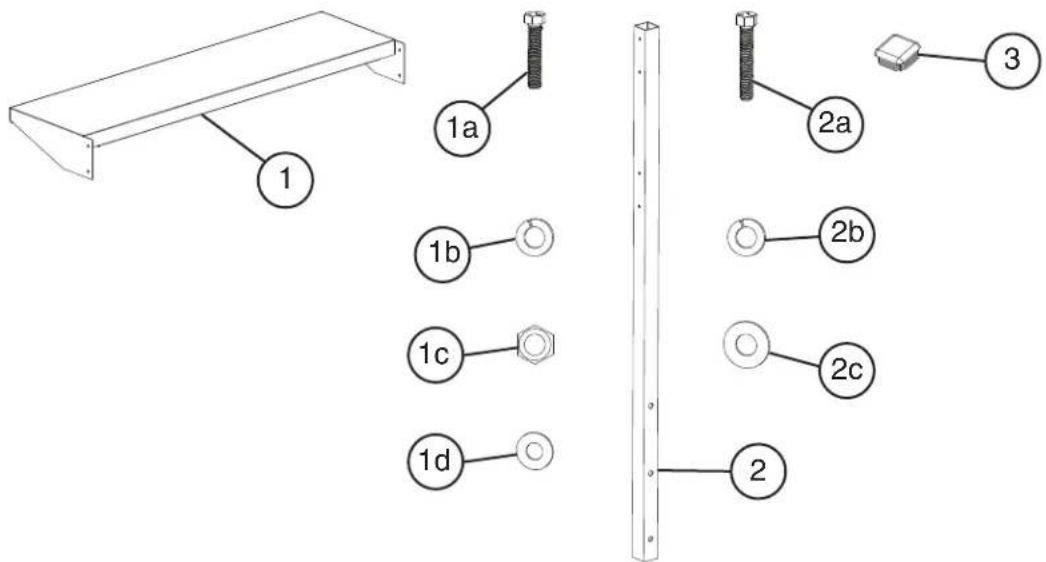
Check to ensure that all parts are included:
| IndexNo. | Description Part Number | Single ShelfHS Kit Qty | Double ShelfHS Kit Qty | |||
| 1 Overshelf 2A7365-01 HS-517 | 72 (27) | 5236 (36) | HS-5163 (27) | 2 | ||
| 2A7365-07 | HS-5237 (36) HS- | |||||
| 2A7365-02 | HS-5173 (48) HS-5 | 164 (48) | ||||
| 2A7365-03 | HS-5174 (60) HS-5 | 165 (60) | ||||
| 2A7365-04 | HS-5175 (72) HS-5 | 166 (72) | ||||
| 1a Hex Head Bolt - (6x50 mm) | 7B02-0650 | All | 4 | All | 8 | |
| 1b | Lock Washer | 7L22-0600 | 4 | 8 | ||
| 1c | Hex Nut | 7N12-0600 | 4 | 8 | ||
| 1d | Flat Washer | 7W22-0600 | 4 | 8 | ||
| 2 | Square Tube | 4A5733-01 | 2 | 2 | ||
| 2a | Hex Head Bolt - (6x60 mm) | 7B02-0660 | 6 | 6 | ||
| 2b | Lock Washer | 7L22-0600 | 6 | 6 | ||
| 2c | Flat Washer | 4A0198-03 | 18 | 18 | ||
| 3 | Square Tube Cap | 4A5862-01 | 2 | 2 | ||
WARNING
- This appliance should be repaired only by qualified service personnel to reduce the risk of death, electric shock, serious injury, or fire.
- No installation or service should be undertaken until the technician has thoroughly read these instructions. Failure to install this kit in accordance with these instructions will adversely affect safety, performance, component life, and warranty coverage.
• To reduce the risk of electric shock, do not touch the plug with damp hands. Unplug the appliance before servicing.
• Maximum load per shelf:
| Total Maximum Weight Per Shelf | ||||
| 27 | 36 | 48 | 60 | 72 |
| 75 lb. (34 kg) | 97 lb (44 kg) | 130 lb. (58 kg) | 165 lb. (74 kg) | 200 lb. (90 kg) |
- Use care when stacking product on the shelves to prevent items from falling.
- Do not climb, stand, or hang on the appliance, drawers, or shelves. Death or serious injury could occur or the appliance could be damaged.
Installation Instructions
1) Unplug the appliance from the electrical outlet, then access the rear of the appliance.
2) Using the hex head bolts (2a), flat washers (2c), and lock washers (2b) provided, secure the square tube to the rear panel. See Fig. 1. Snug, but do not tighten, the hardware.
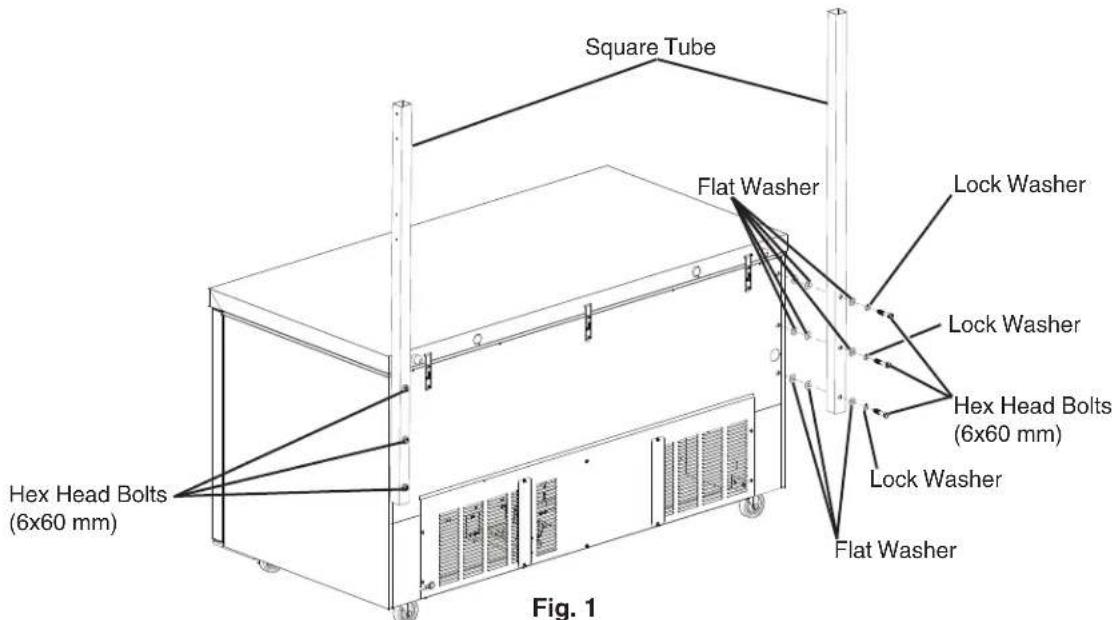
Model Shown: CRMR60
3) WARNING! Tip hazard. Shelves must face forward. With the help of an assistant, place a single overshelf in position onto the square tube. Using the hex head bolts (1a), flat washers (1d), hex nuts (1c), and lock washers (1b) provided, secure and tighten the overshelf to the outside of the square tube. See Fig. 2. For double shelf kits, repeat step 3 to install the second overshelf.
4) Insert the square tube caps into place.
5) Tighten the hex head bolts securing the square tube to the rear panel.
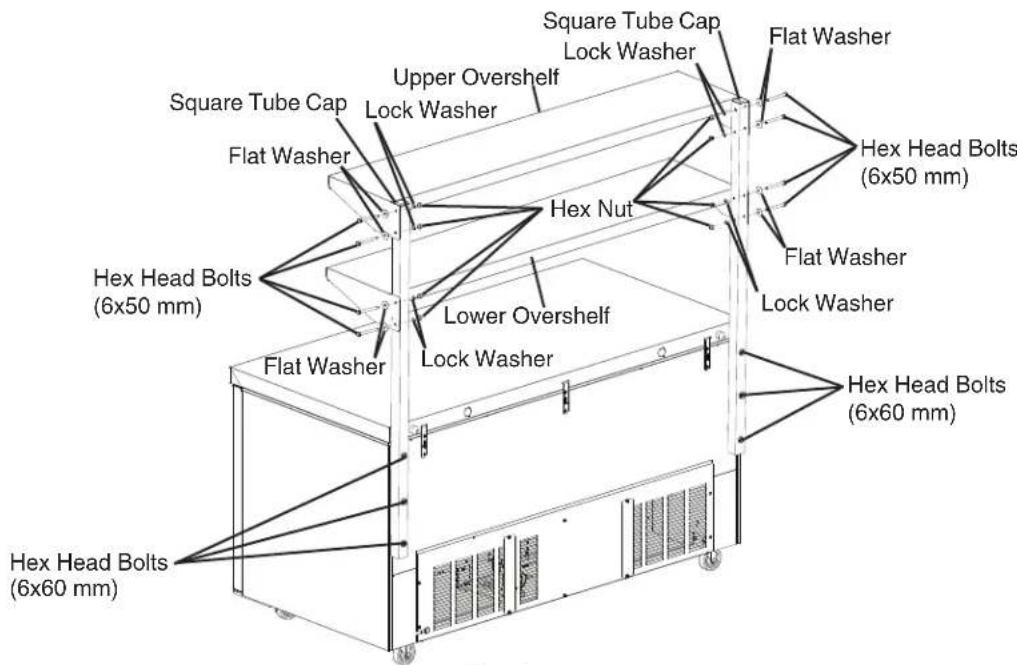
Fig. 2 Model Shown: CRMR60
6) Place the appliance back in its original position, then plug the appliance back into the electrical outlet.
7) Allow the appliance to cool down prior to loading it with food products.