Edge ED160B-A - Mbajtëse TV AVF - Manual falas për përdoruesin
Gjeni manualet e pajisjes falas Edge ED160B-A AVF në format PDF.

Pyetjet e përdoruesve rreth Edge ED160B-A AVF
0 pyetje rreth kësaj pajisjeje. Përgjigjuni atyre që njihni ose bëni tuajin.
Bëni një pyetje të re rreth kësaj pajisjeje
Shkarko udhëzimet për tuajin Mbajtëse TV në format PDF falas! Gjeni manualin tuaj Edge ED160B-A - AVF dhe merrni pajisjen tuaj elektronike sërish në duar. Në këtë faqe janë publikuar të gjitha dokumentet e nevojshme për përdorimin e pajisjes suaj. Edge ED160B-A e markës AVF.
MANUAL I PËRDORUESIT Edge ED160B-A AVF
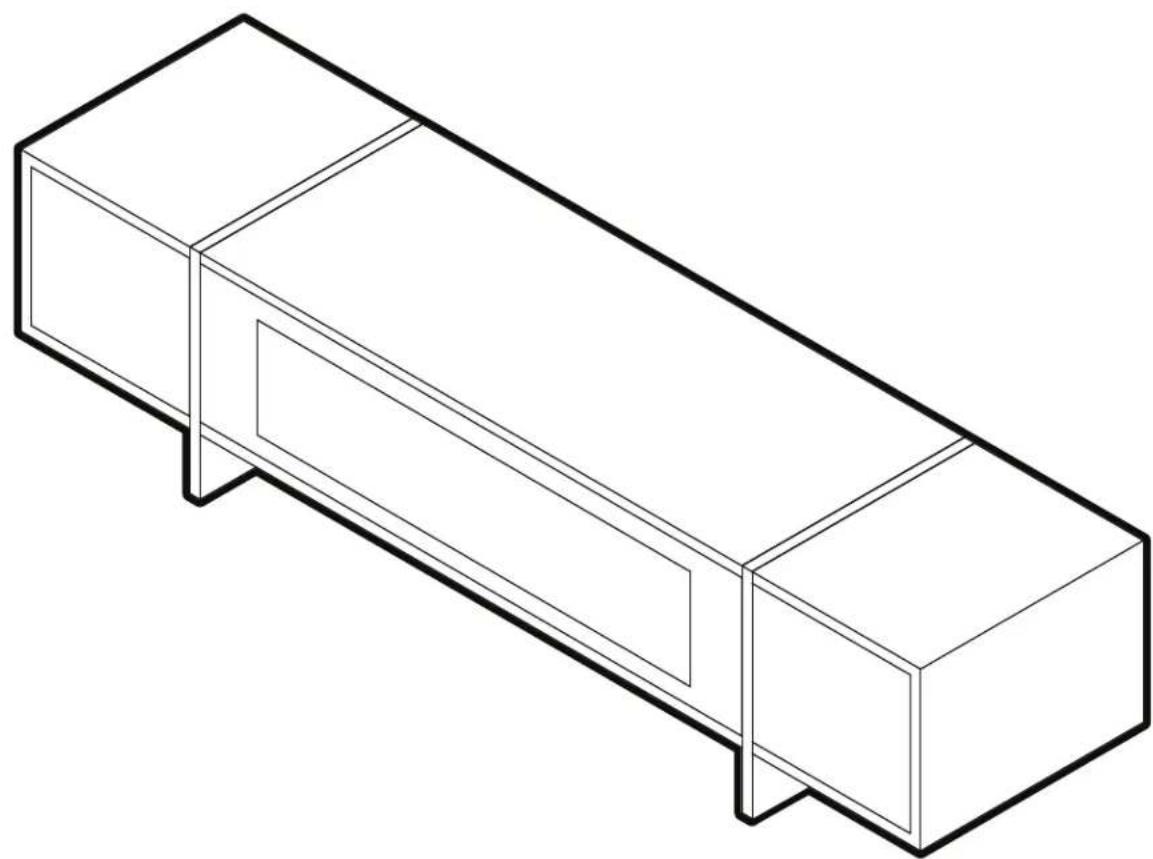
natural_image
Isometric line drawing of a rectangular electronic component with two side supports (no text or symbols)CUSTOMER SERVICES HELP LINE NUMBER:
+44 (0) 333 320 0463 (UK)
1-800 667 0808 (USA)
![Tools [P] [Q]](/content/2026/05/1137571/images/a67f02a06c4f8c2cbe09dbd49181d9a768f300fa0886a0a0514a5c4a9f8f5b75.jpg)
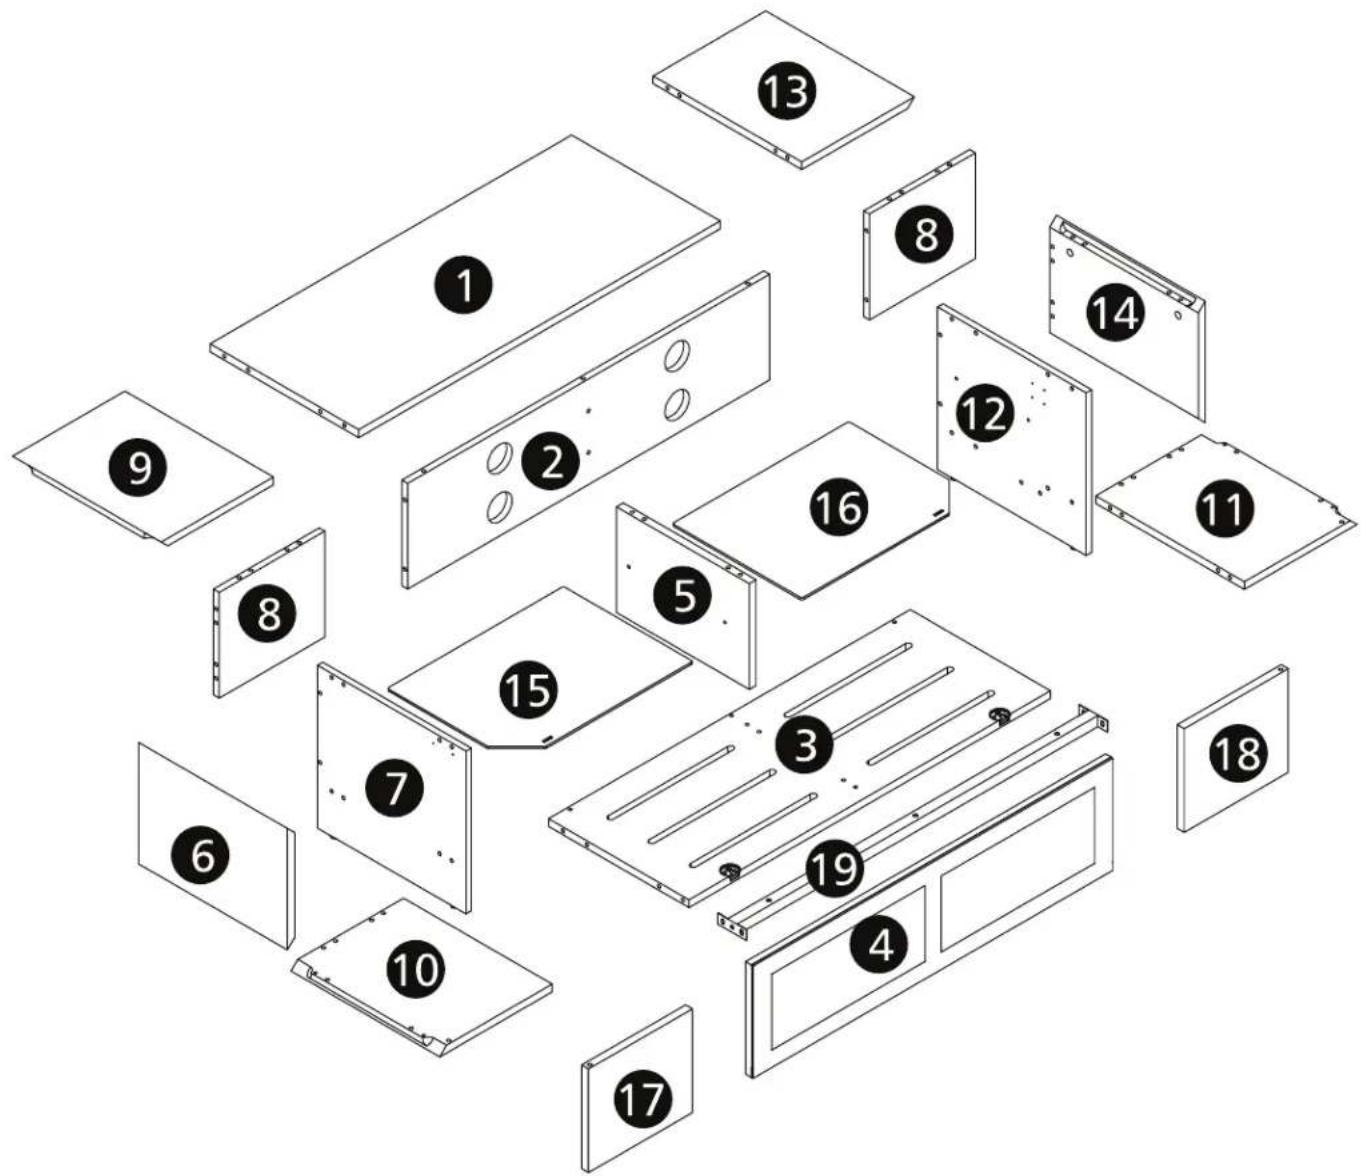
![Main Parts [1] [2] [3] [4] [5] [6] [7] [8] x 2 [9] [10] [11] [12] [13] [14] [15] [16] [17] [18] [19]](/content/2026/05/1137571/images/85913da321228ffe0578549429185600bb5ef5a5ddad342318881957fa201cfc.jpg)
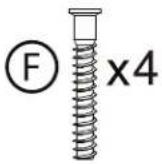
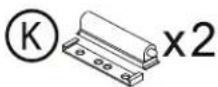
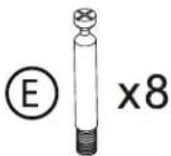
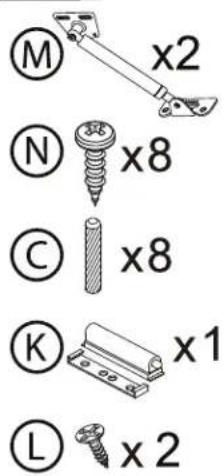
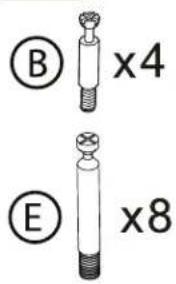
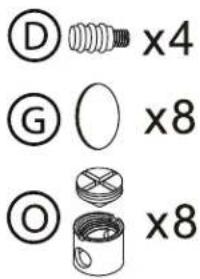
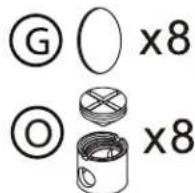
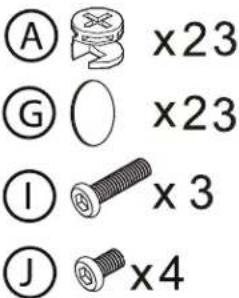
![Components [A] x31 [B] x31 [C] x40 [D] x8 [E] x16 [F] x9 [G] x47 [H] x4 [I] x3 [J] x4 [K] x3 [L] x6 [M] x2 [N] x12 [O] x16](/content/2026/05/1137571/images/783b66b08853985cf5df594740017d6a1b3f417803d9b905527161b61d27d9f8.jpg)

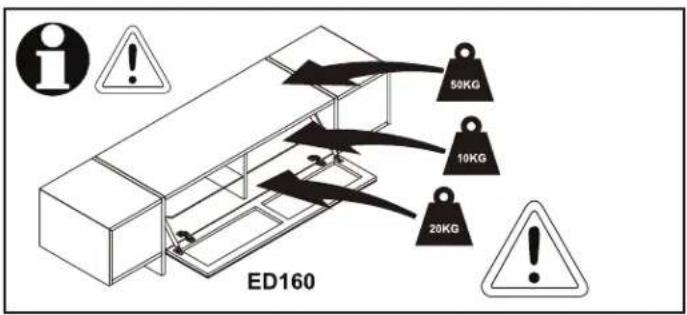
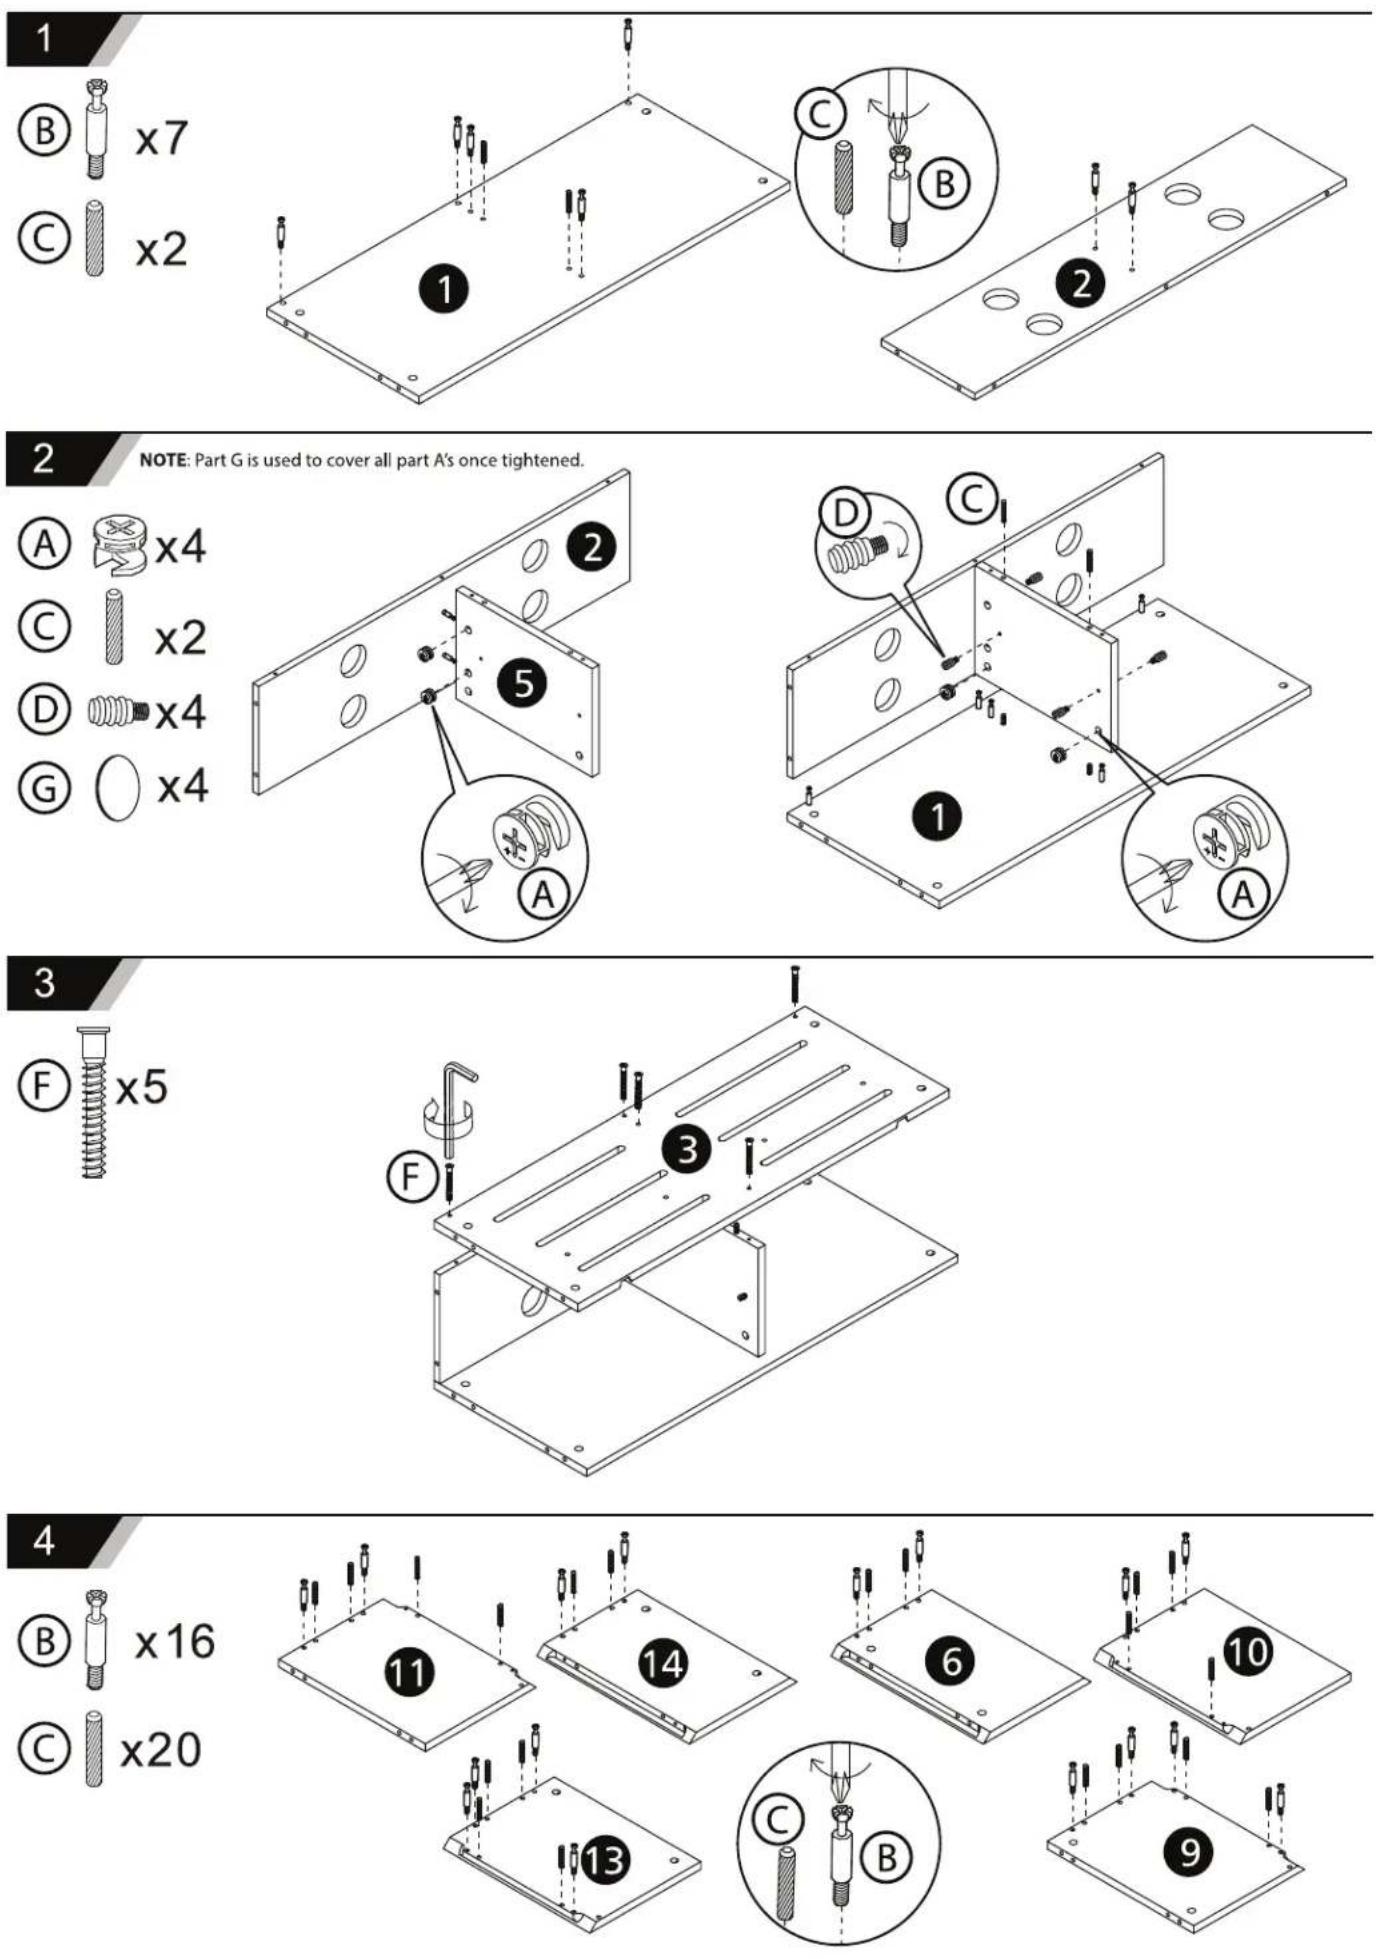
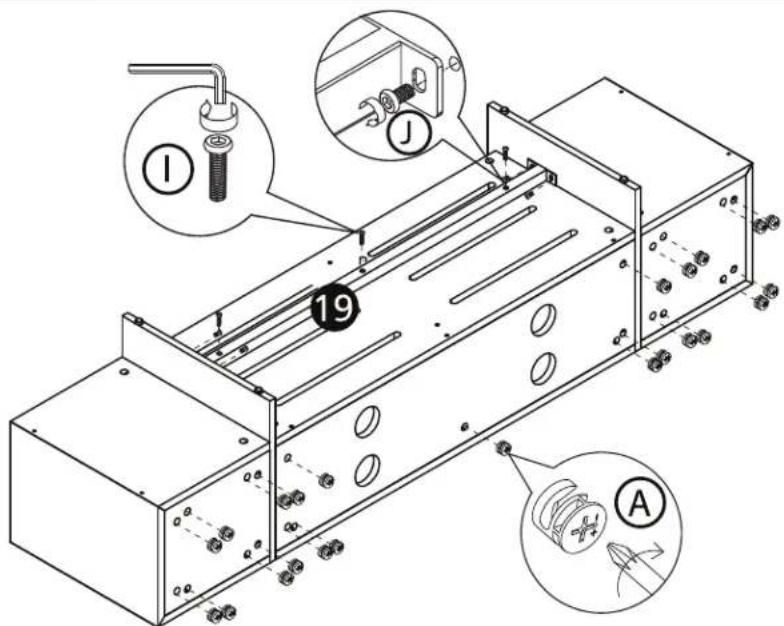
Take extra care not to over tighten any screws as this may cause damage!
6
natural_image
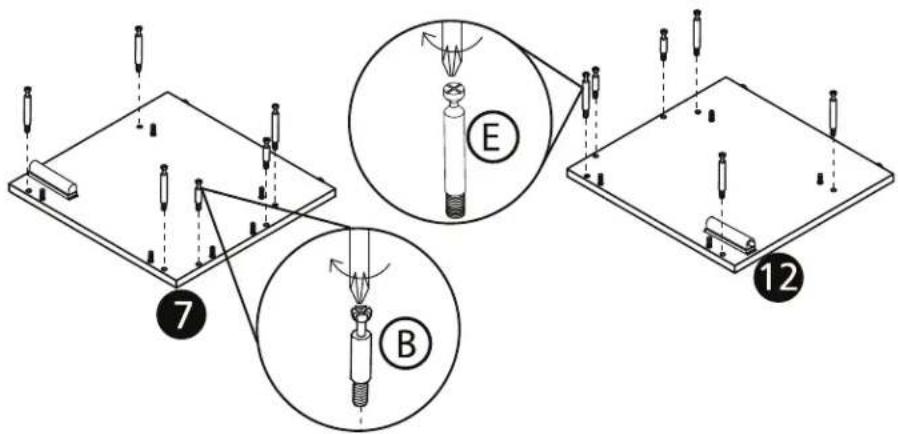
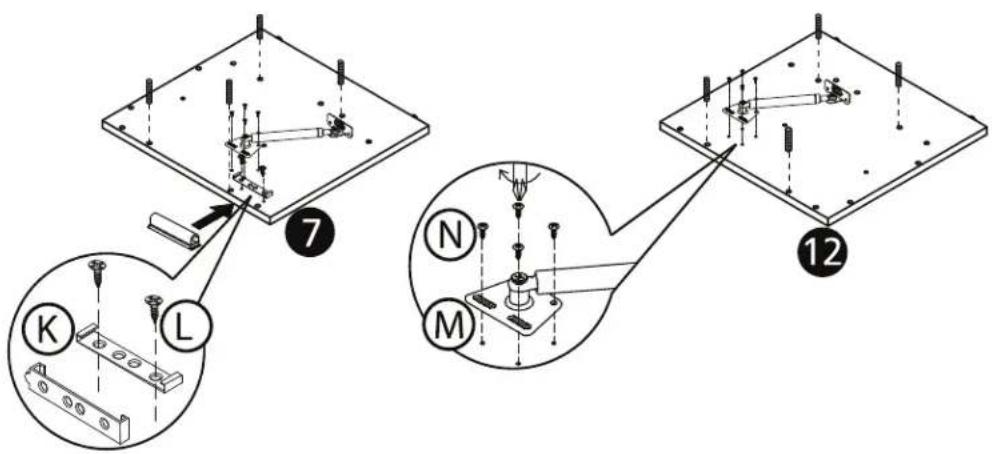
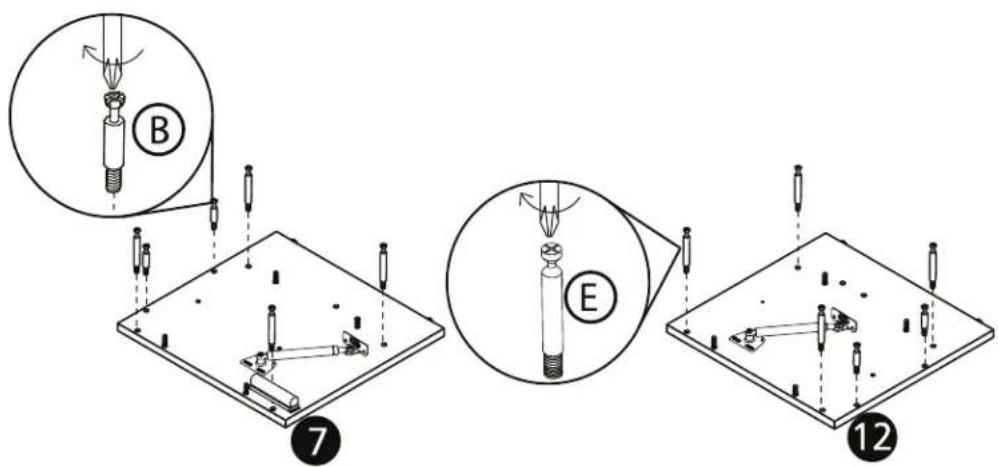
Isometric diagram of a two-tiered mechanical housing with mounting holes and a circular component labeled '10' (no text or symbols beyond the number)7
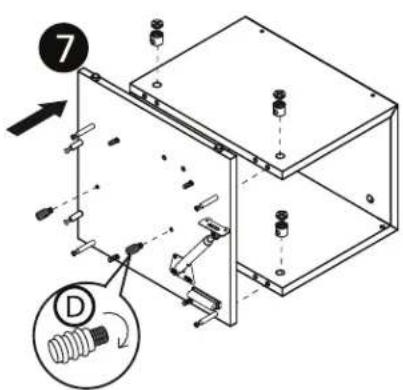
NOTE: Make sure the notch on the mount plate for part K is positioned towards the rear of the panel as shown.

natural_image
Diagram of a mechanical assembly with a tilted plate and supporting components, no text or symbols present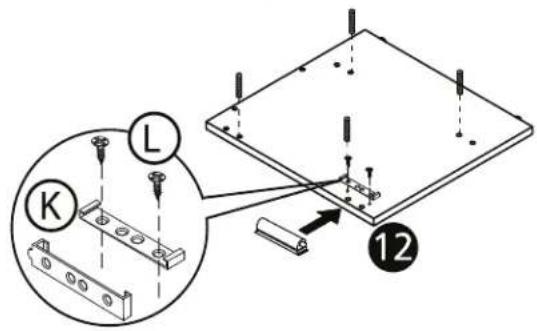
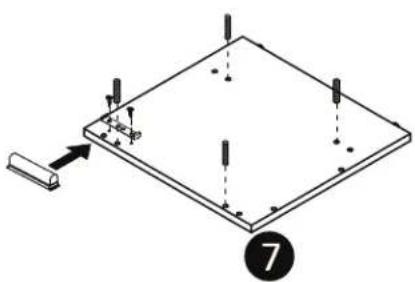
8
9
NOTE: This step is the reverse side of the panels above.
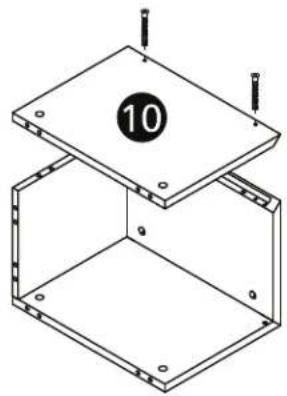
10
NOTE: This step is the reverse side of the panels above.
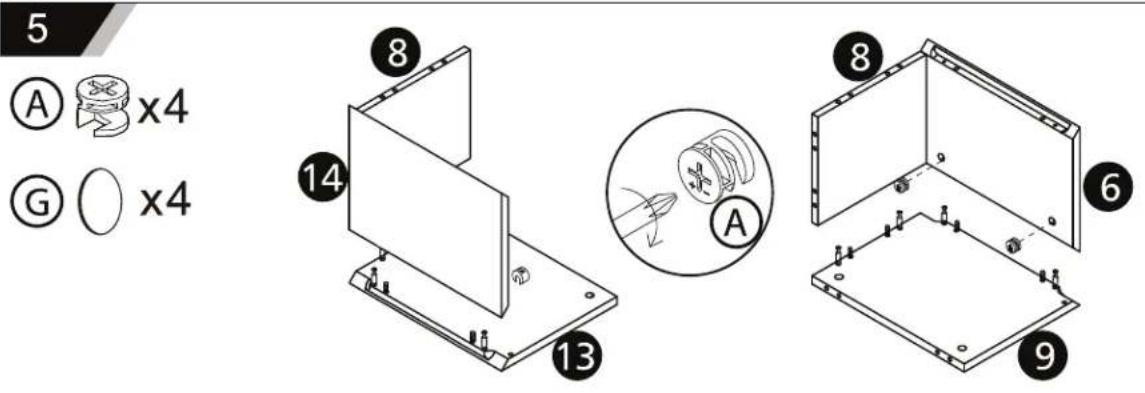
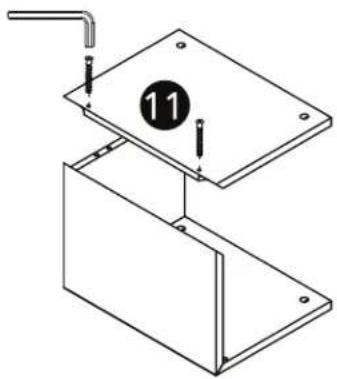
11
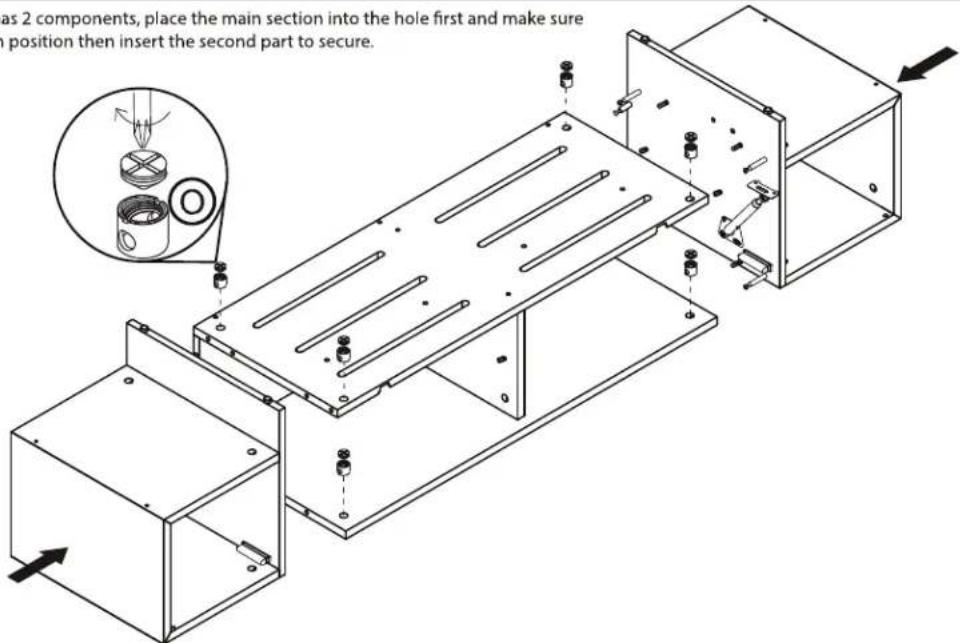
NOTE: Part O has 2 components, place the main section into the hole first and make sure the panel fits in position then insert the second part to secure.
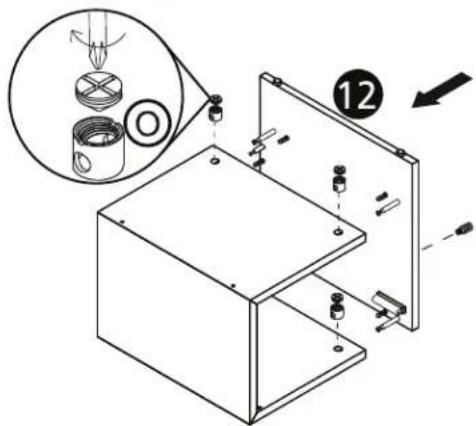
12
NOTE: Part O has 2 components, place the main section into the hole first and make sure the panel fits in position then insert the second part to secure.
13
14
NOTE: The doors have a protective film on the to prevent scratching in delivery, remove this film before installing the doors.

15
NOTE: Make sure the door support struts (M) are pull forward before glass is inserted.
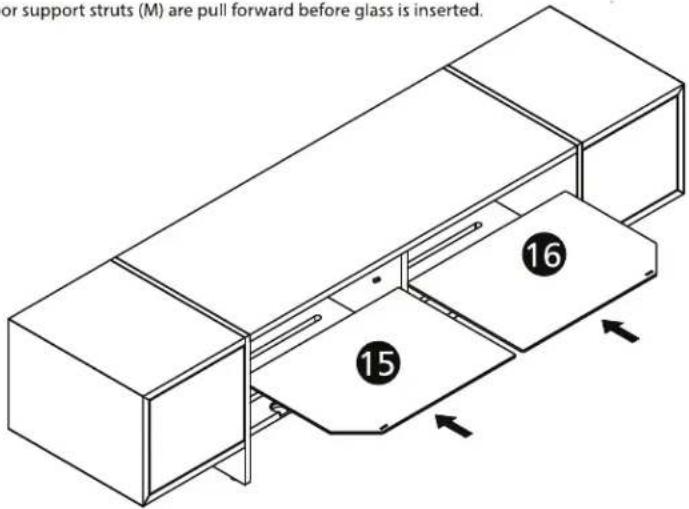
16
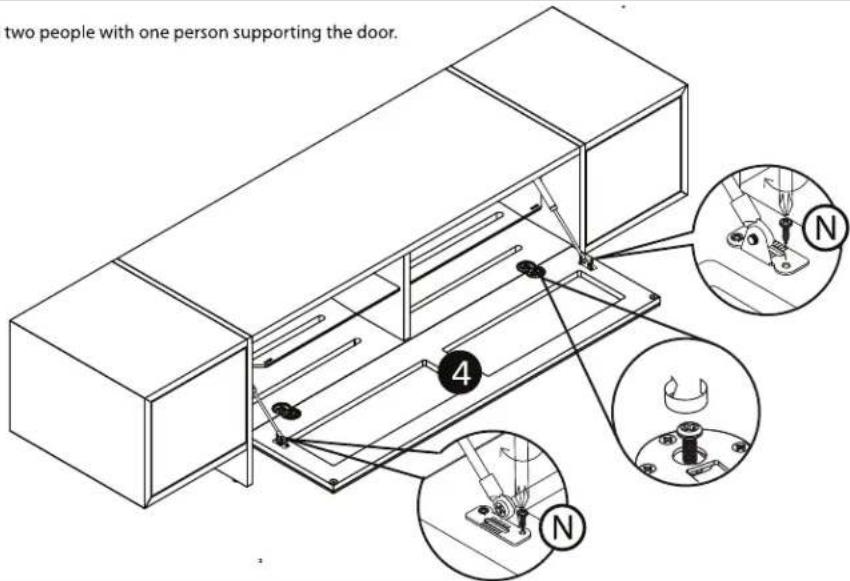
NOTE: Best done with two people with one person supporting the door.


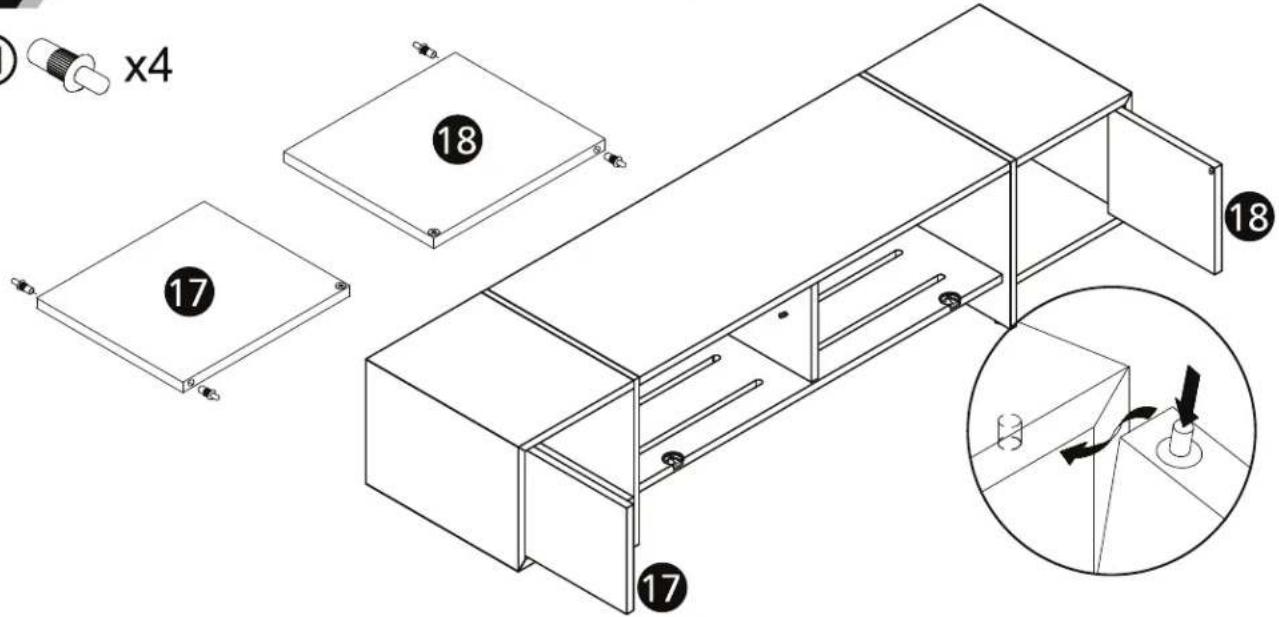
x4
17
NOTE: If the doors dont close properly or dont align fully adjust the hinge screw slightly as shown to fix alignment.
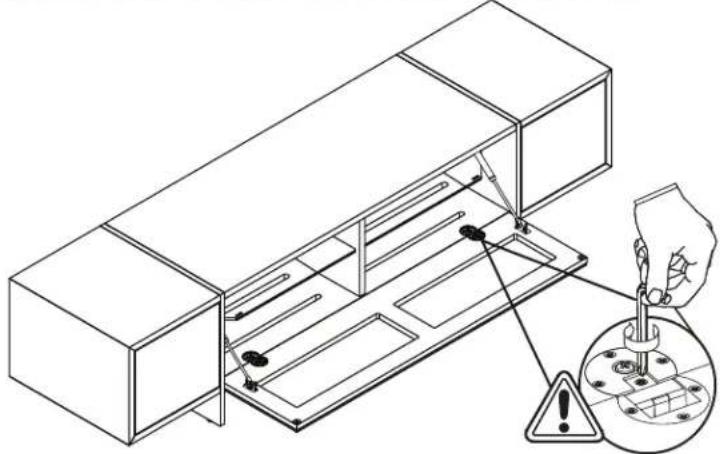
natural_image
Technical line drawing of a mechanical assembly with a hand holding a screwdriver and warning symbol (no text or labels)CARE INSTRUCTIONS:
Avoid direct sunlight as this can produce colour changes in the areas affected.
Slight colour change over time due to exposure to natural light is to be expected.
Colour and pattern variation is to be expected with this finish and does not constitute a product defect.
Clean all surfaces using a soft damp cloth. A suitable furniture polish can be used if required.
Do not use abrasive cleaners.
Do not place hot or cold items in direct contact with any part of this product.
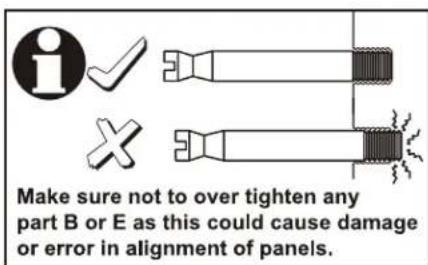
Take care not to overtighten any part of this assembly.