1672-75302-80 - Bord Hooker - Gratis bruksanvisning og manual
Finn enhetens veiledning gratis 1672-75302-80 Hooker i PDF-format.

Brukerspørsmål om 1672-75302-80 Hooker
0 spørsmål om dette apparatet. Svar på dem du kjenner, eller still ditt eget.
Still et nytt spørsmål om dette apparatet
Last ned instruksjonene for din Bord i PDF-format gratis! Finn veiledningen din 1672-75302-80 - Hooker og ta den elektroniske enheten tilbake i hendene. På denne siden er alle dokumenter som er nødvendige for bruken av enheten din publisert. 1672-75302-80 av merket Hooker.
BRUKSANVISNING 1672-75302-80 Hooker
HOOKER®
— FURNITURE —
ASSEMBLY INSTRUCTION
Item#: 1672-75302-80 Upholstered Arm Chair
** Please make sure you have all parts indicated below prior to assembly.
| NO | Hardware List | Q'ty | |
| A | 5/16*65mm BOLT | 4 | |
| B | ∅ 5/16 LOCK WASHER | 9 | |
| C | ∅ 16*22MM FLAT WASHER | 9 | |
| D | ∅ 5/16 ALLEN WRENCH | 1 | |
| E | 5/16*40mm BOLT | 4 | |
| F | SCREW | 4 | |
| G | 5/16*45mm BOLT | 1 | |
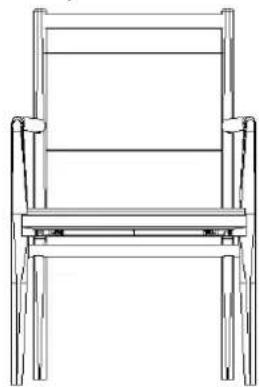
natural_image
Line drawing of a simple wooden chair with four legs and a backrest (no text or symbols)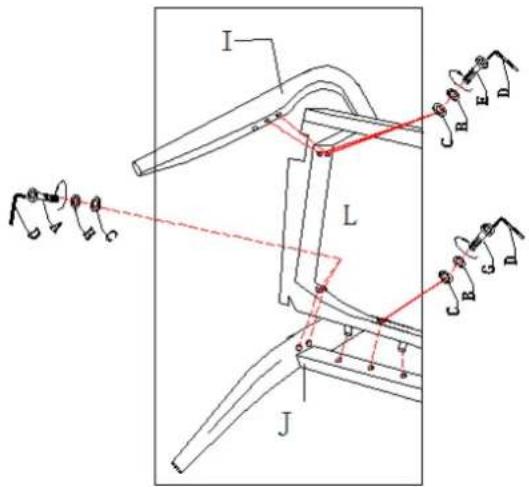
Diagram 1
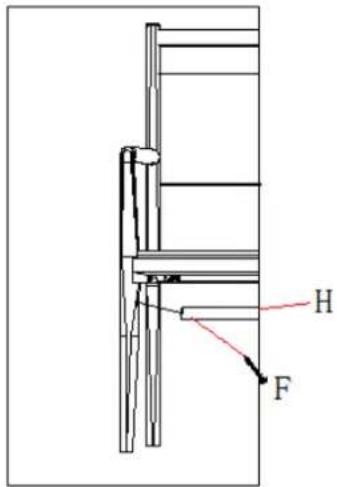
Diagram 2

Diagram 3
There are two K/D chairs in one box. Please follow numbers on one chair and letters on the other chair during assembly.
- Place chair back (J) on a clean surface.
- Attach seat frame (L) to chair back (J) by using bolt (G), lock washer (B), flat washer (C) at the center location and tighten by Allen Wrench(D). Then, tighten seat frame (L) to chair back (J) by using bolts (A), lock washers (B), flat washers (C) and secured by using allen wrench (D) at corner. (See diagram 1)
- Attach front legs (I) to seat frame (L) by using bolts (E), lock washers (B), flat washers (C) and tighten by allen wrench (D) at corners. (See diagram 1)
-
After all bolts are attached and hand tightened, turn the chair upright.
-
Attach stretcher (H) to front legs( I ) with screw (F) .(See diagram 2)
- Screw (F) arm rest to chair back (J) tightly .(See diagram 3)
- Make sure the chair is level and then tighten all bolts completely by using allen wrench (D).
PLEASE READ THESE INSTRUCTIONS PRIOR TO ASSEMBLING THE CHAIRS CHAIR LEVELING INSTRUCTION SUPPLEMENT
Chair leveling procedures:
To make the assembly process easy and efficient, please read the entire instruction sheet prior to assembling of the chair. Make sure all hardware listed is included. To properly assemble the chair, none of the bolts should be fully tightened until all components are attached to the chair. This will allow an opportunity to level the chair and prevent any unnecessary “rocking”.
- Place the loosely assembled chair on a hard flat surface.
- Apply gentle downward pressure on the seat. This step eliminates rocking and ensures the chair to be level.
- Once the chair is level, tighten all bolts and nuts.
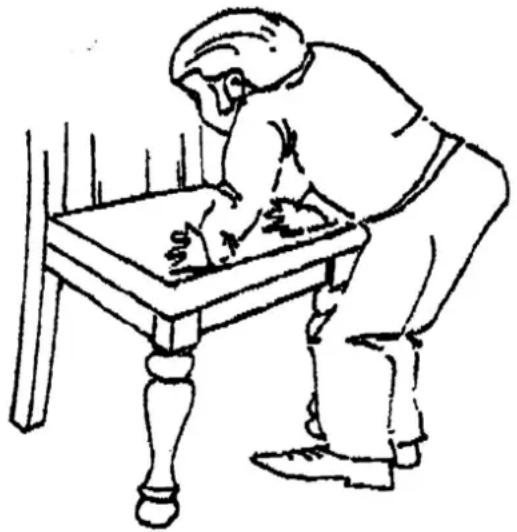
natural_image
Line drawing of a person sitting at a table with hands placed on it (no text or symbols)Note:
Most floors have slight irregularities that can affect chair leveling. If your chair is uneven when placed in its desired location, perform the following steps:
- L o osen front legs to finger tight.
- Extend both front legs upward to their fullest length.
- Gently push downward on the front edge of the seat until all four legs rest on the floor.
- Re-tighten all bolts and nuts.
Cleaning Instruction: Clean finished parts with a damp cloth using a mild dishwashing liquid and water solution. Polish the finish with soft cloth and an industry recognized furniture polish.