PAD-DSGK - Neklasifikuota CTA Digital - Nemokama naudojimo instrukcija
Raskite įrenginio instrukciją nemokamai PAD-DSGK CTA Digital PDF formatu.

Naudotojų klausimai apie PAD-DSGK CTA Digital
0 klausimas apie šį prietaisą. Atsakykite į tas, kurias žinote, arba užduokite savo.
Užduokite naują klausimą apie šį prietaisą
Atsisiųskite instrukciją savo Neklasifikuota PDF formatu nemokamai! Raskite savo instrukciją PAD-DSGK - CTA Digital ir vėl perimkite savo elektroninį įrenginį. Šiame puslapyje skelbiami visi dokumentai, reikalingi jūsų įrenginio naudojimui. PAD-DSGK prekės ženklo CTA Digital.
NAUDOJIMO INSTRUKCIJA PAD-DSGK CTA Digital
Dual Security Gooseneck Kiosk Stand with Locking Case and Anti-Theft Cable
for iPad 5th-6th Gen., iPad Air, and iPad Pro 9.7
INSTRUCTION MANUAL
PAD-DSGK
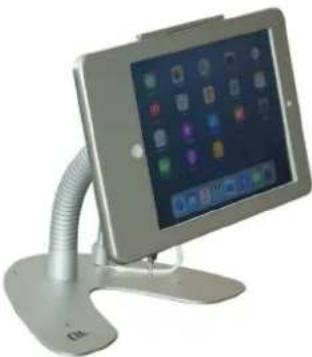
natural_image
Modern tablet stand with adjustable arm and display screen (no visible text or symbols)Package Contents
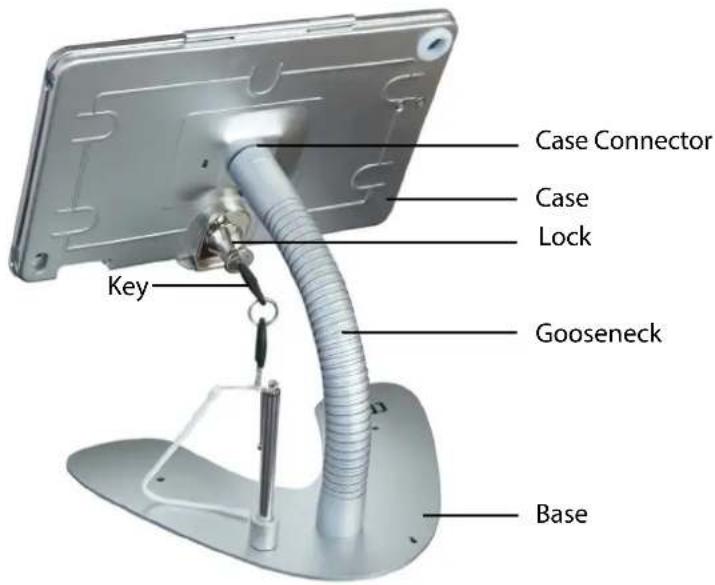
natural_image
Close-up of two metallic screw fasteners with threaded and threaded end caps (no text or symbols visible)(2) Nuts with bolts (2) Screws
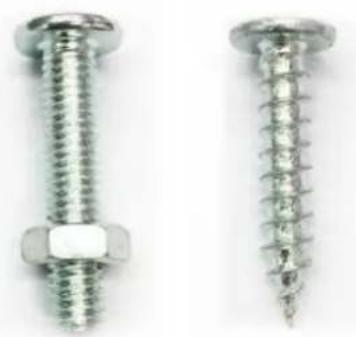
natural_image
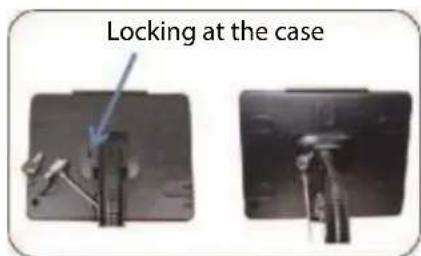
Black rectangular device with two white oval cutouts on its sides, above a top row of four black dots (no text or symbols visible)For iPad Air 2 and iPad Pro 9.7, use included adhesive pads inside case for a snug fit.
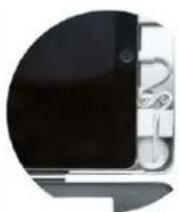
Keep charge cable slack neatly organized in bottom of case, and route through rubber cutout.
Use included metal insert piece to block home button access.
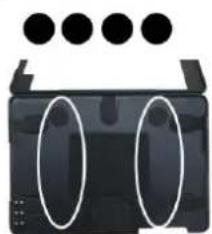
natural_image
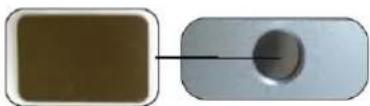
Two rectangular objects: a brown square and a white rounded rectangle, connected by a black arrow pointing to a circular hole (no text or symbols)Assemble the Stand
1) Align gooseneck screw holes with holes on stand base, then use Allen key to screw hex screws into the gooseneck.
2) Attach case to gooseneck, align the screw hole with the marker line on the case connector, then use the Allen key to tighten the hex screw inside the keyhole at the top of the gooseneck.
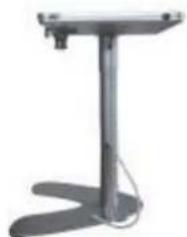
natural_image
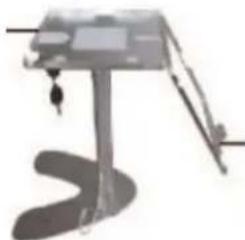
Simple grayscale illustration of a stand with a curved base and vertical support (no text or symbols)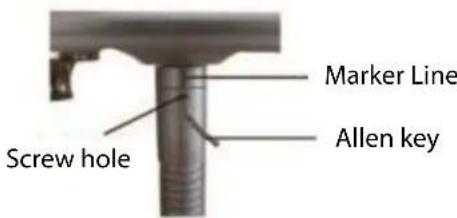
Inserting Your Tablet
1) Insert key and turn counter clockwise to unlock. Consult front page to determine if you need to attach adhesive foam pads.
Case tray
natural_image
Simple line drawing of a mechanical device with a curved base and lever (no text or symbols)Case door
iPad

natural_image
Illustration of a simple stand with a curved base and handle, no text or symbols present.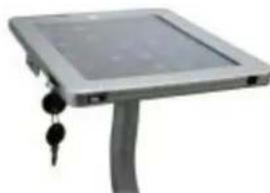
natural_image
Exterior view of a modern office building (no signage)Turn to lock
2) Close case door and turn key clockwise to lock.
Anti-Theft Cable
Using the Cable Management System
natural_image
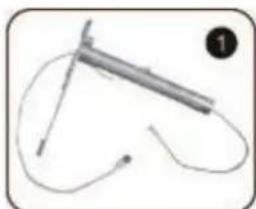
Simple line drawing of a medical or laboratory procedure with no visible text, numbers, or symbols1) Thread charge cable with small head first through the bottom of the base into the bottom of the gooseneck.
natural_image
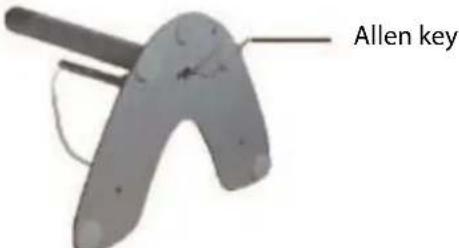
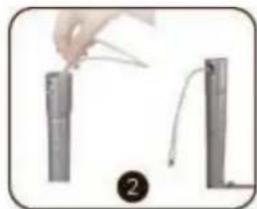
Illustration of a hand holding a pen-like object above two cylindrical objects, with a numbered label (2) below (no text or symbols on the objects themselves)2) Pull through the top then attach gooseneck to case. Route cable and slack through rubberized cutout hole in case.
natural_image
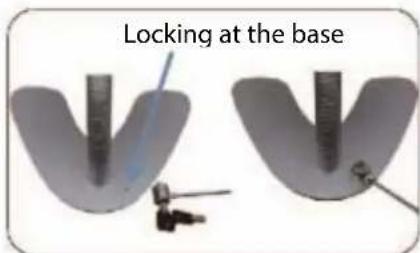
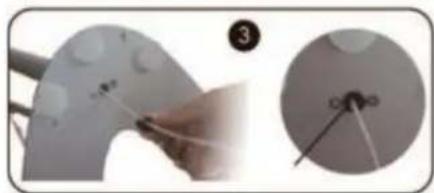
Close-up of a hand painting on a curved surface with a small inset showing a close-up of a small object (no text or symbols visible)3) Attach cable protector to the slack at the bottom. Slide up to the base.