Yesk - Laud Zaor - Tasuta kasutusjuhend
Leidke seadme juhend tasuta Yesk Zaor PDF-formaadis.

Kasutajate küsimused teemal Yesk Zaor
0 küsimus selle seadme kohta. Vastake nendele, mida teate, või esitage oma.
Esita uus küsimus selle seadme kohta
Laadige alla juhend oma Laud PDF-formaadis tasuta! Leidke oma juhend Yesk - Zaor ja võtke oma elektrooniline seade uuesti kätte. Sellel lehel on avaldatud kõik teie seadme kasutamiseks vajalikud dokumendid. Yesk kaubamärgi Zaor.
KASUTUSJUHEND Yesk Zaor
Zaor®
BUDGET CUSTOM DESIGN
natural_image
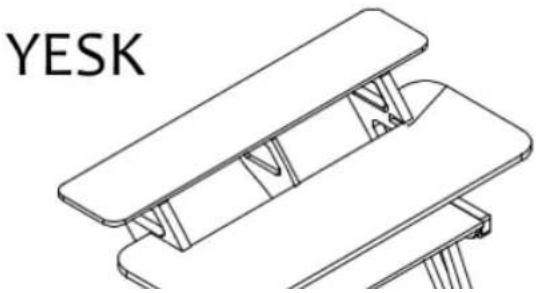
Technical line drawing of a mechanical assembly with no visible text or symbolsTechnical Plan
Thank you for choosing a piece of Zaor studio furniture, which will hopefully make your life easier, more ergonomic and improve the looks of your workspace. Before you can enjoy the comfort of your new acquisition you need to assemble it. We have tried to give you as much detail as needed and as little as possible. Should you run into any difficulty with this assembly you can get in touch with us via sales@zaorstudiofurniture.com to set up a Skype session or phone call.
Here is a general instruction on how to use the furniture assembly kits:
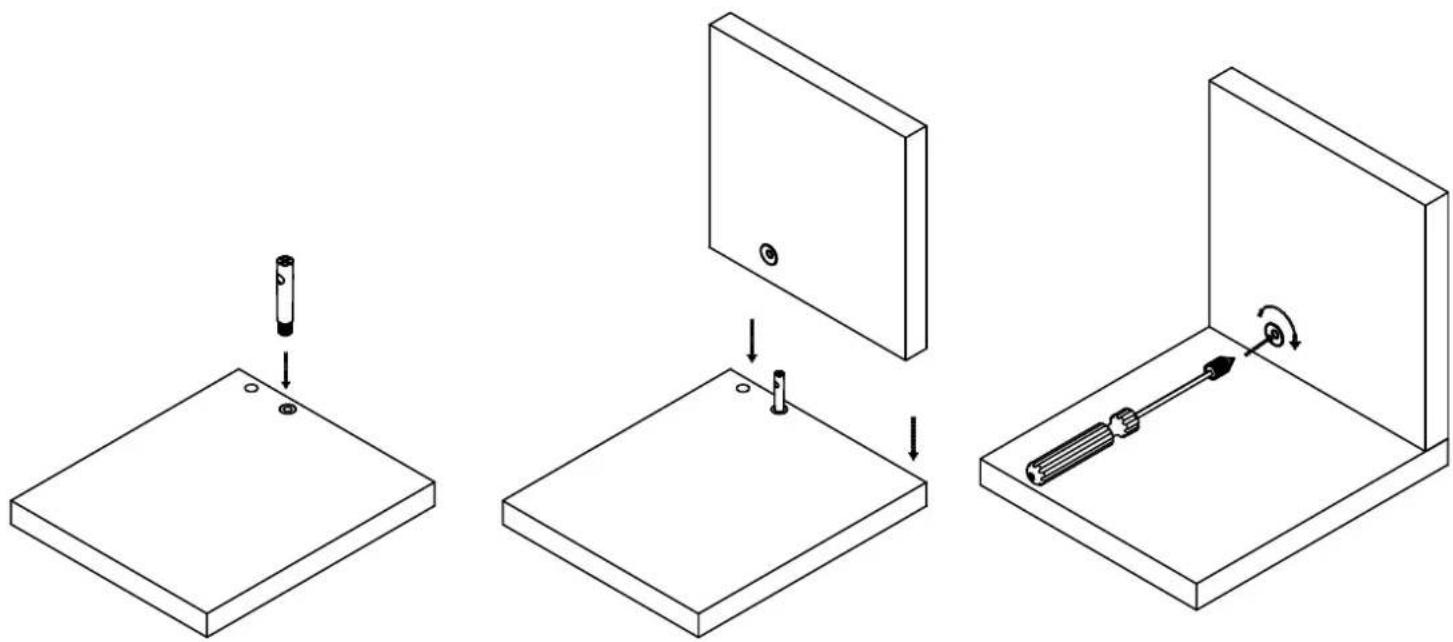
1) Insert and screw in the system bolt(s) into the socket(s) already present on the part(s) making sure the hole is at 90^ from the edge
2) Assemble the connecting parts, inserting the bolts into the smaller holes in the connecting part, the bolt tip fitting into the side hole of the excenter until the hole in the bolt and the center hole of the excenter align
3) insert the locking screw into the excenter, and tighten with a cross screw driver all the way without using force!
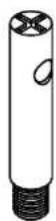
System bolt with hole
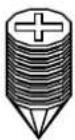
Locking screws
natural_image
Three-step diagram showing a mechanical assembly: mounting base, mounting panel with screwdriver, and disassembly into a housing (no text or symbols)Zaor
BUDGET.CUSTOM.DESIGN
Assembly Manual
natural_image
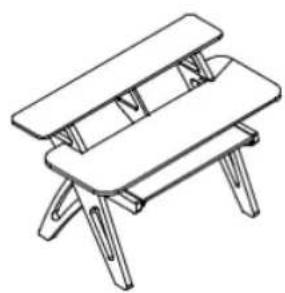
Line drawing of a simple folding table with four legs and a matching top (no text or symbols)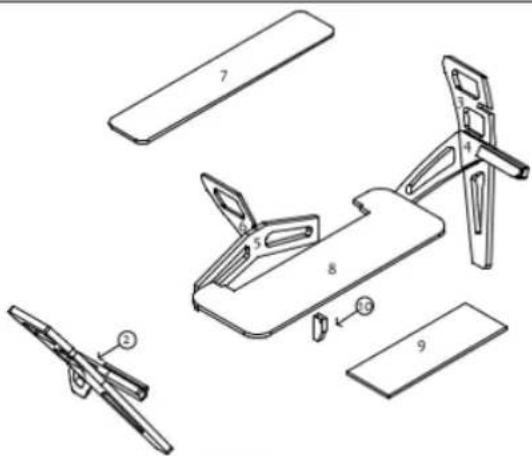
| Part n° 1 - Left footPart n° 2 - Right foot | Part n° 2 - Left footback partPart n° 4 - Right footback part | Part n° 5Cresolar/teabine | Part n° 6 - Trackside |
 BUDGET CUSTOM DESIGN BUDGET CUSTOM DESIGN | |
| Assembly Manual | |
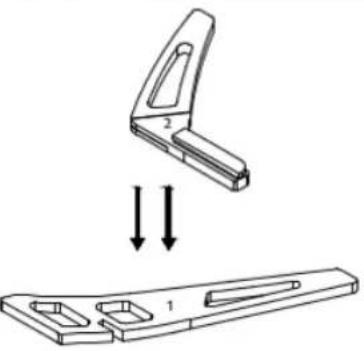 | 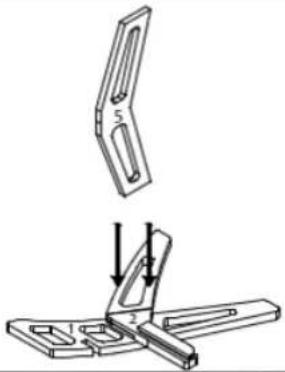 |
| FASE 1 Lay part n° 1 flat on the ground, lower down and join part n° 2. Using pre-drilled holes attach the parts using the Max 50 screws supplied. (Repeat same procedure for parts n° 3+4.) | Step 2 After adding system bolts, lower down part n° 5 onto part n° 2. Attach using the ex centers as shown on page 2. |
 | |
| Zaor®BUDGET CUSTOM DESIGN | |
| Assembly Manual | |
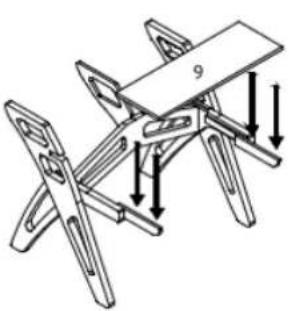 | 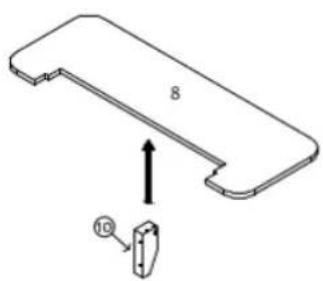 |
| Step 5Pull out the drawer side parts premounted on the rails(see drawing). After adding system bolts lowerpart n°9 onto the side parts and attach withexcenters and lock screws as shown page 2. | Step 6Attach part n°10 underneath part n°8 using assembly kits. |
| 3 | 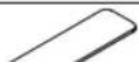 |
BUDGET CUSTOM DESIGN