89-9400 - Car accessory Metra - Free user manual and instructions
Find the device manual for free 89-9400 Metra in PDF.

User questions about 89-9400 Metra
0 question about this device. Answer the ones you know or ask your own.
Ask a new question about this device
Download the instructions for your Car accessory in PDF format for free! Find your manual 89-9400 - Metra and take your electronic device back in hand. On this page are published all the documents necessary for the use of your device. 89-9400 by Metra.
USER MANUAL 89-9400 Metra
INSTALLATION INSTRUCTIONS FOR PART 89-9400
APPLICATIONS
LAND ROVER
Discovery / Discovery II 1994-2004
89-9400
KIT FEATURES
DIN Head unit provision
KIT COMPONENTS
natural_image
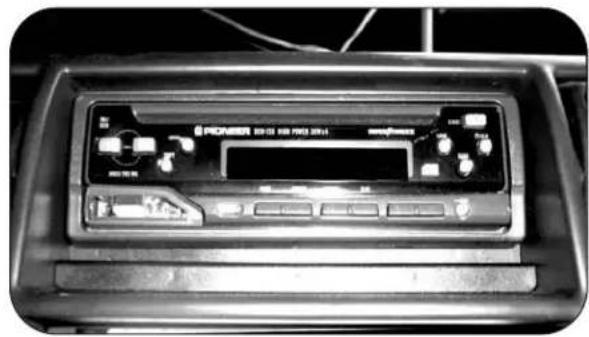
Front view of a power bank electronic device with control buttons and display (no visible text or symbols)A) Trim Plate
A

TOOLS REQUIRED:
86-9001 Radio Removal Tool
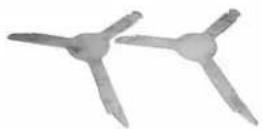
TABLE OF CONTENTS:
Dash Disassembly .... 1
Kit Assembly 2
Final Assembly 3

1-800-221-0932

www.metraonline.com
© COPYRIGHT 2004 METRA ELECTRONICS CORPORATION
LAND ROVER DISCOVERY AND DISCOVERY II
1 Disconnect the negative battery terminal to prevent an accidental short circuit.
2 Insert the long ends of the 86-9001 into the slots on the factory radio and pull out to remove. (Figure A)
A

natural_image
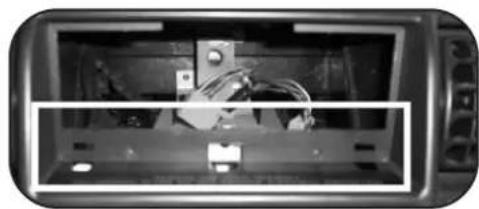
Interior view of a car dashboard with steering wheel and keyboard (no visible text or symbols)1 Snap the 89-9400 trim plate into the bottom of the sub-dash opening.
(Figure A)
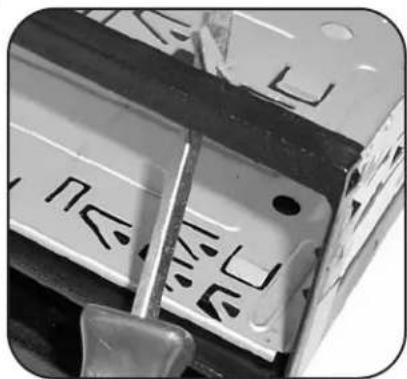
2 Slide the DIN cage into the space above the 89-9400 and secure by bending the metal locking tabs outward. (Figure B)
3 Slide the aftermarket head unit into the DIN cage until secure.
A
natural_image
Interior view of a device enclosure showing internal components and wiring (no visible text or symbols)B
natural_image
Close-up of a white electronic device with black markings and a metallic tool inserted (no readable text or symbols)
text_image
A B C DA) Strip wire ends back 1/2"
B) Twist ends together
C) Solder
D) Tape
1 Locate the factory wiring harness in the dash. Metra recommends using the proper mating adapter and making the connections as shown. (Isolate and individually tape off the ends of any unused wires to prevent electrical short circuit)
2 Re-connect the negative battery terminal and test the unit for proper operation.
3 Reassemble radio and dash assemblies in reverse order of disassembly.