JJL-DS10 - Subwoofer SSV Works - Free user manual and instructions
Find the device manual for free JJL-DS10 SSV Works in PDF.

User questions about JJL-DS10 SSV Works
0 question about this device. Answer the ones you know or ask your own.
Ask a new question about this device
Download the instructions for your Subwoofer in PDF format for free! Find your manual JJL-DS10 - SSV Works and take your electronic device back in hand. On this page are published all the documents necessary for the use of your device. JJL-DS10 by SSV Works.
USER MANUAL JJL-DS10 SSV Works
WARRANTY INFORMATION:
All SSV Works enclosures are covered by a limited lifetime warranty against defects in material or workmanship. All SSV Works Electronics are covered by a limited 1 year warranty against defects in material or workmanship. All Kicker Speakers are covered by a limited 1 year warranty against defects in material or workmanship. All Kicker Amplifiers are covered by a limited 2 year warranty against defects in material or workmanship. Labor for replacement of defective components is not covered. Contact SSV Works for further warranty information.

Please read and understand these instructions completely before installation to avoid possible injury, or damage to the accessory or vehicle.
TOOLS NEEDED FOR INSTALLATION
- 10mm & 18mm Deep Sockets & Ratchet
-T-30 & T-50 Torx Driver
- #2 Phillips Screwdriver
PARTS LIST IMAGES
natural_image
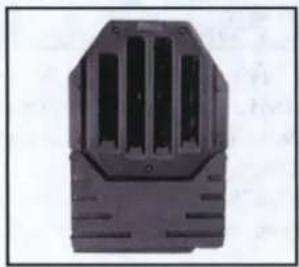
Black plastic electrical connector housing with heat sinks (no text or symbols visible)- JJL-DS10 sub enclosure
natural_image
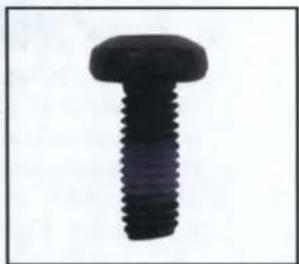
Close-up of a black threaded screw or bolt (no text or symbols visible)- M6x1.0x16mm T30 torx screw x8

natural_image
Close-up of a black T-shaped screw with threaded shaft (no text or symbols visible)- M6x1.0x25mm T30 torx screw x4

natural_image
Close-up of a black screw with threaded shaft (no text or symbols visible)- M6x1.0x40mm T30 torx screw x3
natural_image
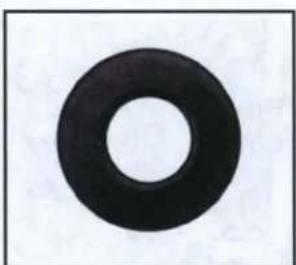
Black circular ring on white background (no text or symbols)- M6 washerx15

natural_image
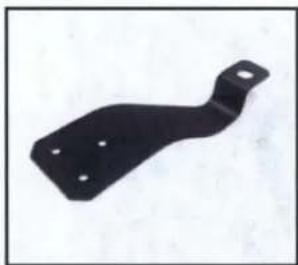
Black metal bracket with two holes, isolated on white background (no text or symbols)- Bracket "MB-1"
natural_image
Black metal bracket component with four holes, isolated on white background (no text or symbols)- Bracket "MB-2"
natural_image
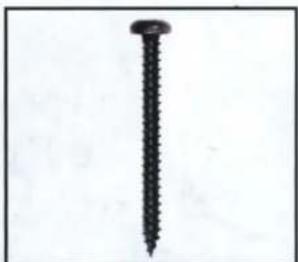
Close-up of a black screw with a pointed tip, isolated on white background (no text or symbols)-
7 - 19x1.25" screw x8
natural_image
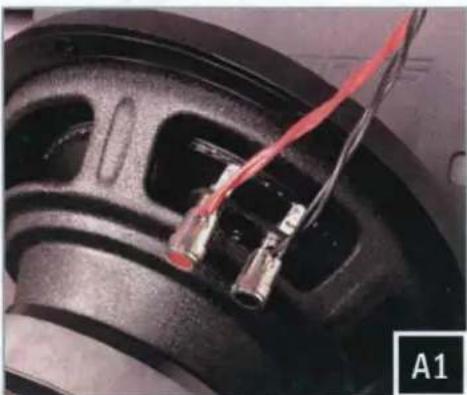
Close-up of a speaker wheel with red and black wires attached, labeled A1 (no text or symbols on the main subject)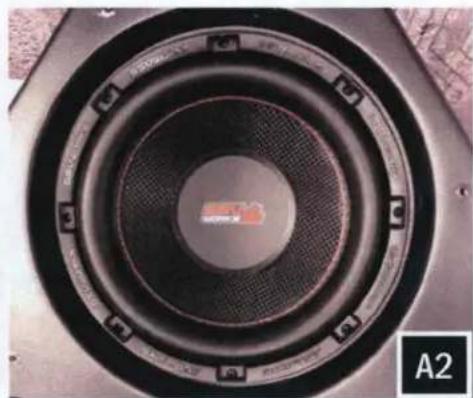
natural_image
Close-up of a speaker cone with concentric rings and a central indicator (no text or symbols visible)A. Connect your subwoofer to the JIL-DS10 speaker harness. Using the provided (8) #7 screws, secure your subwoofer to the enclosure with a #2 phillips screwdriver. Do not over torque.
natural_image
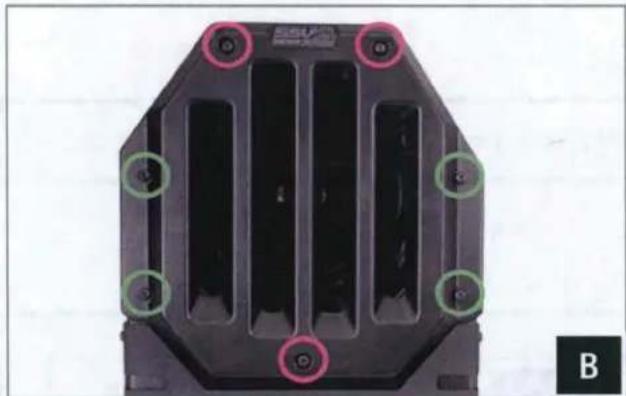
Close-up of a black plastic mechanical component with multiple circular mounting holes and internal channels (no text or symbols visible)B. Place the JJL-DS10 grill on the enclosure. Fasten the (3) M6x1.0x40mm T30 Torx screws and M6 washers at the pink positions. Fasten the (4) M6x1.0x25mm T30 Torx screws and M6 washers at the green positions.

natural_image
Close-up of a black metal bracket mounted on a tiled floor, with no visible text or symbols.C. Align the MB-1 Bracket over the mounting points on the backside of the JJL-DS10 enclosure. Position the MB-1 bracket with consideration of installation on the JEEP JL with or without the freedom top mounted to the vehicle. Secure the MB-1 bracket to the JJL-DS10 with (4) M6x1.0x16mm T30 torx screws and M6 washers.
natural_image
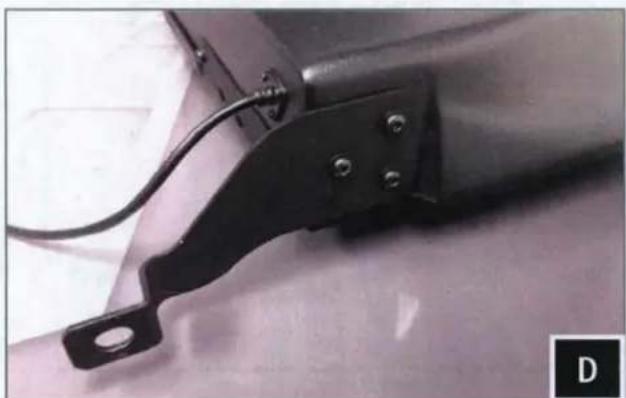
Close-up of a mechanical component with a black bracket and mounting holes, attached to a surface (no visible text or symbols)D. Secure the MB-2 Bracket to the bottom of the JJL-DS10 enclosure with the provided (3) M6x1.0x16mm T30 torx screws and M6 washers.
natural_image
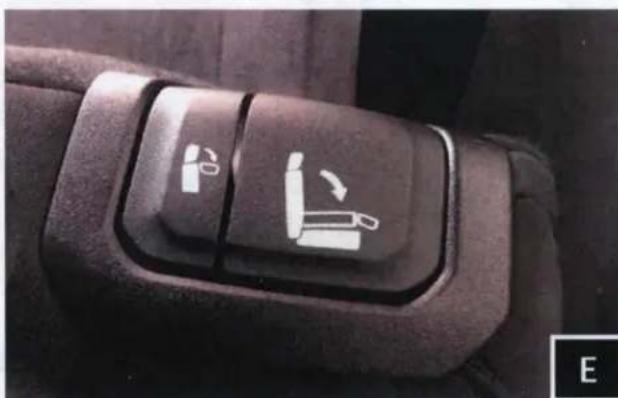
Close-up of a car seatbelt switch with two white directional arrows indicating left and right turn (no text or symbols)E. Fold the driver rear seat down.

natural_image
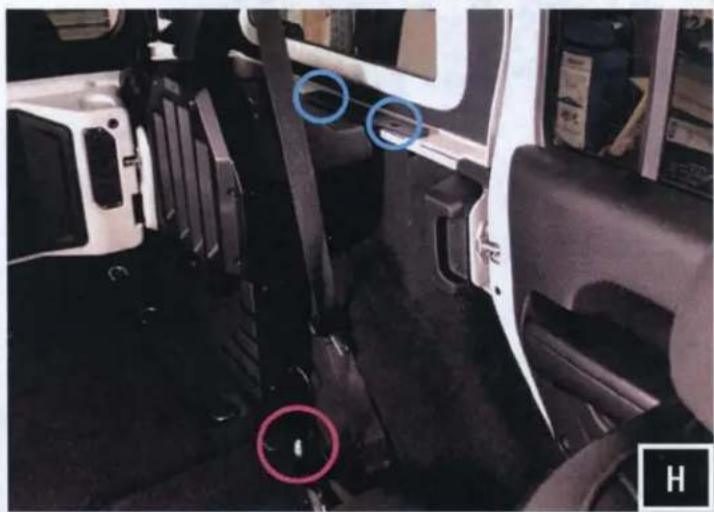
Interior view of a vehicle showing a white car seatbelt and blue circular markers on the side (no text or symbols visible)F. Remove the (2) T50 torx screws from the driver rear windowsill. The (2) factory screws will be re-used to fasten the MB-1 Bracket to the windowsill and secure the JJL-DS10 to the vehicle.
G. Remove the (1) rear seat mounting nut with a 18mm socket. The MB-2 bracket will be placed over this mounting stud that the (1) nut was removed from.
For a hassle-free installation, we recommend having a second set of hands to help position the assembled sub enclosure into its position in the vehicle. From the rear passenger door and the rear cargo area, lift the unit into place as a team.
natural_image
Interior view of a vehicle showing seatbelt, dashboard, and dashboard components with blue circles highlighting specific areas (no text or symbols visible)H. Pull the seat belt forward and set the enclosure in place. "MB-1" bracket will rest on the windowsill, "MB-2" bracket will go over the rear seat mounting stud.

natural_image
Close-up of a black plastic hinge attached to a white car door panel (no visible text or symbols)I. Before fastening the enclosure into place, check bracket "MB-1" position for any height adjustment that may be needed for alignment with the factory mounting holes. Re-fasten the (2) factory T50 screws through bracket "MB-1" and into the windowsill.

natural_image
Close-up of a mechanical component with visible wiring and a central hub (no text or symbols)J. Re-fasten the (1) 18mm nut to the rear seat mounting stud securing the Bracket "MB-2".
natural_image
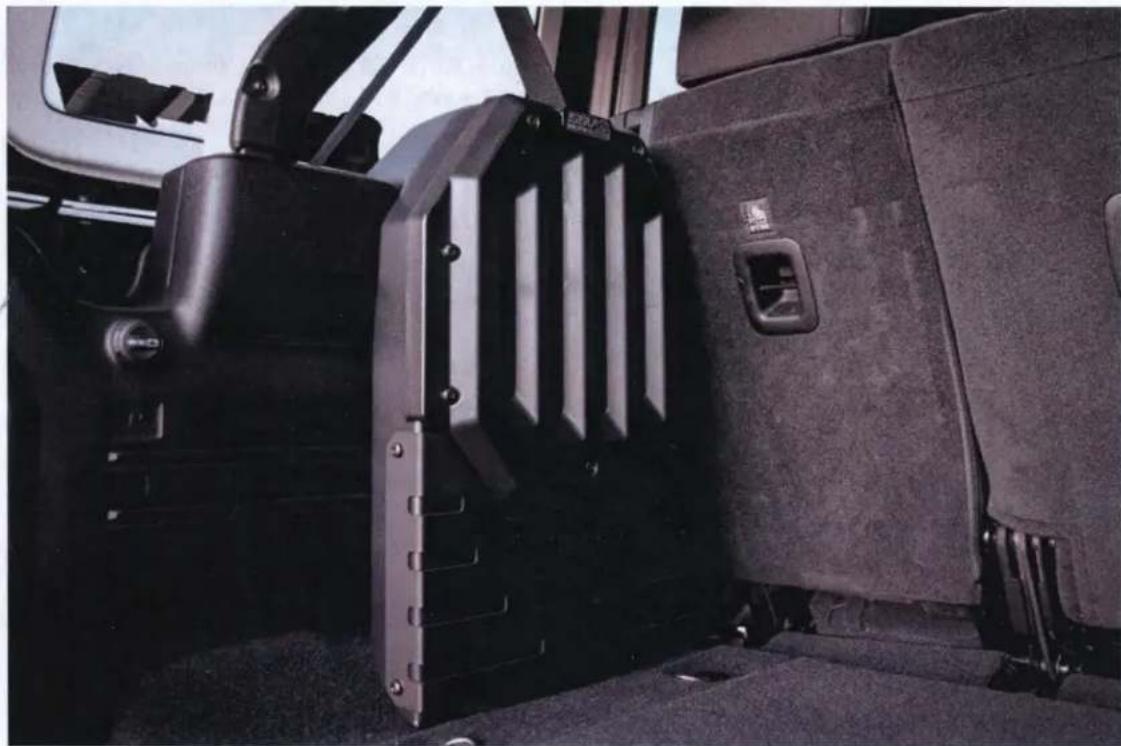
Interior view of a vehicle showing the rear seat, dashboard, and side panel (no visible text or symbols)
text_image
"+ "-" +"" AmplifierFor proper sound, ensure the speaker polarity is correct connect the "+" to the "+" and the "-"to the "-"from the speaker wire to the amplifier. If using with an SSV Works complete system refer to the amplifier wiring instructions for more detailed wiring information.