VicCinema VMT - Acoustique Vicoustic - Free user manual and instructions
Find the device manual for free VicCinema VMT Vicoustic in PDF.

| Product Type | Acoustic Panel |
| Brand | Vicoustic |
| Model | VicCinema VMT |
| Dimensions (per panel) | 600 x 600 x 50 mm |
| Weight (per panel) | 2.5 kg |
| Material | High-density acoustic foam |
| Color | Black |
| Fire Resistance | Class B-s1,d0 (EN 13501-1) |
| Acoustic Absorption Coefficient (αw) | 0.85 |
| Noise Reduction Coefficient (NRC) | 0.80 |
| Mounting | Wall or ceiling via adhesive or mechanical fixing |
| Application | Home cinema, recording studios, offices |
| Maintenance | Vacuum cleaning with soft brush |
| Safety | Fire retardant, non-toxic |
| Spare Parts | Not applicable (panel is non-repairable) |
| Repairability | Not repairable; replace panel if damaged |
| Package Quantity | 4 panels per box |
| Installation Accessories | Included adhesive strips or mounting clips |
| Warranty | 2 years |
| Country of Origin | Portugal |
Frequently Asked Questions - VicCinema VMT Vicoustic
User questions about VicCinema VMT Vicoustic
0 question about this device. Answer the ones you know or ask your own.
Ask a new question about this device
Download the instructions for your Acoustique in PDF format for free! Find your manual VicCinema VMT - Vicoustic and take your electronic device back in hand. On this page are published all the documents necessary for the use of your device. VicCinema VMT by Vicoustic.
USER MANUAL VicCinema VMT Vicoustic
natural_image
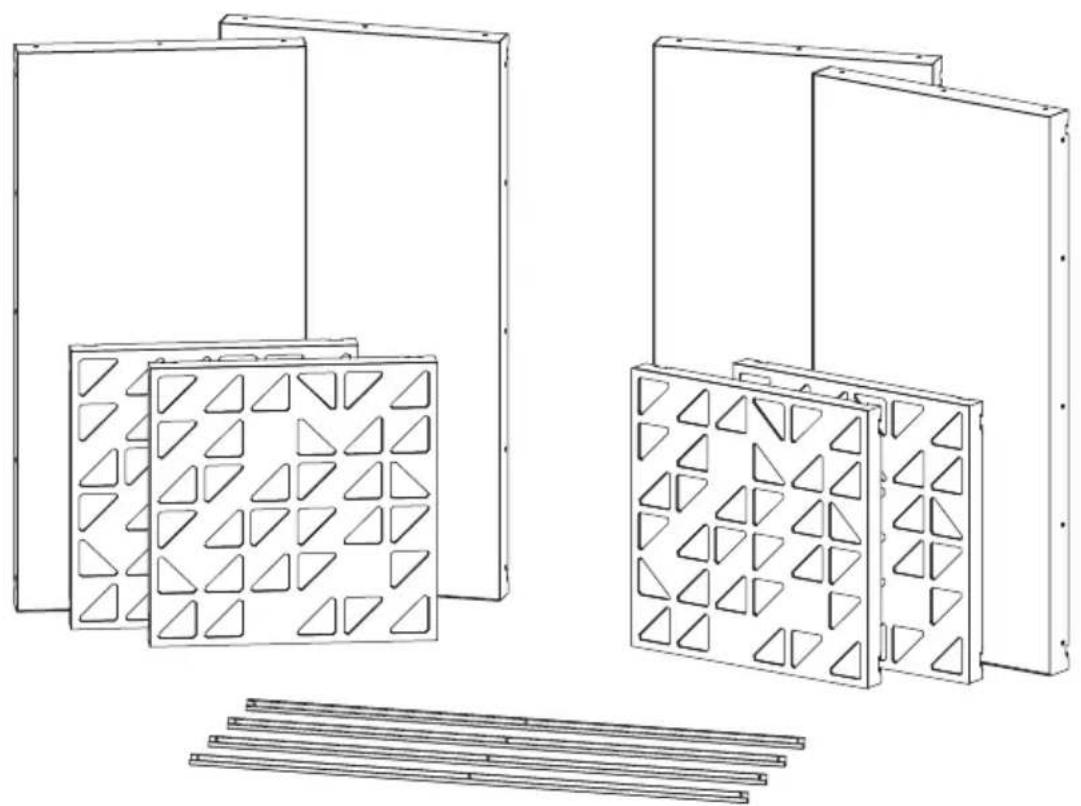
Technical line drawing of multiple structural panels with triangular cutouts, arranged in two groups (no text or symbols)Included
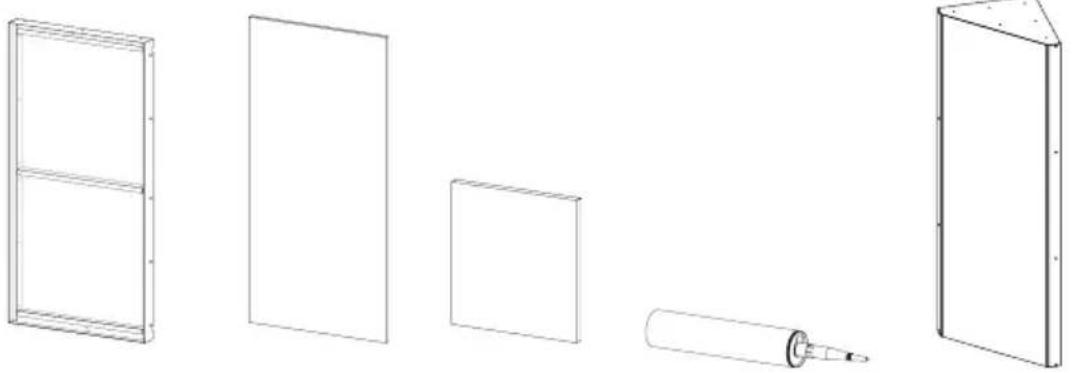
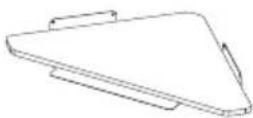
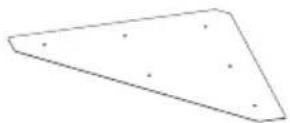
a Flat Panel VMT
VicPET Wool filling
Bass Trap (included in the Mega Bass Trap Kit)
natural_image
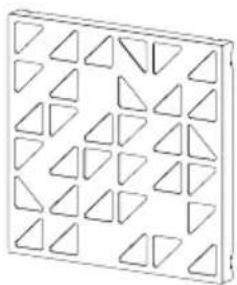
Geometric pattern of nested triangles arranged in a grid (no text or symbols)VicPattern Ultra x4
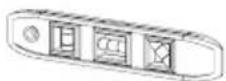
Gauge x1

H

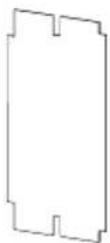
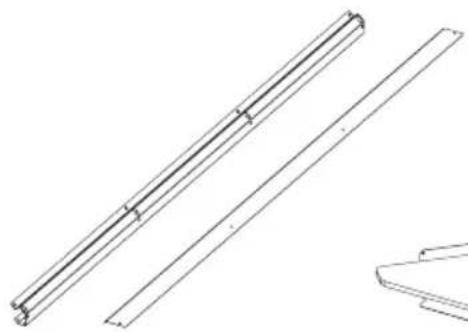
VicFix J Profile 1190mm
Not Included


Measuring Tape


Wall Plugs and ScrewsVicFix CoCaerking Gun


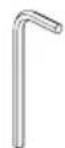
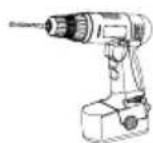
Hex keyScrewdriver Rubbed Harrower
Walls and Ceiling Kit Installation
1
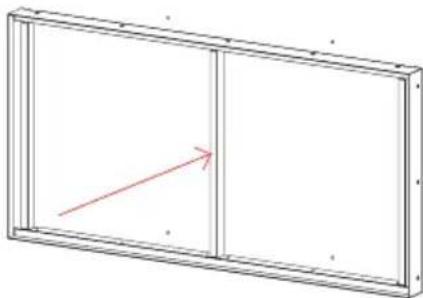
VicSpacer Wall Installation - Horizontal | Screw mounted panel *screws not included
1.1
Mark the drill holes of the VicSpacers according to the diagram.
394 mm
(two metal joints)
392 mm
(one metal joint)
800 mm
575 mm
Marks for one unit
Marks for two units
1.2
If necessary, open the holes in the marked places, and apply the wall plugs. Fix the VicSpacer, with screws suitable for the wall where you are making the installation.
natural_image
Simple line drawing of a rectangular frame with a vertical divider and a red arrow pointing to the left side (no text or symbols)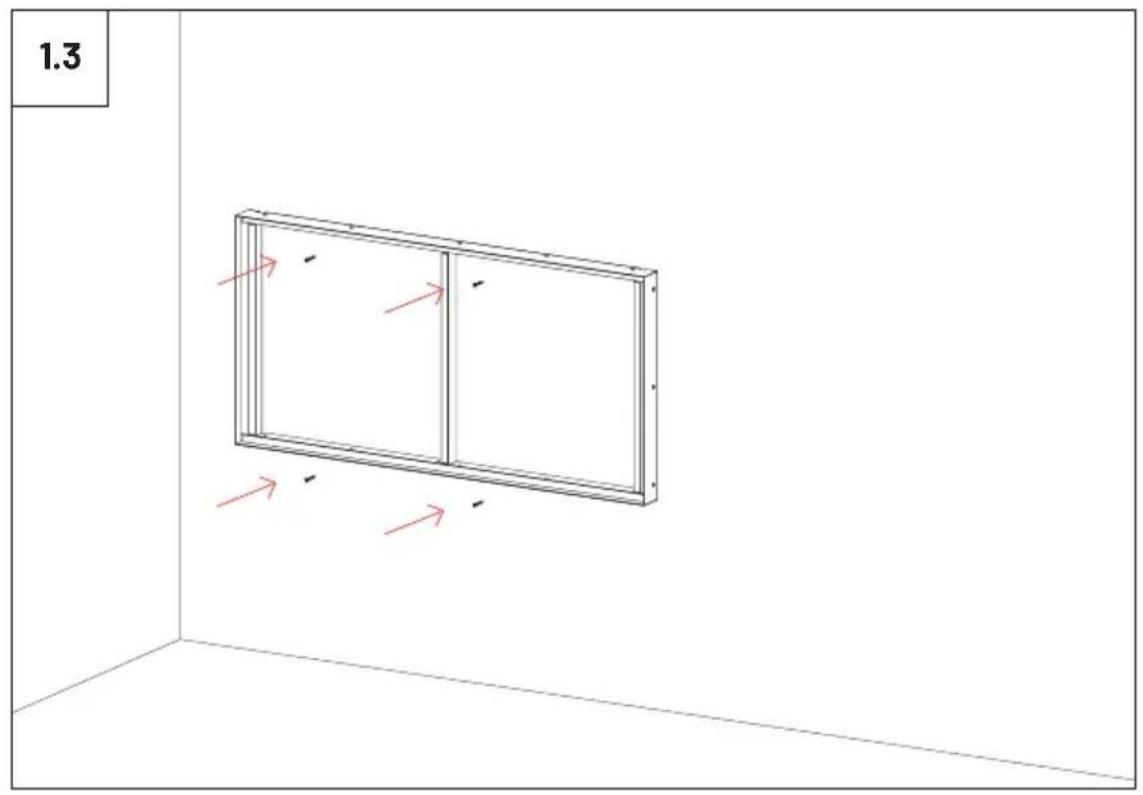
natural_image
3D diagram of a rectangular panel with two vertical panels and red arrows indicating direction, placed in a corner (no text or symbols)
natural_image
Architectural diagram showing two rectangular metal framing panels in a corner, with a magnified inset highlighting the side view of the frame (no text or symbols)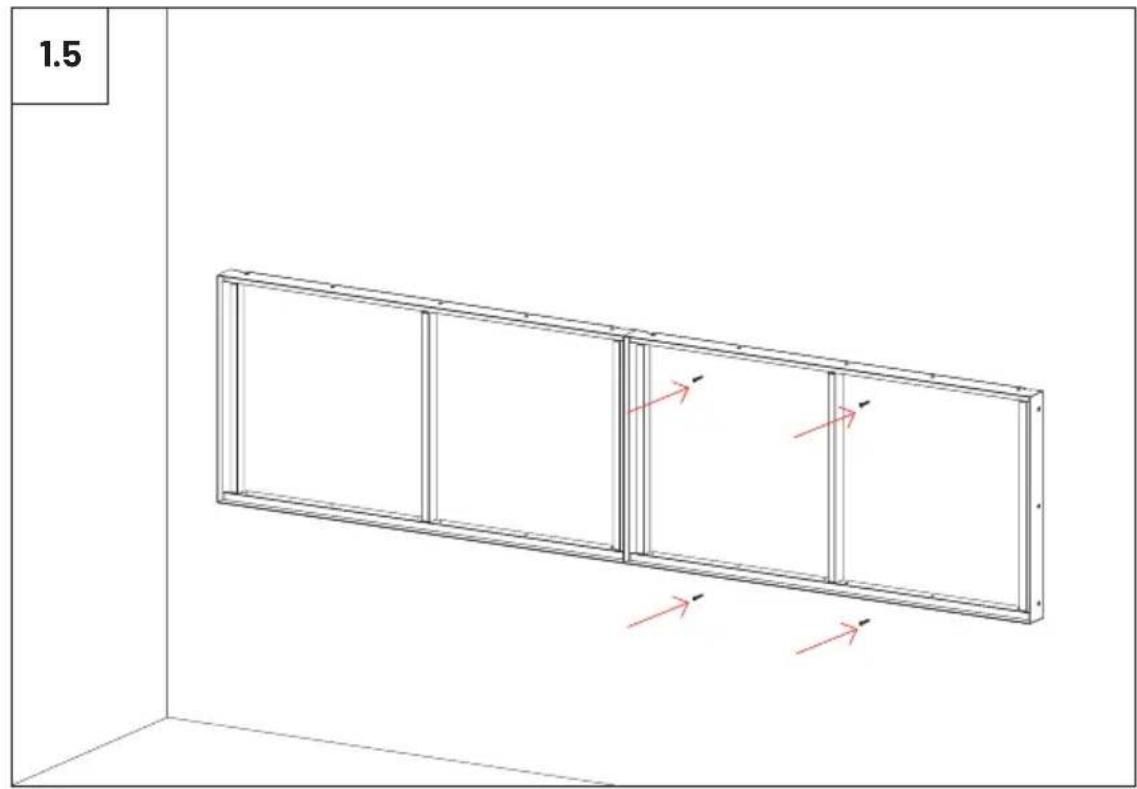
text_image
1.5
text_image
1.6 Insert the VicPET Wool filling, according to the diagram.1.7
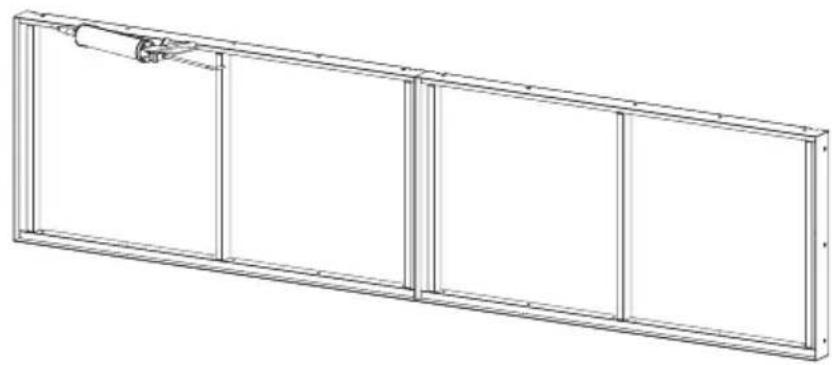
If you wish to fix the VMT Flat Panels, apply Flexi Glue Ultra to the wooden frame of the VicSpacers.
natural_image
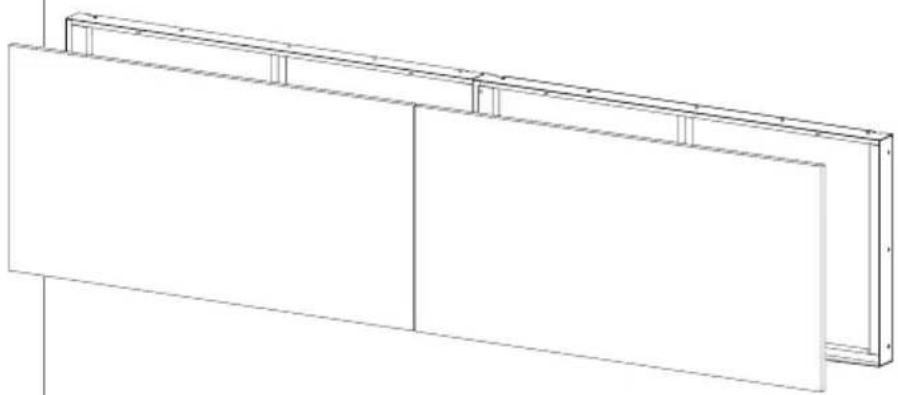
Technical line drawing of a rectangular frame with vertical divisions and a small cylindrical component on top (no text or symbols)1.8
Insert the VMT Panels, according to the diagram.
natural_image
Pure architectural line drawing of a two-story building facade with vertical supports (no text or symbols)2
VicPattern Triangles Wall Installation \*screws not included
2.1
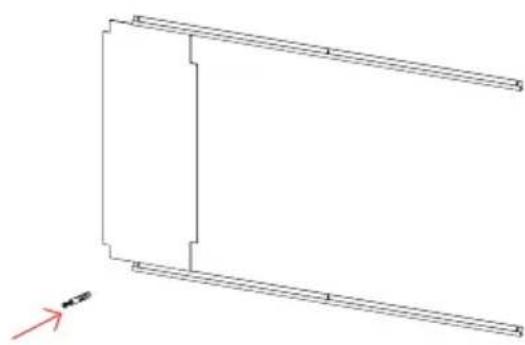
Once you have decided where you want to install the VicPatterns, install the J Profile for hanging the panels. You should choose the appropriate screws and wall plugs for the wall where you are going to install the panels.

natural_image
Diagram showing a mechanical tool with a highlighted drill bit and directional arrow (no text or symbols)2.2
Use the gauge provided to mark the position of the second profile.
natural_image
Pure architectural line drawing of a rectangular structure with diagonal braces and horizontal beams, no text or symbols present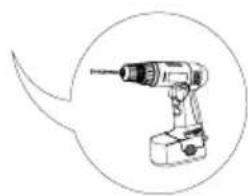
natural_image
Line drawing of a handheld electric drill with a circular outline highlighting the tip (no text or symbols)
text_image
2.3 2.4 1 2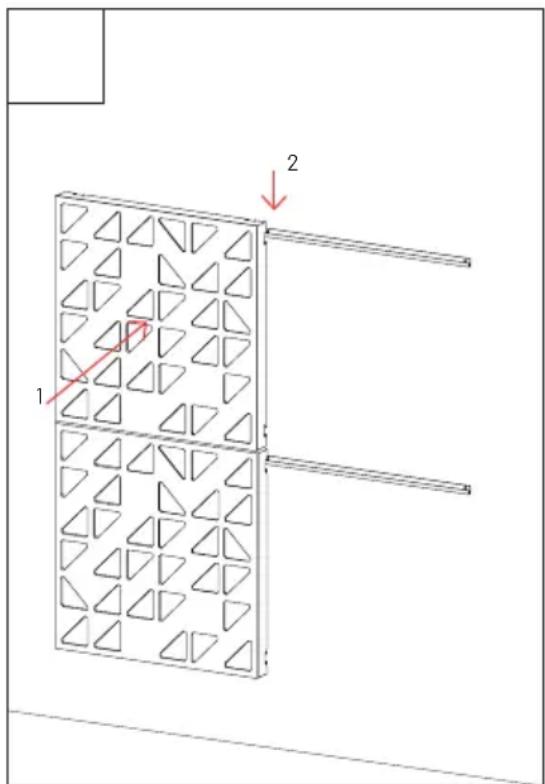
text_image
Technical diagram showing a 3D panel with triangular patterns and labeled arrows, likely illustrating a structural or mechanical assembly.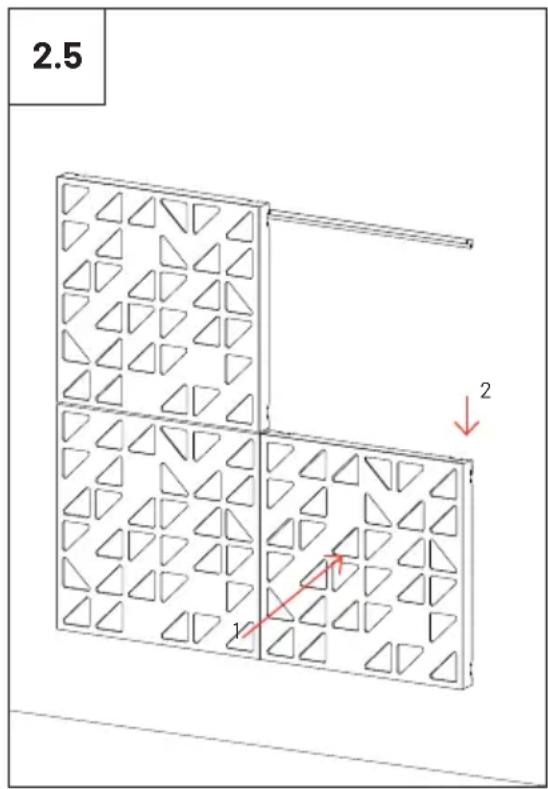
text_image
2.5 1 2
natural_image
Isometric view of a 3D grid with triangular patterns, no text or symbols present3
VicPattern Triangles Ceiling Installation \*screws not included
3.1
Once you have decided where you want to install the VicPatterns, install the J Profile for hanging the panels. You should choose the appropriate screws and wall plugs for the wall where you are going to install the panels.
natural_image
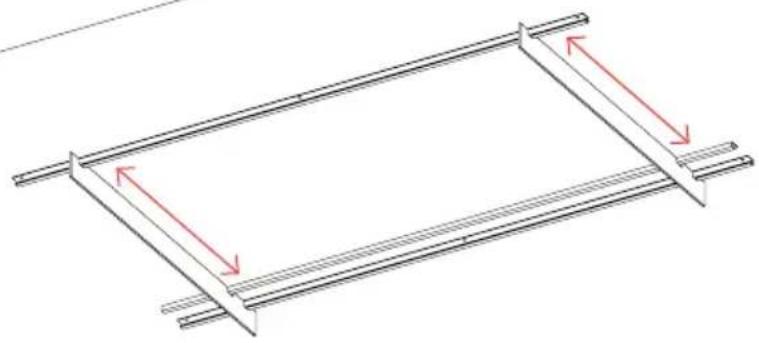
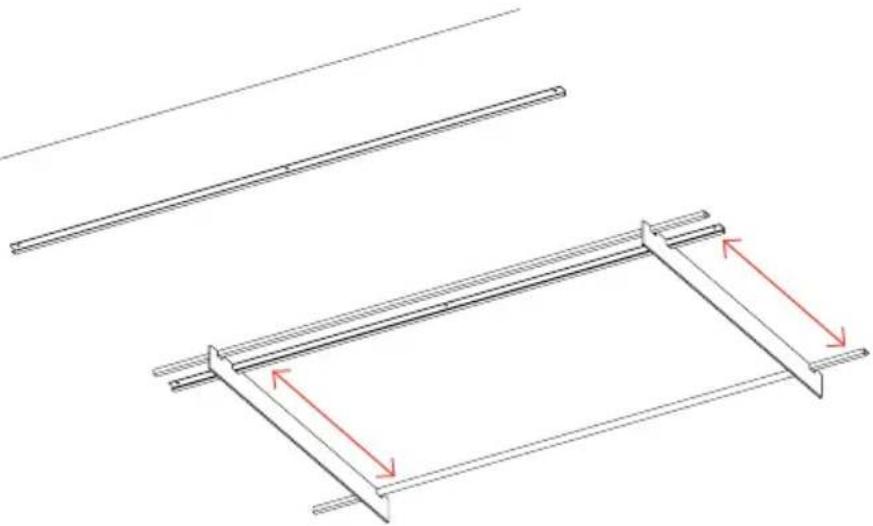
Pure diagram of a structural frame with two horizontal bars and red directional arrows indicating rotation or force (no text or symbols)3.2
Please ensure that the screw heads should be as small as possible so that they do not interfere with the installation of the panels.
natural_image
Technical line drawing of two structural beams with red arrows indicating rotation or clearance (no text or symbols)
text_image
3.3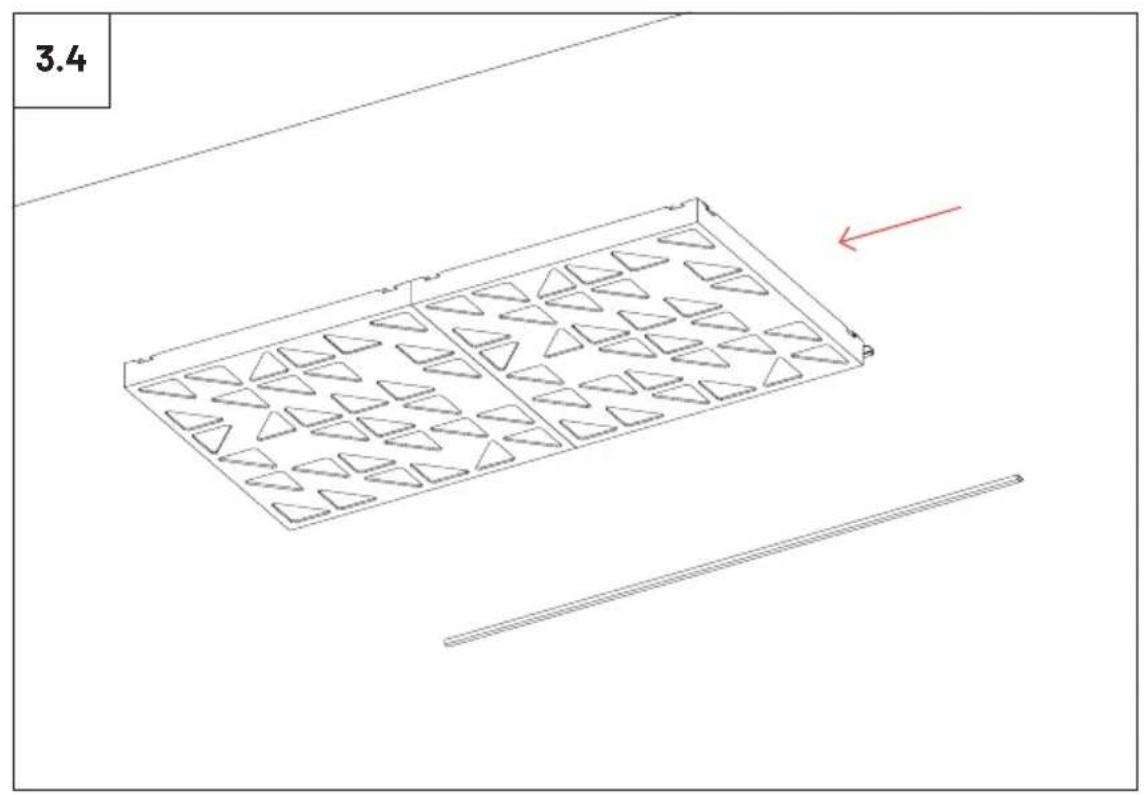
text_image
3.4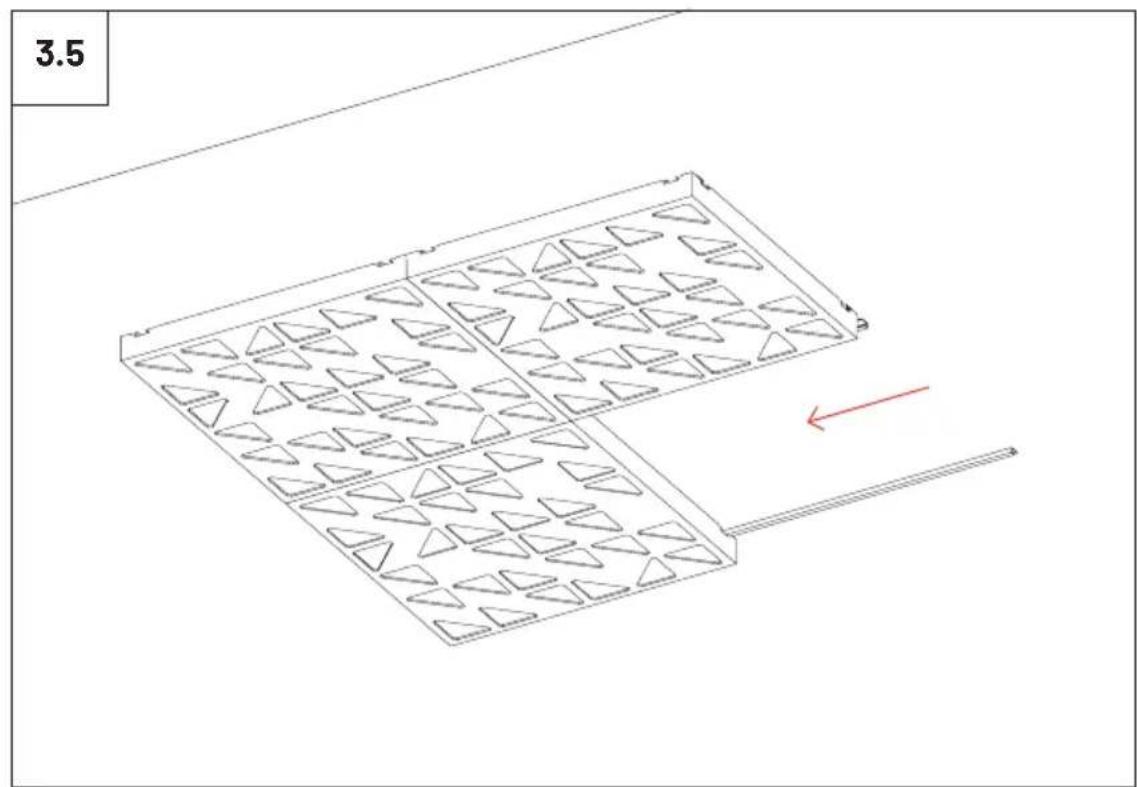
natural_image
Isometric diagram of a rectangular tray with triangular patterns, showing internal structure and directional arrows (no text or symbols)
natural_image
Isometric view of a rectangular grid pattern with triangular cutouts, no text or symbols present
Please note: It should be applied a blocking element such as a L profile to avoid the last panels to slide off the VicFix J profile. Vicoustic will not take responsibility for any mistakes/limitations occurring during installations or any damages resulting from falling panels.
Mega Bass Trap Kit Installation
natural_image
Line drawing of a 3D rectangular frame with corner holes and mounting holes (no text or symbols)Included

natural_image
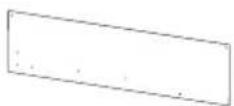
Blank white rectangular panel with no text, numbers, or symbolsFlatPanel VMT x2
natural_image
Technical line drawing of two parallel metal beams with a separate support bracket (no text or symbols)x4 x4
x2
×2

x8

x16 x16

x2
Gouge x1

Wall Plugs and Screws

natural_image
Pure technical line drawing of a rectangular panel with internal wavy lines and corner notches (no text or symbols)x6
Not Included

Level

Measuring Tape

Drill
Screwdriver

Pencil
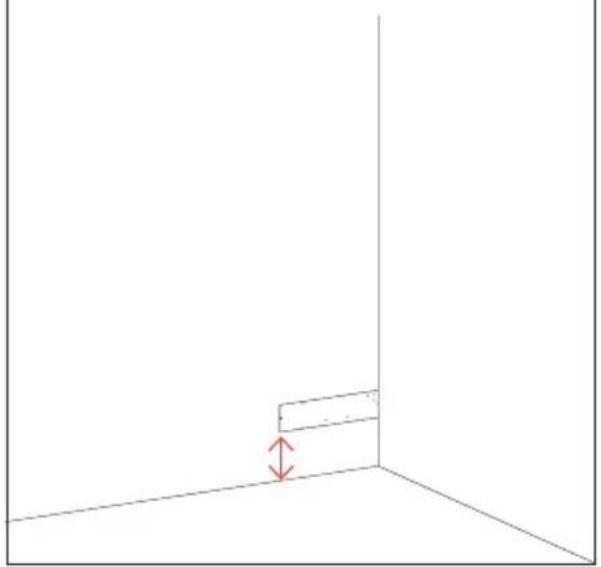
1
Once you have decided at which height you will install the Bass Trap, use the gauge provided to mark the holes for fixing it, according to the diagrams.
natural_image
Simple 3D diagram showing a corner with a red double-headed arrow indicating vertical displacement (no text or symbols)2
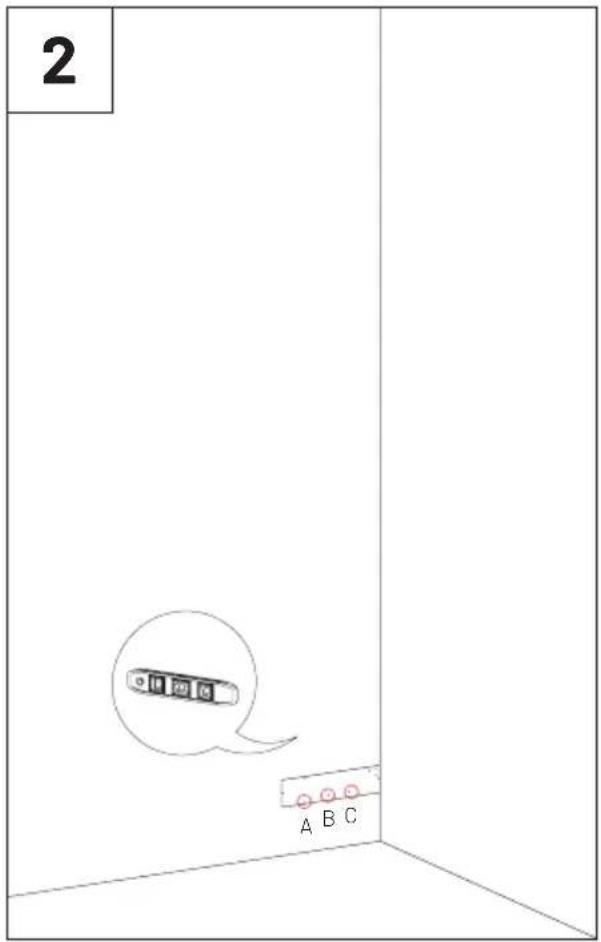
text_image
2 A B C3

text_image
3 D E4

text_image
6 G H F G H IIf necessary, open the holes in the marked places, and apply the wall plugs. Fix the profile indicated, with screws suitable for the wall where you are making the installation.

text_image
7 If necessary, open the holes in the marked places, and apply the wall plugs. Fix the profile indicated, with screws suitable for the wall where you are making the installation.
text_image
8 Repeat the same steps to make the markings on the other wall.9
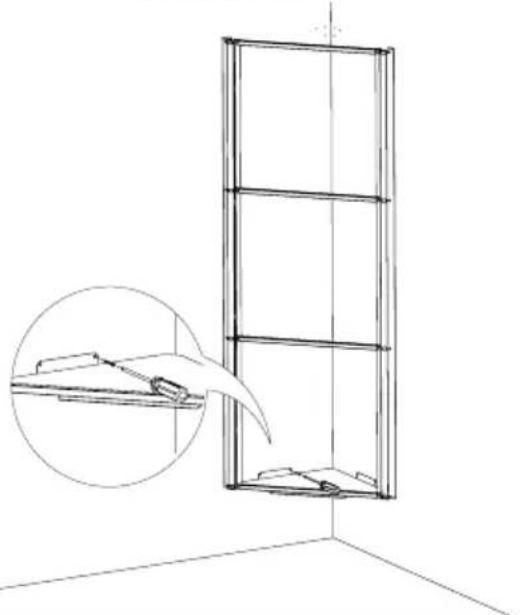
After installing the second profile, fix the protection bars with the metallic screws provided.

natural_image
Technical line drawing of a vertical support structure with an inset magnified detail (no text or symbols)10
If necessary, open the holes in the marked places, and apply the wall plugs. Fix the Bass Trap base, with screws suitable for the wall where you are making the installation.
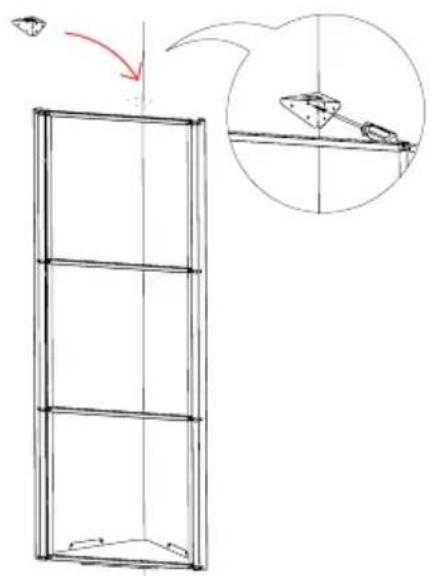
natural_image
Line drawing of a window with an inset showing a clip and a magnified view of the interior (no text or symbols)11
Fix the cover bracket, with screws suitable for the wall where you are making the installation.
text_image
Diagram showing a 3D frame structure with an arrow indicating direction and a magnified inset of a mechanical component.
flowchart
graph TD
    A["Initial State"] --> B["Intermediate State"]
    B --> C["Final State with Red Arrow indicating rotation or change"]
    C --> D["Final End"]
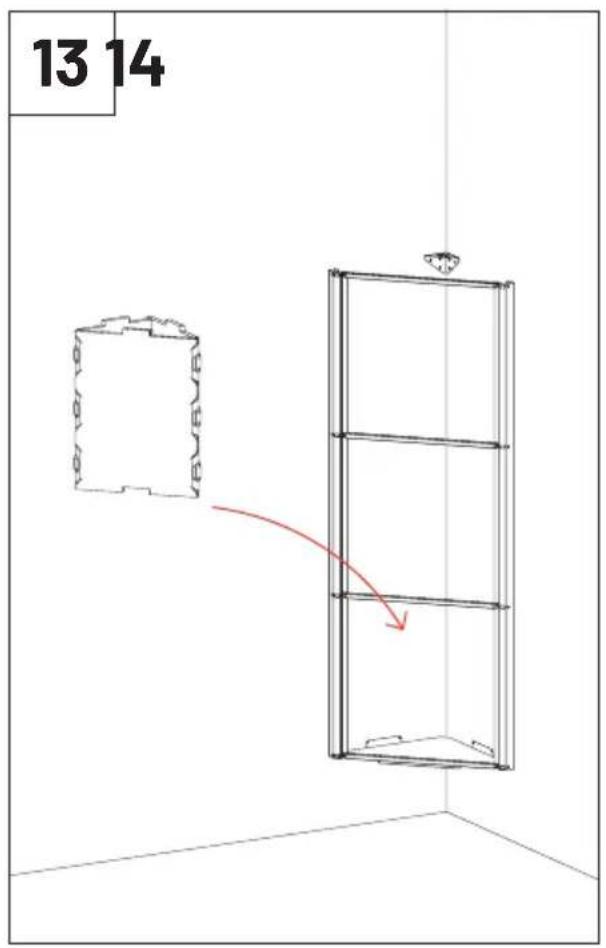
text_image
13 14 105 105 105
natural_image
Line drawing of a vertical wall-mounted cabinet or enclosure with a small top fixture, shown in perspective view (no text or symbols)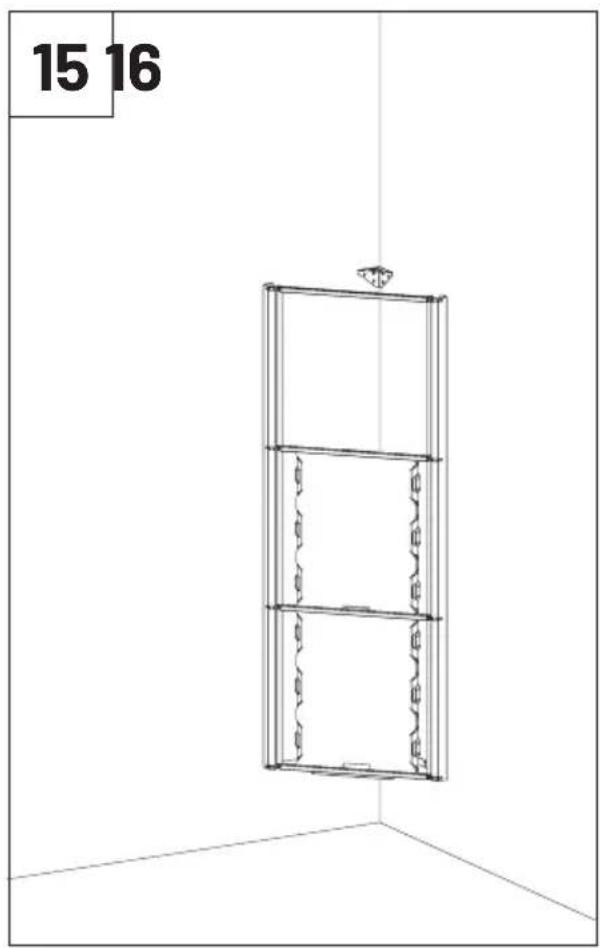
natural_image
3D wireframe diagram of a vertical cabinet with three horizontal shelves, labeled '15 16' (no text or symbols on the cabinet itself)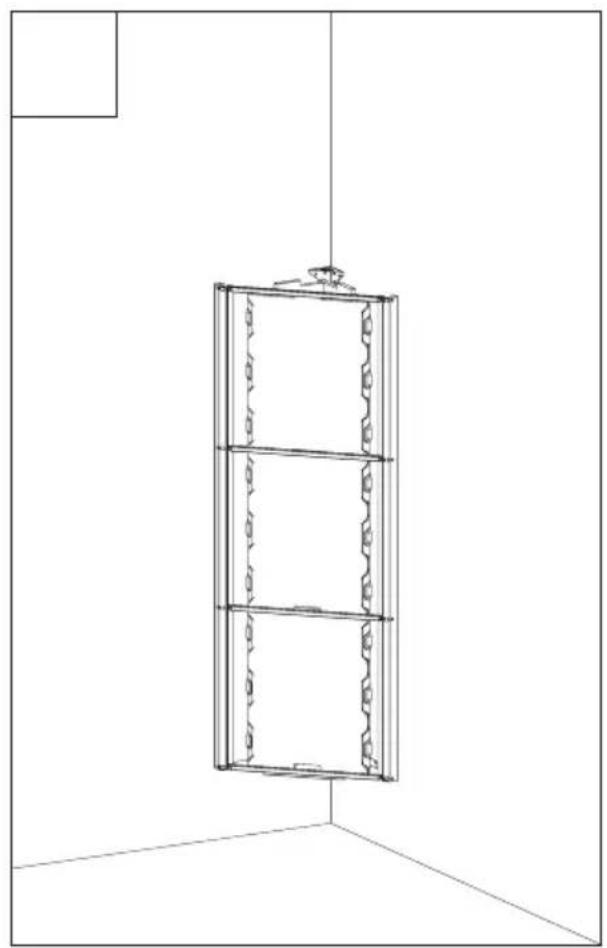
natural_image
Line drawing of a vertical wall-mounted cabinet or enclosure with three horizontal panels, mounted on a vertical support (no text or symbols)17
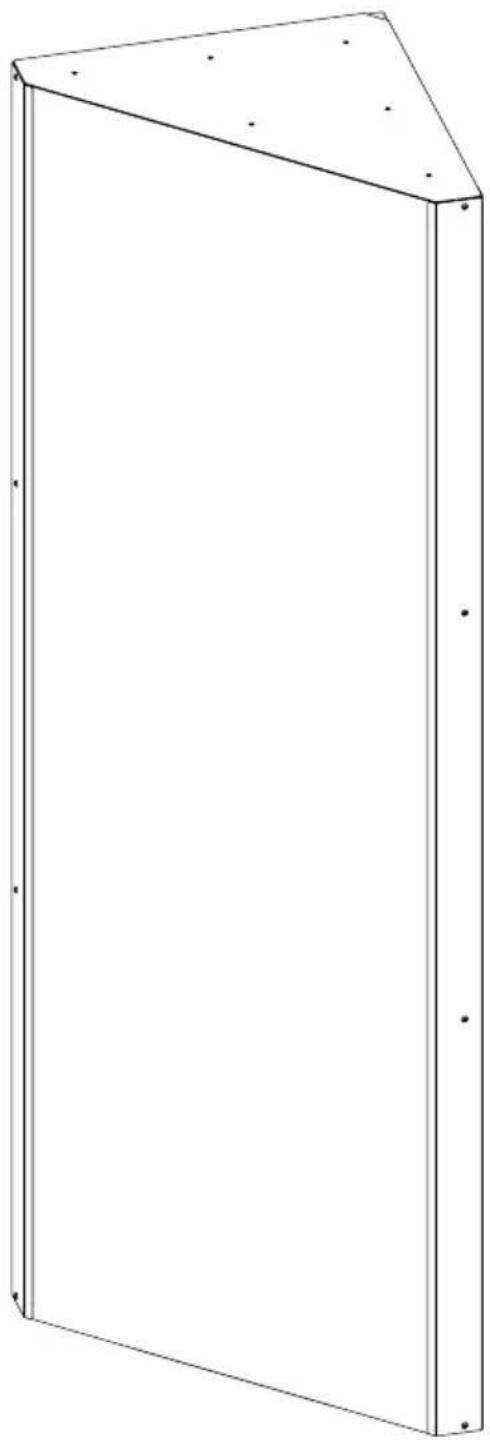
Install the VMT Panel.
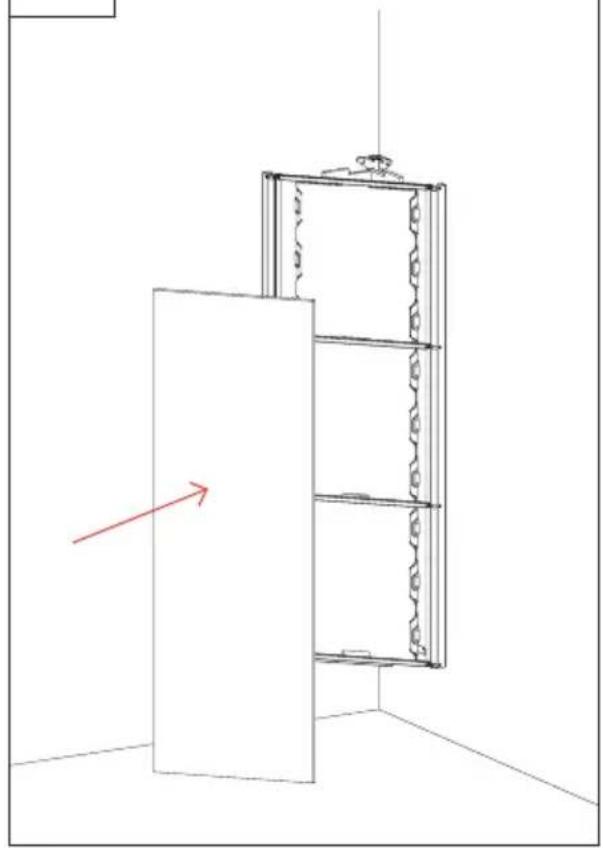
natural_image
Line drawing of a cabinet with a red arrow pointing to the front panel (no text or symbols)18
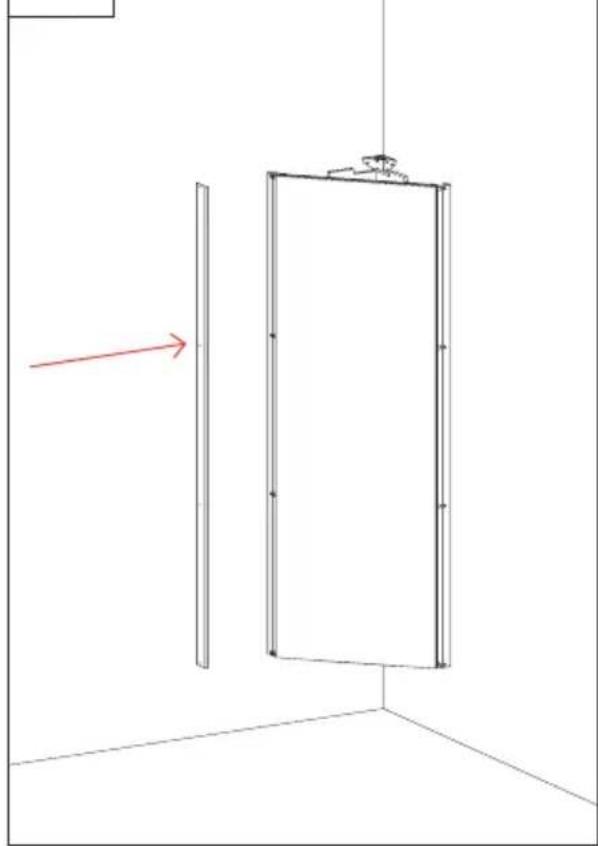
natural_image
Simple line drawing of a door with a vertical panel and a red arrow indicating direction (no text or symbols)19 20 Fix the finishing profile with the paintend screws supplied.

natural_image
Technical line drawing of a door frame with an inset showing a bracket detail (no text or symbols)Install the Bass Trap cover.

natural_image
Simple line drawing of a vertical panel mounted on a wall, with a red arrow indicating direction (no text or symbols)Main Office, R&D & Logistics
Avenida do Pólo 3, Nº 159, Carvalhosa
4590-137 Paços de Ferreira, Portugal
Office
INNOVATIVE ACOUSTIC SOLUTIONS