813501 - Uncategorized MANHATTAN - Free user manual and instructions
Find the device manual for free 813501 MANHATTAN in PDF.

| Product Type | Computer Accessory |
| Brand | Manhattan |
| Model | 813501 |
| Dimensions (approx.) | 3.5 x 1.8 x 0.6 inches (8.9 x 4.6 x 1.5 cm) |
| Weight | 2.1 oz (60 g) |
| Power Source | USB bus-powered |
| Input Voltage | 5V DC |
| Connectivity | USB 2.0 |
| Compatibility | Windows, macOS, Linux |
| Main Functions | Data transfer, device connection |
| Indicators | LED status light |
| Care and Cleaning | Clean with dry cloth; avoid liquids |
| Safety | Use only with compatible devices; avoid overheating |
| Spare Parts | Not available separately; replace unit if faulty |
| Reparability | Non-repairable; dispose according to local e-waste regulations |
| Package Contents | Device, user manual |
| Warranty | 1 year limited |
Frequently Asked Questions - 813501 MANHATTAN
User questions about 813501 MANHATTAN
0 question about this device. Answer the ones you know or ask your own.
Ask a new question about this device
Download the instructions for your Uncategorized in PDF format for free! Find your manual 813501 - MANHATTAN and take your electronic device back in hand. On this page are published all the documents necessary for the use of your device. 813501 by MANHATTAN.
USER MANUAL 813501 MANHATTAN
MANHATTAN and INTELLINET NETWORK SOLUTIONS Wall Gondola Assembly Instructions
Contents:

natural_image
Product assembly diagram showing layered components with no visible text or symbols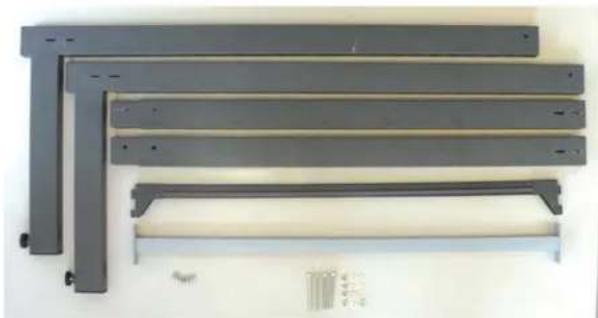
natural_image
Stacked metal sheets with mounting holes and a white rack, no visible text or symbolsOptional light. If a light is not included, please purchase a 30W fluorescent lamp with a 2m removable cord from your local hardware store.
Required Items:
Before attempting to assemble this Wall Gondola, please gather the following items:
• Philips Screwdriver
• A 2nd person to help
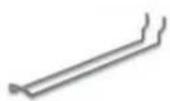
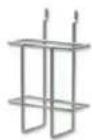
Step 1
- Build 2 uprights by attaching the two parts shown below and securing with a screw.

natural_image
Two black metal L-shaped metal bars extending right, with a small hole at the end (no text or symbols)Step 2
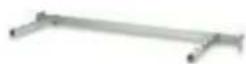
- Stand up both uprights and attach bar across bottom as shown in callout
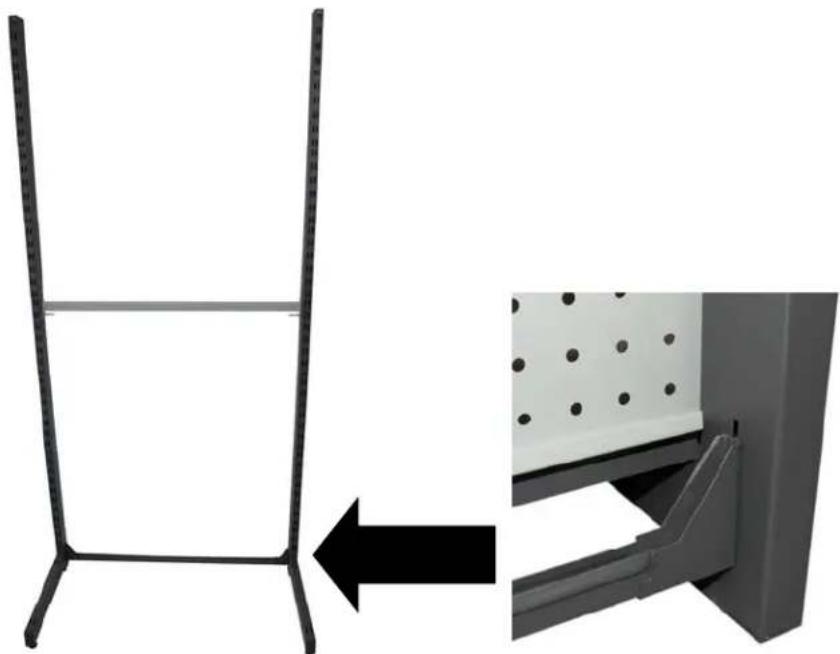
natural_image
Diagram showing a metal frame structure with an arrow pointing to a panel installation detail (no text or symbols present)Step 3
- Attach brace across middle as shown in callout
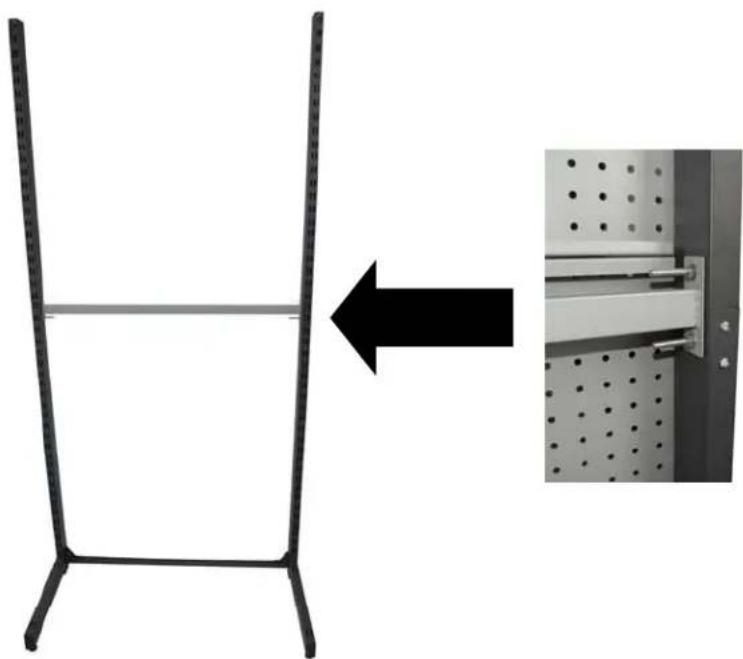
natural_image
Diagram showing a metal frame structure with an arrow pointing to a wall-mounted panel (no text or symbols present)Step 4
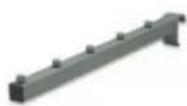
- Attach bottom shelf as shown.
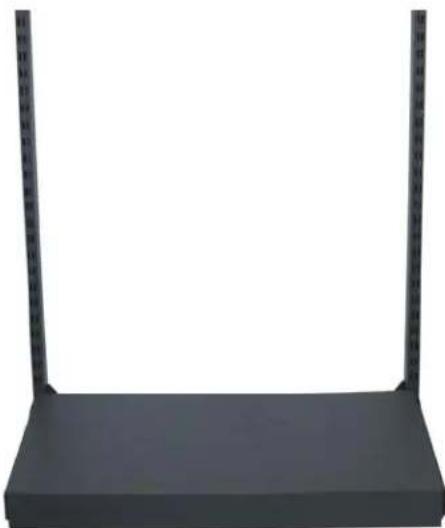
natural_image
Black rectangular electronic device with two vertical metal posts at the top (no text or symbols visible)Step 5
• Gather all parts necessary to create header including the light.
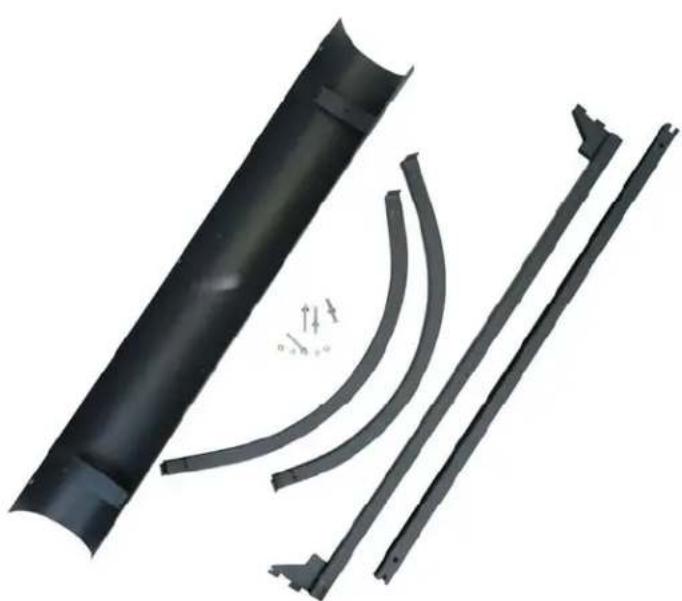
natural_image
3D rendered mechanical parts including a cylindrical component and three curved brackets with directional arrows indicating motion (no text or symbols)Step 6
- Pass light cord through the left curved tube. After the header frame is created, the cord will need to be pushed into the hole.
- Create header frame as shown.
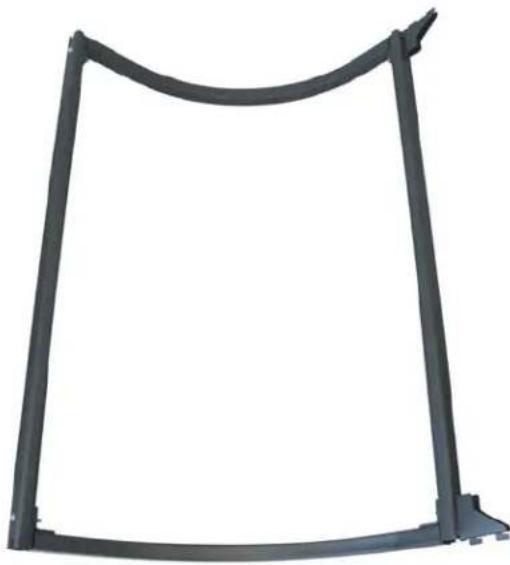
natural_image
Pure black metal frame structure without any text, numbers, or symbols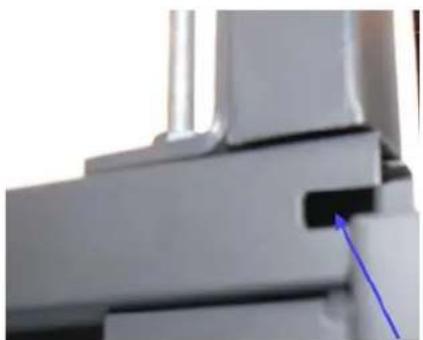
natural_image
Close-up of a mechanical component with a blue arrow pointing to a specific part (no visible text or symbols)This is the hole the cord will be pushed into.
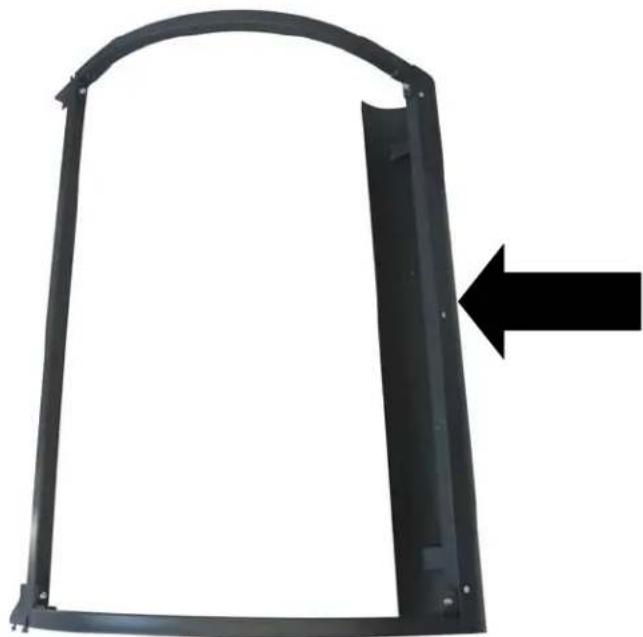
Step 7
- Attach light cover as shown.

natural_image
Black metal frame with arched top and rectangular cutout, no text or symbols visibleStep 8
- Insert light you purchased into light cover.
natural_image
Metal bracket with rounded corners and a black arrow pointing to the right side (no text or symbols)Step 9
- Insert MANHATTAN (barcode #813198) or INTELLINET NETWORK SOLUTIONS (barcode #813204) logo as shown.
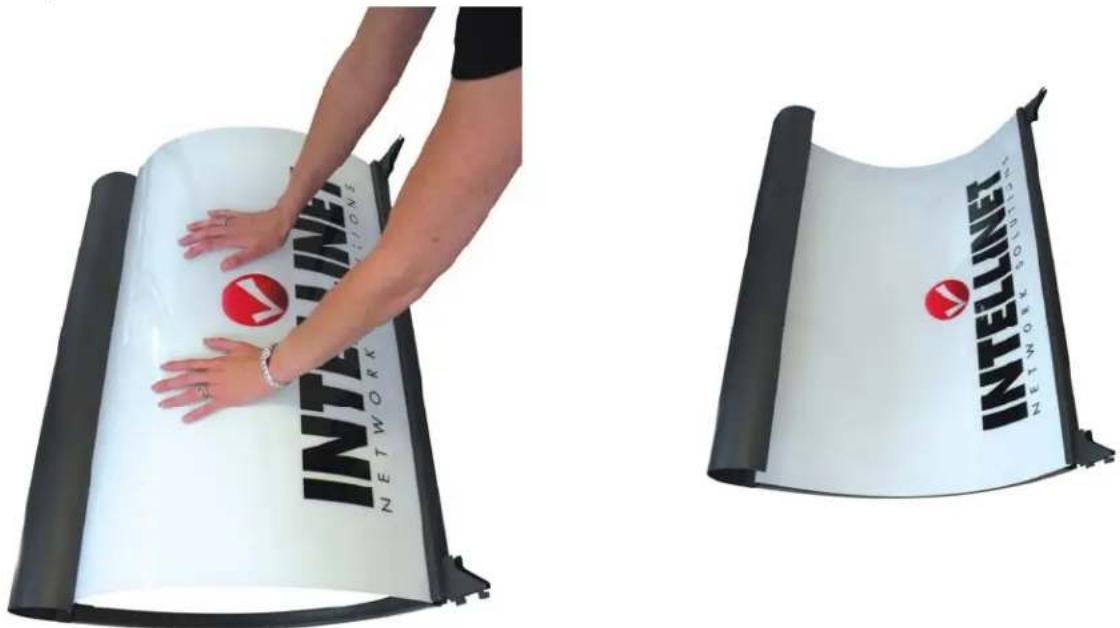
natural_image
Two white and black panels showing a person adjusting a 'NETWORK' branded logo on a white surface, with no visible text or symbols.Step 10
- Attach header to uprights. Insert tabs into slots and push down.

text_image
MANHATTAN EV Charging Computers to LifeStep 11
- Attach peg walls as shown. Must start with the small one on the bottom and work up.

natural_image
Two vertical metal stand designs: one with a horizontal bar on the left, the other with a grid-patterned base (no visible text or symbols)Step 12
- Attach optional accessories as needed.

text_image
MANHATTAN INTELLINET Bottom of shelfAdditional Notes
- If you will be placing 2 or more of these next to each other, you don't need to use 2 uprights for each. One of your uprights will be from the existing display.
Optional Accessories
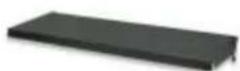
813228
Shelf
813235 15 cm (6") Loop Hook
813242 20 cm (8") Loop Hook
813259 25 cm (10") Loop Hook
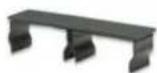
813211
Connector Cap

813525
Shelf Fence
813273
Hanger Arm

813198
Sign
MANHATTAN
813266
Hanger Bar with Arms
813289
Brochure Holder

813204
Sign
INTELLINET NETWORK SOLUTIONS