
Stealthbox SB-T-TACEXT/10W3v3/GA - Subwoofer JL Audio - Kostenlose Bedienungsanleitung
Finden Sie kostenlos die Bedienungsanleitung des Geräts Stealthbox SB-T-TACEXT/10W3v3/GA JL Audio als PDF.


| Marke | JL Audio |
| Modell | SB-T-TACEXT/10W3v3/GA |
| Produkttyp | Subwoofer-Gehäuse (passiv) |
| Einbauort | Fahrzeugspezifisch (Toyota Tacoma/4Runner) |
| Subwoofer-Typ | 10W3v3 |
| Impedanz | 4 Ohm |
| Nennbelastbarkeit (RMS) | 300 Watt |
| Spitzenbelastbarkeit | 600 Watt |
| Frequenzgang | 20 - 200 Hz |
| Gehäusebauweise | Geschlossen (Sealed) |
| Gehäusematerial | Mitteldichte Faserplatte (MDF) |
| Oberfläche | Teppichbeschichtung, schwarz |
| Abmessungen (B x H x T) | ca. 350 x 250 x 200 mm (fahrzeugspezifisch) |
| Gewicht | ca. 13,5 kg |
| Einbautiefe | 177 mm |
| Durchmesser | 254 mm (10 Zoll) |
| Empfohlene Verstärkerleistung | 300 W RMS bei 4 Ohm |
| Lieferumfang | Stealthbox, Bedienungsanleitung |
| Garantie | 2 Jahre |
| Herstellungsland | USA |
Häufig gestellte Fragen - Stealthbox SB-T-TACEXT/10W3v3/GA JL Audio
Benutzerfragen zu Stealthbox SB-T-TACEXT/10W3v3/GA JL Audio
0 Frage zu diesem Gerät. Beantworten Sie die, die Sie kennen, oder stellen Sie Ihre eigene.
Eine neue Frage zu diesem Gerät stellen
Laden Sie die Anleitung für Ihr Subwoofer kostenlos im PDF-Format! Finden Sie Ihr Handbuch Stealthbox SB-T-TACEXT/10W3v3/GA - JL Audio und nehmen Sie Ihr elektronisches Gerät wieder in die Hand. Auf dieser Seite sind alle Dokumente veröffentlicht, die für die Verwendung Ihres Geräts notwendig sind. Stealthbox SB-T-TACEXT/10W3v3/GA von der Marke JL Audio.
BEDIENUNGSANLEITUNG Stealthbox SB-T-TACEXT/10W3v3/GA JL Audio

SB-T-TACEXT/10 W3 STEALTHBOX™ Fits 1996-2000 Toyota Tacoma Extended Cab Trucks
Installation Guide:
This Stealthbox is a product which requires professional installation skills and tools. Please read this installation guide thoroughly before beginning the project. It will guide you step by step through the installation. Several of the steps in this process may require two people to accomplish.
It is absolutely vital that the enclosure be properly mounted to the vehicle according to these instructions. Failure to mount the enclosure properly presents two problems: 1) The sub-bass performance will suffer due to the movement of the enclosure caused by the force exerted by the woofer and 2) A loose enclosure presents a serious safety hazard in the event of a collision or sudden deceleration.
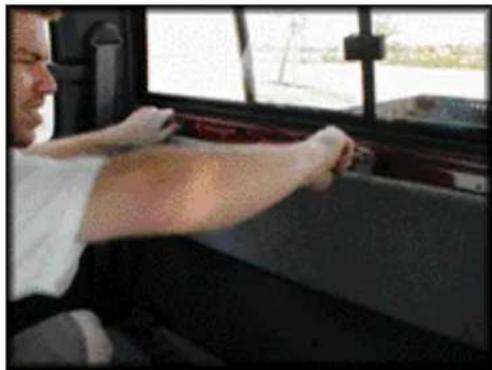
STEP 1: Remove the back pad and trim located above rear seat.
natural_image
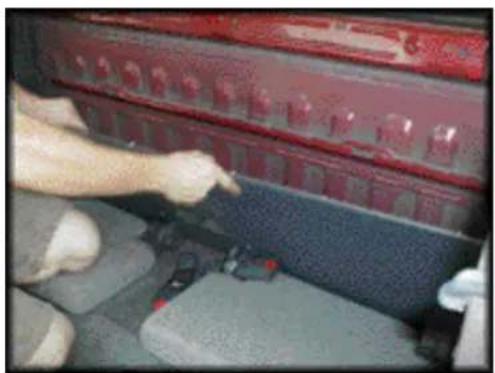
Person sitting in a vehicle window, viewed from the side (no visible text or symbols)STEP 2: Remove the lower rear trim panel.
natural_image
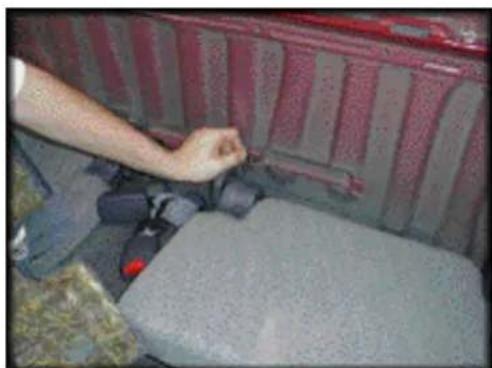
Close-up of hands installing or adjusting a red and gray car seat cover (no visible text or symbols)STEP 3: In sert supplied speed clips onto the bracket located on the lower area of the rear wall of the truck. The two clips go over the inner two holes on this bracket.
natural_image
Person adjusting a seatbelt inside a vehicle cabin (no visible text or symbols)STEP 4: Install supplied space onto the plastic trim clip holder on the rear of the trim panel. This will prevent cracking the panel when it is reinstalled.

natural_image
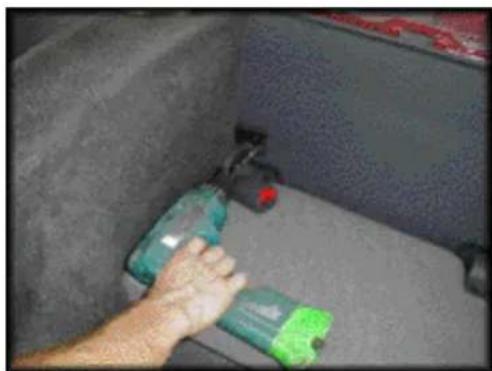
Close-up of a finger pressing down on a textured green surface with scattered debris (no visible text or symbols)STEP 5: Reinstall the lower rear trim panel. In stall the supplied bracket onto the Stealthbox. Place the Stealthbox in the vehicle and drill the two holes through the plastic panel using the holes in the bracket as guides. The holes should align with the holes in the space is installed in Step 4.
natural_image
Person using a tool to clean or store floor tiles (no visible text or symbols)STEP 6: Remove Stea lth box.
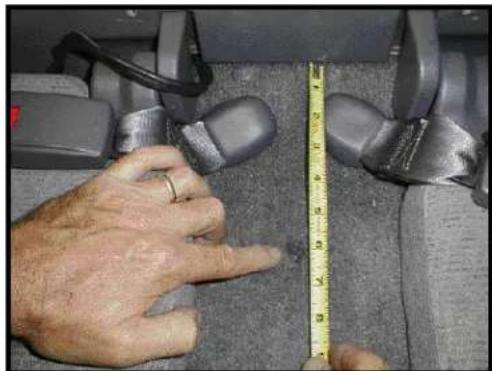
STEP 7: Locate factory bolt by feeling for horse shoe shaped indent under carpet. Bolt is located in between the center of both rear seats approximately 6" away from rear wall.
natural_image
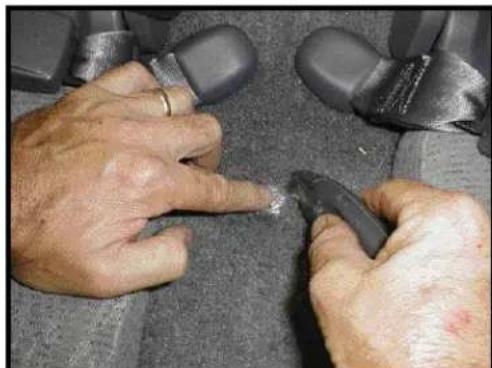
Close-up of a person adjusting a car seatbelt with a yellow measuring tape (no visible text or symbols)STEP 8: Cut carpet around factory bolt (Approximately one inch diameter) so that the bolt could be easily removed.
natural_image
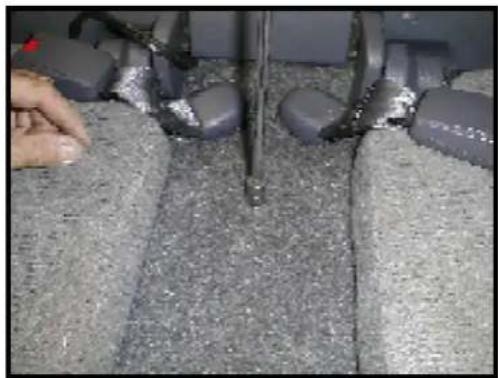
Close-up of hands adjusting a car seatbelt with a tool near the surface (no visible text or symbols)STEP 9: Remove factory bolt using a 10 mm socket. Discard factory bolt.
natural_image
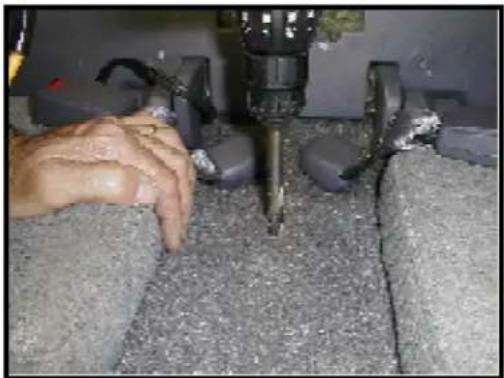
Close-up of a car interior with visible structural elements and a hand adjusting the part (no text or symbols)STEP 10: Drill through factory thread hole using 1/2" drill bit.
natural_image
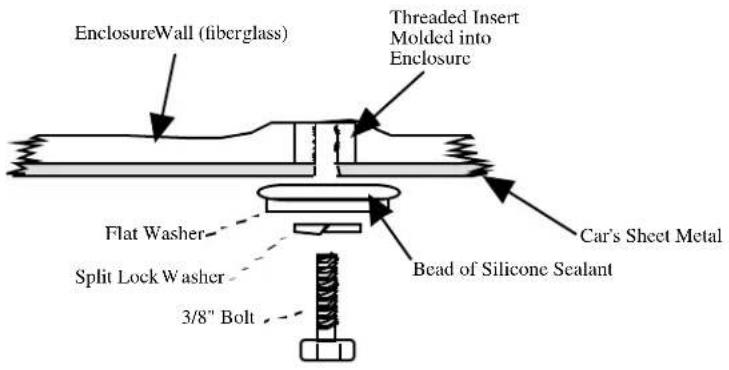
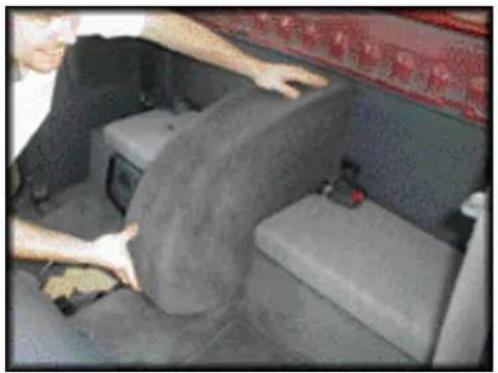
Close-up of a robotic arm operating on a textured surface with a hand pressing down (no visible text or symbols)STEP 11 : Run speakerwire. Place Stealthbox in to vehicle and test before securing. Secure Stealthbox at all three locations (bottom bolt and both rear sides).
natural_image
Interior view of a vehicle showing a person operating a car with a large cylindrical component (no visible text or symbols)STEP 12: Rein stall back pad and trim.
This completes the installation.
Specifications:
- Driver: 10 W3-D2
- En do sure type: Sea led
• Power handling: 250 Watts Continuous
• Final Impedance: 4Ω
Hardware List
• 8 1/4" flat washers
• 2 1/4" lock washers
• 1 3/8" flat washer
• 1 3/8" lock washer
- 2 1/4"bolts
- 1 3/8" bolt
- 2 spee d clips



Marke : JL Audio
Modell : Stealthbox SB-T-TACEXT/10W3v3/GA
Kategorie : Subwoofer