BBGC60PK2 - Nicht kategorisiert Sherlock - Kostenlose Bedienungsanleitung
Finden Sie kostenlos die Bedienungsanleitung des Geräts BBGC60PK2 Sherlock als PDF.


Benutzerfragen zu BBGC60PK2 Sherlock
0 Frage zu diesem Gerät. Beantworten Sie die, die Sie kennen, oder stellen Sie Ihre eigene.
Eine neue Frage zu diesem Gerät stellen
Laden Sie die Anleitung für Ihr Nicht kategorisiert kostenlos im PDF-Format! Finden Sie Ihr Handbuch BBGC60PK2 - Sherlock und nehmen Sie Ihr elektronisches Gerät wieder in die Hand. Auf dieser Seite sind alle Dokumente veröffentlicht, die für die Verwendung Ihres Geräts notwendig sind. BBGC60PK2 von der Marke Sherlock.
BEDIENUNGSANLEITUNG BBGC60PK2 Sherlock
Instruction Manual
MANBBGC60PK2 REV B 28/05/20
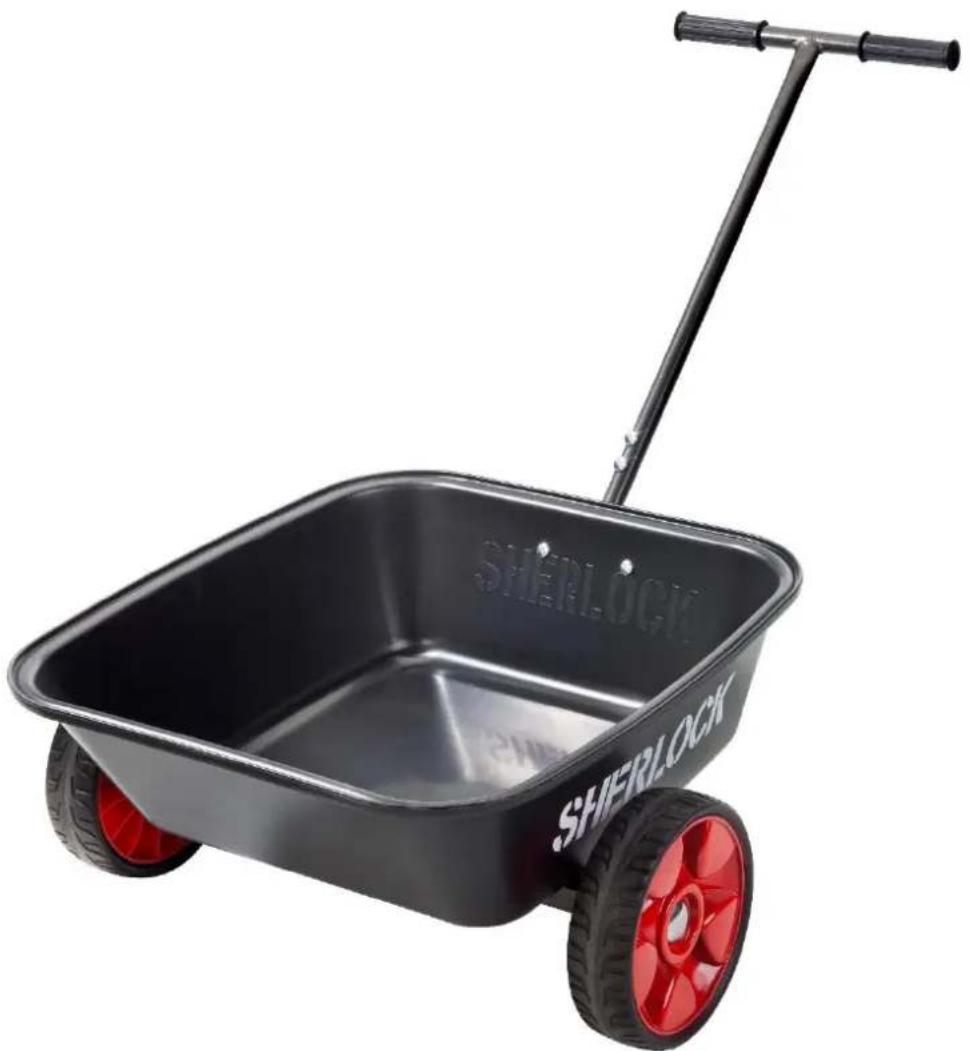
SHERLOCK 60L POLY TRAY CART BBGC60PK2
natural_image
Black and red Sherlock push toy with a metal handle, no visible text or symbols on the object itself.SILVAN AUSTRALIA PTY. LTD.
ABN 48 099 851 144
sherlocklastslonger.com.au
sherlocklastslonger.co.nz
FOR SERVICE SUPPORT
PH 1300 745 826 (AUSTRALIA)
PH 0508 745 826 (NEW ZEALAND)
info@silvanaust.com

text_image
SHERLOCK60L Tray
natural_image
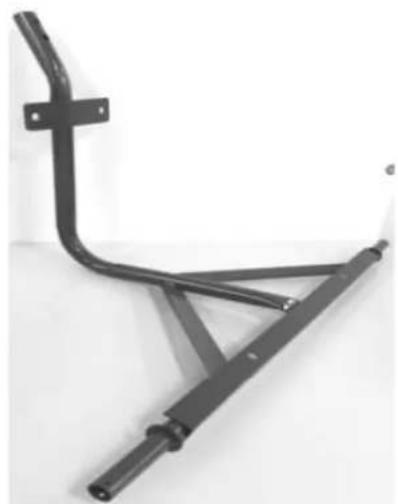
Mechanical support bracket with articulated joints and a curved handle (no text or symbols visible)Frame
natural_image
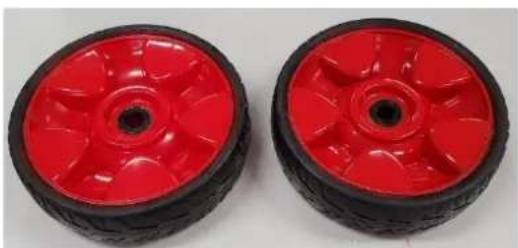
Two red and black plastic wheel wheels with visible spokes and central hub (no text or symbols)Wheel P/No BBGC60PK2-01
natural_image
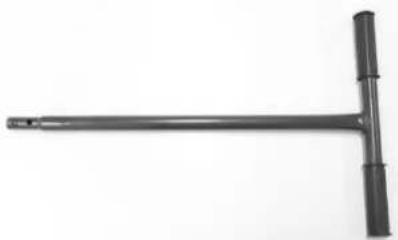
T-shaped metal tool with multiple cylindrical ends, isolated on white background (no text or symbols)Handle
text_image
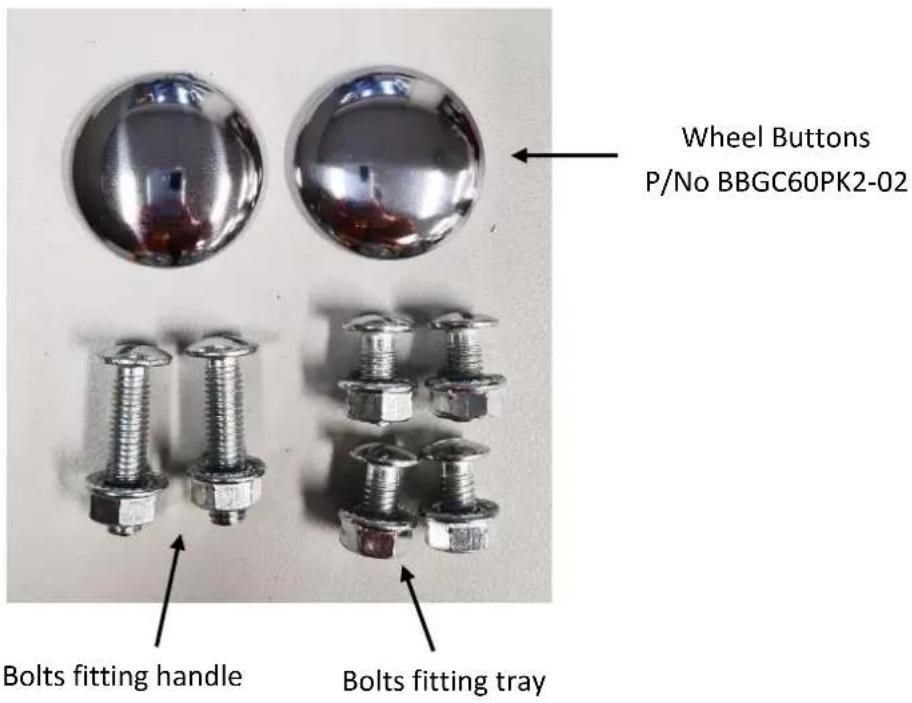
Wheel Buttons P/No BBGC60PK2-02 Bolts fitting handle Bolts fitting trayIMPORTANT! DO NOT ALLOW CHILDREN TO USE THE CART WITHOUT SUPERVISION, IT IS NOT A TOY.
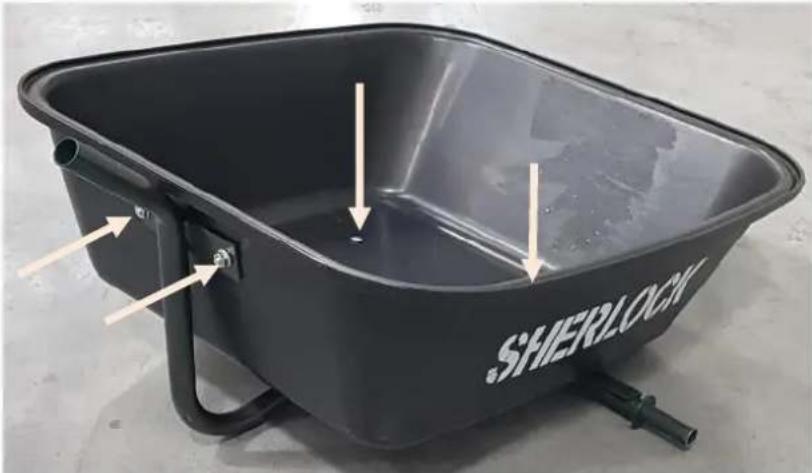
Step 1. Fit tray to metal frame.
Refer to image for direction of tray. Fit 4 bolts through tray and frame, fasten with washer and nut.
natural_image
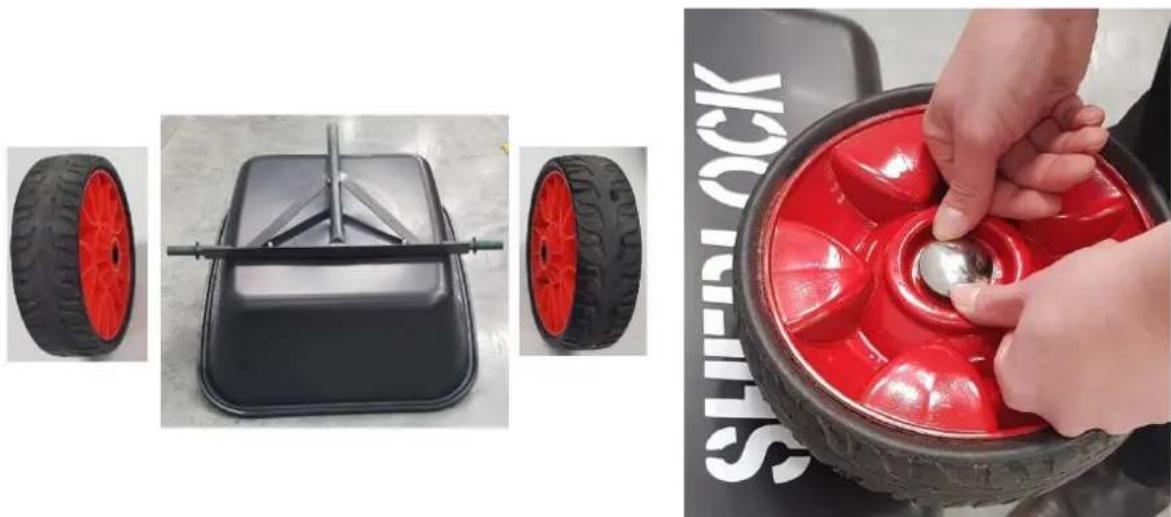
Black SHERLOCK portable push-in bucket with visible arrows indicating parts, no text or symbols on the basin itself.Step 2. Fit wheels to frame, and then put the cart on its side and push the wheel button onto the axle.
natural_image
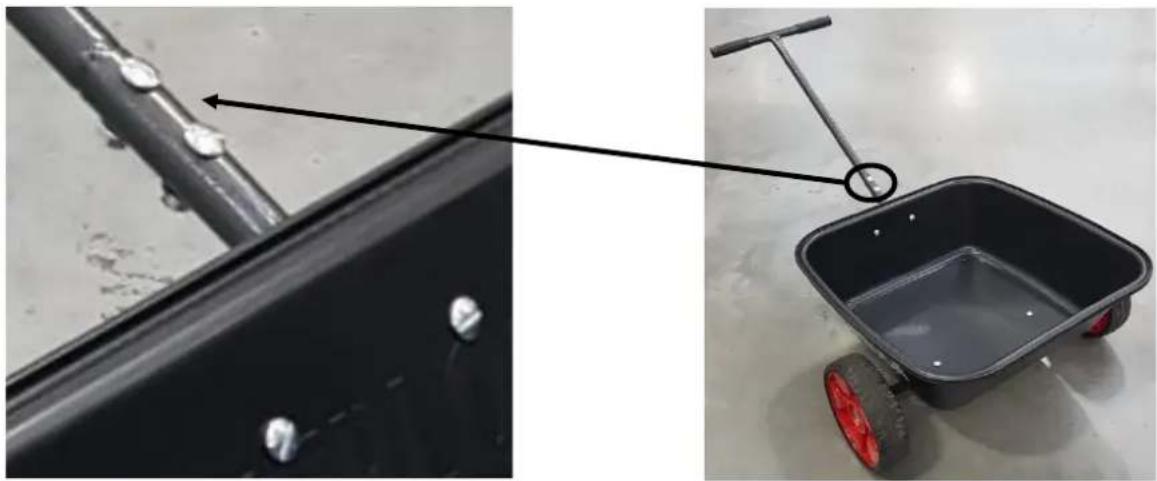
Composite image showing a red-handled push-pool cutter and a hand adjusting a ball on a tire (no text or symbols visible)Step 3. Fit handle to frame.
Fasten with bolts and nuts.