RPA-SPDIF - Radio PAC - Kostenlose Bedienungsanleitung
Finden Sie kostenlos die Bedienungsanleitung des Geräts RPA-SPDIF PAC als PDF.


Benutzerfragen zu RPA-SPDIF PAC
0 Frage zu diesem Gerät. Beantworten Sie die, die Sie kennen, oder stellen Sie Ihre eigene.
Eine neue Frage zu diesem Gerät stellen
Laden Sie die Anleitung für Ihr Radio kostenlos im PDF-Format! Finden Sie Ihr Handbuch RPA-SPDIF - PAC und nehmen Sie Ihr elektronisches Gerät wieder in die Hand. Auf dieser Seite sind alle Dokumente veröffentlicht, die für die Verwendung Ihres Geräts notwendig sind. RPA-SPDIF von der Marke PAC.
BEDIENUNGSANLEITUNG RPA-SPDIF PAC
Introduction & Features
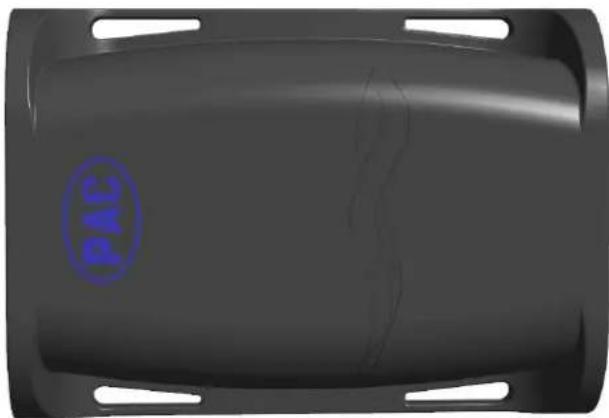
The RPA-SPDIF is an analog to SPDIF converter designed for use with select RadioPRO interfaces. This module will convert analog audio from an aftermarket radio to the SPDIF signal used by some factory amplifiers.
Module Overview
natural_image
3D rendered object with a blue circular logo and handwritten signature, no readable text or symbols present.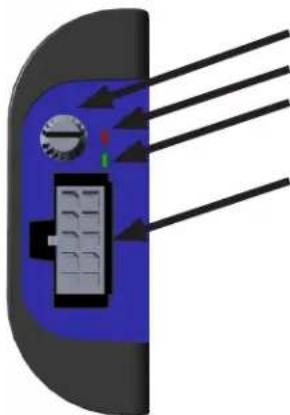
natural_image
Cross-sectional diagram of a device with internal components and directional arrows (no text or symbols)Gain Adjustment
Clipping LED
Power LED
Wiring Harness
Installation Steps
- Connect the 10-pin harness to the RPA-SPDIF.
- Connect the speaker inputs of the RPA-SPDIF harness.
a. When using with an RP5.2 module, simply plug the 12-pin connector into the amplified audio output of the interface.
b. When using with an RP4.2 module, you will need to cut off the 12-pin connector and wire the right and left speaker inputs to the front speaker outputs of the aftermarket radio.
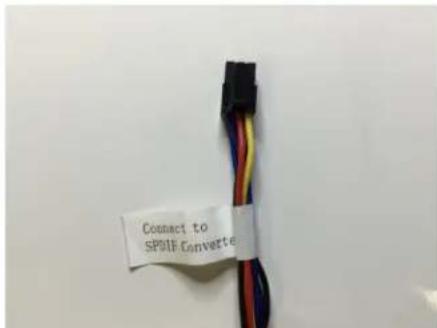
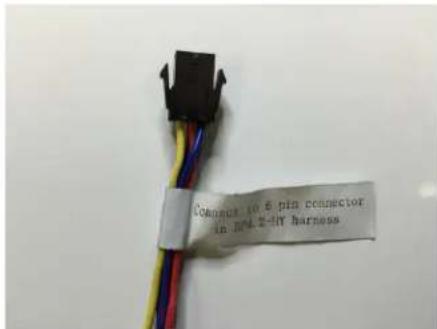
- Connect the 6-pin plug on the RPA-SPDIF (Fig 1) harness to the 6-pin plug on the RadioPRO harness (Fig 2).
- Turn the Gain Adjustment dial on the RPA-SPDIF all the way to the left (counter clockwise).
- Turn on the aftermarket radio and set the volume to about 2/3 max volume.
- Begin turning the Gain Adjustment knob on the RPA-SPDIF to the right (clockwise). Do this until the red clipping LED begins flashing.
- Once the red LED has turned on, turn the Gain Adjustment knob on the RPA-SPDIF slightly to the left (counter clockwise) until the red LED goes off.
- Turn off the aftermarket radio and secure the RPA-SPDIF to the RadioPRO harness. Installation of the RPA-SPDIF is now complete.
Fig 1
text_image
Connect to 6-pin connector in red 2-duty harnessFig 2