672S - Beleuchtung GVM - Kostenlose Bedienungsanleitung
Finden Sie kostenlos die Bedienungsanleitung des Geräts 672S GVM als PDF.


Benutzerfragen zu 672S GVM
0 Frage zu diesem Gerät. Beantworten Sie die, die Sie kennen, oder stellen Sie Ihre eigene.
Eine neue Frage zu diesem Gerät stellen
Laden Sie die Anleitung für Ihr Beleuchtung kostenlos im PDF-Format! Finden Sie Ihr Handbuch 672S - GVM und nehmen Sie Ihr elektronisches Gerät wieder in die Hand. Auf dieser Seite sind alle Dokumente veröffentlicht, die für die Verwendung Ihres Geräts notwendig sind. 672S von der Marke GVM.
BEDIENUNGSANLEITUNG 672S GVM
■ Product Introduction
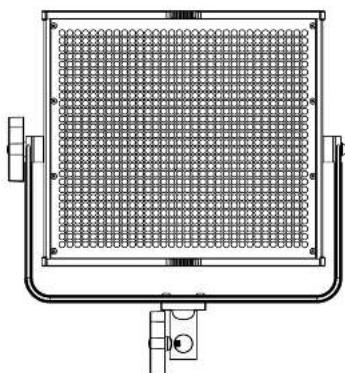
The GVM panel series is a range of professional photography video LED lights that have four versions. GVM-520D, GVM-520S, GVM-672D, and GVM-672S. GVM-620S is made of 520 LED heads. GVM-672DS is 672. GVM-500 and GVM-672D support you to adjust brightness. GVM-520S and GVM-672S support you to adjust brightness and color temperature at the same time. The GVM panel series has an exceptional color rendering index of 95+ and lights consistently. Meanwhile, the dual power system, LCD digital display, multiple control modes, and 360° rotation U bracket improve your light setup and stabilization system.
■ Main Features
- Ullux Heat Disruption
Delicate Design with Asistian Aluminum Alloy housing
High Color Redding Index, CRI(5)
PAN Dimming Technology
LOO Digital Display
Brightness and Color Temperature Adjustment
Brightness and Color Temperature quick memory and restore system
Multiple Control Medes
Dual Power System+
Convenent Light Setup and Stabilization System
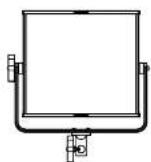
■ Over View
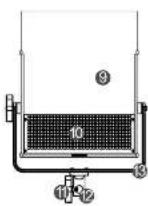
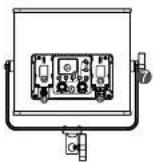
1
① Battery plate
Power switch
B. Brickman and O'Ar
Temperature quick memory
and restore it
Control mode select button
@ Brick Press and Ock
temperature adjustment wheel
© LCD digital display
- U brocket aci sfinu kruh
- 2.10000000000000
DC power interface
② Soft diffusion
③ LED head
由 Lightstand lekingkach
Ф. 23.19.4. Контроль
③ Hols for light steroid instablation
@ Ubrackel
■ Using The Light
③ Insert the Panel on the light stand by rotating

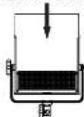
③ insert the soft diffusion into the light panel sides.
by diffusion brake and screw
⑤ Toise the brightness/color temperature adjustment, wheel clockwise or select the brightness/CCT restore key to increase your brightness and color temperature. (You can present the brightness or CCT to the four memory key)
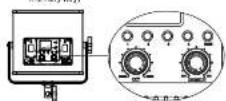
⑥ Send the carpal made you once with the carpal buttons.
Relate Mode: Adjust the wheel and quick select key to
and the tips by your hand.
Remote Mode: As a master controller to core
channel R Mode lights
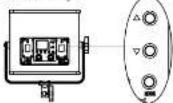
?
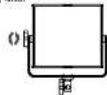
② Loven the U bracket adjusting knob, adjust the angle of the pene which you need, then tighten the U bracket adjusting knob.
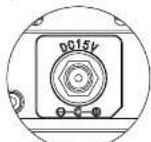
4 Insert the DC scanner Pull on the battery. Turn
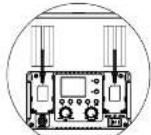
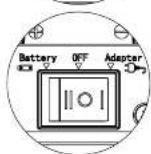
■ Mounting the light to light stand
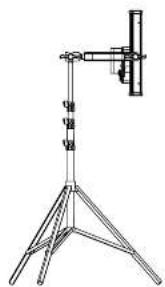
Align the light stand installation hole to the light stand, reluse the light stand looking knob. You can choose the light stand installation direction scanning in your operating environment need.
natural_image
Technical line drawing of a tripod-mounted scientific instrument with a vertical support (no text or symbols)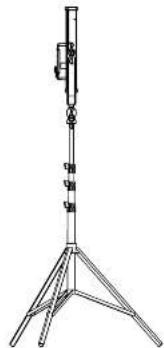
natural_image
Line drawing of a tripod-mounted scientific instrument with a vertical support structure (no text or symbols)■ Specifications
| Model | LED Batch | C/O | LED Angle | Voltage | Current Temp and time | Power Consumption | Size |
| GVM-5200 OVM-5208 | 693 | 95° | 45° | DC16V | 560Ω≤60Ω 320Ω~560Ω | 400 | 323*341*500mm |
| GVM-6720 GVM-6725 | 672 | 95° | 45° | DC16V | 560Ω≤60Ω 320Ω~560Ω | 400 | 323*341*500mm |
3
■ Accessories

Cay, Bsa

Power Line

Power Adapter

Soft Diffusion

■ Other purchase accessories
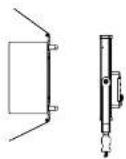
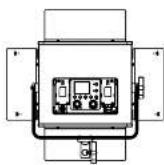
- Barndoor: can purchase a set of foldable barndoor to control the angle of brightness.
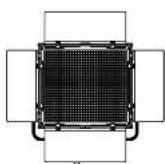
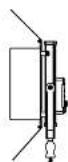
Mounting the heater door aligns the heater mounting blocks in the light panel screen tubes, nor the screens to locking the boarder.
4
- Enhanced soft diffusion: If you want to make the brightness to be softer, you can other purchase this accessory.
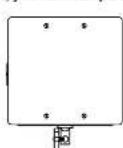
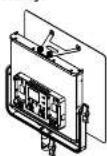
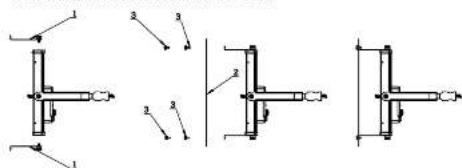
Mounting the enhanced soft diffusion mount the diffusion support from to the light pane, align the diffusion to the screw holes and use the screws to lock the diffusion.
text_image
Technical diagram showing mechanical assembly with numbered components and directional arrows indicating motion or force directions.Attention
-
Do not look at the working light directly.
-
Do not cover the working light, at it will avoid the product cooling to damage it.
-
Do not place the Light at flammable items such as alcohol, gasoline or near volatile solvent.
-
Do not place any liquid on the Light interior or fall into the Light
-
Power off when you finish using the Light in case of a fire.
-
Carefully to move the Light in the case of dropping it down.
Add: 338 N Canal St, #20, South San Francisco, CA94080, USA
Web: www.gvmed.com
Ethen. support@yimie.com
5

GREAT VIDEO MAKER
natural_image
Technical line drawing of a rectangular industrial or mechanical component with grid pattern and mounting bracket (no text or symbols)GVM-520D / GVM-520S
GVM-672D / GVM-672S
Product Manual