
NVT-KIT041 - Dashcam NAV-TV - Kostenlose Bedienungsanleitung
Finden Sie kostenlos die Bedienungsanleitung des Geräts NVT-KIT041 NAV-TV als PDF.


Benutzerfragen zu NVT-KIT041 NAV-TV
0 Frage zu diesem Gerät. Beantworten Sie die, die Sie kennen, oder stellen Sie Ihre eigene.
Eine neue Frage zu diesem Gerät stellen
Laden Sie die Anleitung für Ihr Dashcam kostenlos im PDF-Format! Finden Sie Ihr Handbuch NVT-KIT041 - NAV-TV und nehmen Sie Ihr elektronisches Gerät wieder in die Hand. Auf dieser Seite sind alle Dokumente veröffentlicht, die für die Verwendung Ihres Geräts notwendig sind. NVT-KIT041 von der Marke NAV-TV.
BEDIENUNGSANLEITUNG NVT-KIT041 NAV-TV
Camera Interface for 2006-Up Mercedes-Benz GL, ML, R Class SUV's
text_image
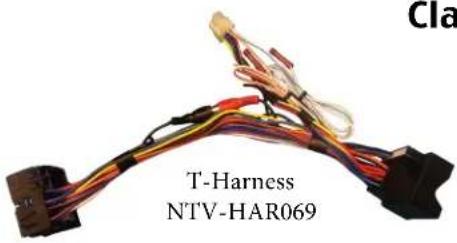
Cla T-Harness NTV-HAR069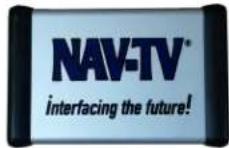
X164 Module
NTV-ASY107
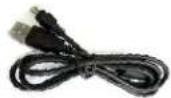
USB Cable
NTV-CAB009
X164
NTV-KIT041
Kit Contents
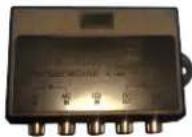
V1 Switcher shown here, this has been replaced with the VSW-R in 03/15
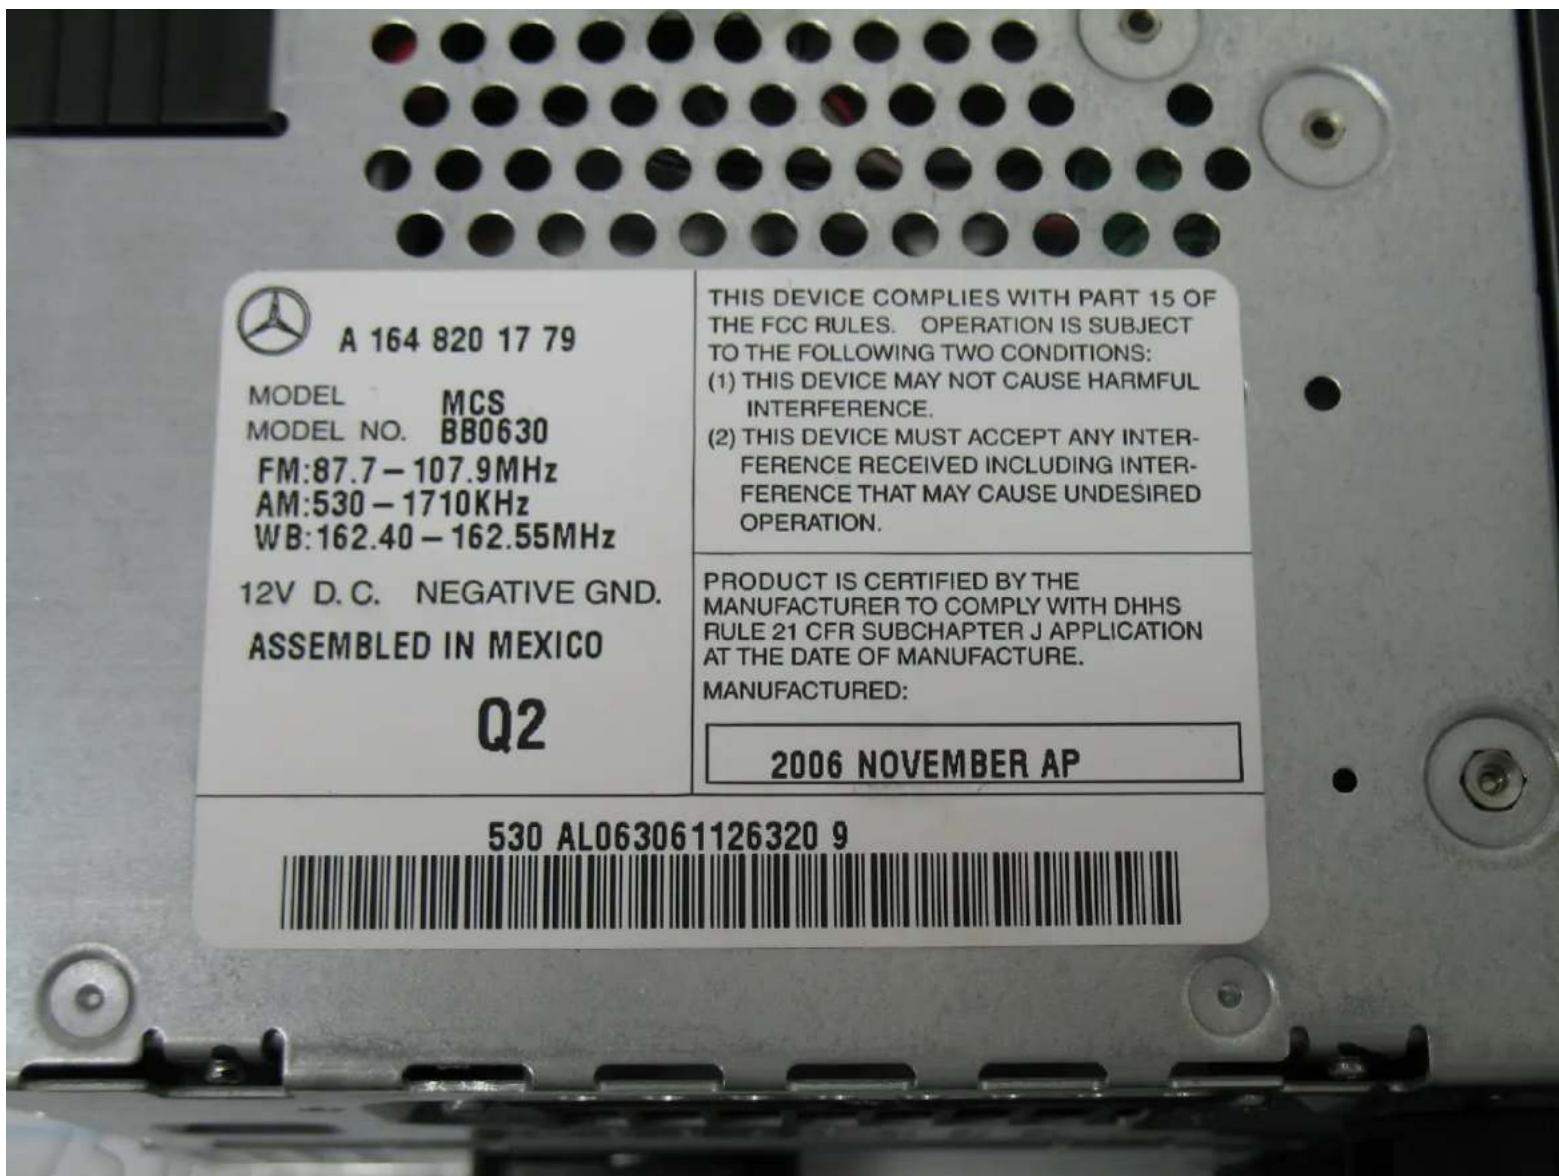
Compatible with Alpine made US MCS Command Head units. Mercesed P/N ending with 1779, 1789, 3879, 4089, 4079 3689. See 3rd page picture for example. No compatible with Models not listed or European Head units
text_image
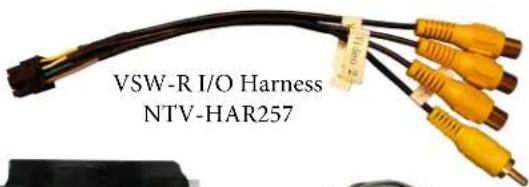
VSW-R I/O Harness NTV-HAR257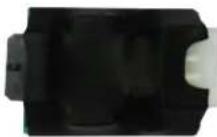
VSW-R Board
NTV-ASY187
natural_image
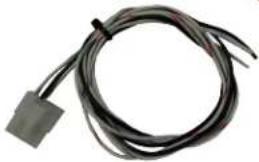
Coiled black cable with a small rectangular connector at the end (no text or symbols visible)VSW-R Trigger Harness NTV-HAR066
Operation Instructions
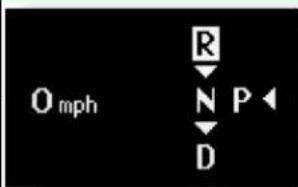
To Activate Rear View Camera Fig. 1 - Vehicle in Reverse
With the brake depressed and engine running, engage reverse gear.
Rear View Camera picture will show on COMAND screen.
text_image
O mph R N P ◀ D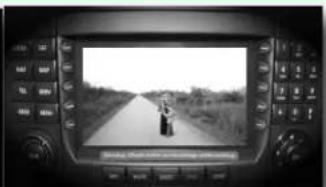
natural_image
Interior view of a car dashboard displaying a black-and-white photo of a person walking on a rural road (no visible text or symbols)To Activate Video Monitoring
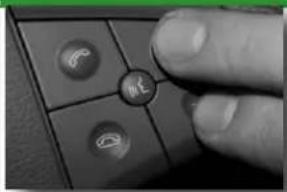
Press the steering wheel (+) and (-) buttons simultaneously to activate Video.
Pressing any MODE button will return the screen to it's normal operation mode.
OR:
Press the steering wheel (hang) and (-) buttons simultaneously to deactivate Video.
Fig. 2 - Video Activation
natural_image
Close-up of a finger pressing down on a dark surface with two circular buttons (no text or symbols visible)
natural_image
Interior view of a car infotainment device displaying a black-and-white photo of a person lying on the road (no visible text or symbols)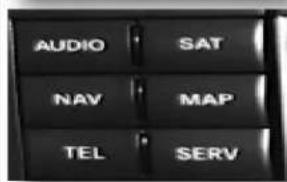
text_image
AUDIO SAT NAV MAP TEL SERV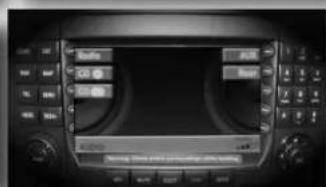
text_image
Audio Sound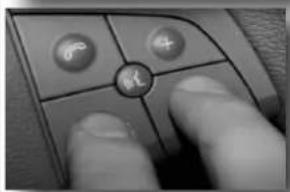
natural_image
Close-up of a finger pressing a button on a computer control panel (no visible text or symbols)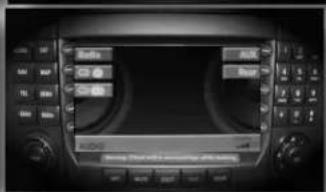
text_image
Radio Add Reset Radio Add ResetAgreement: End user agrees to use this product in compliance with all State and Federal laws. NAV-TV Corp. Would not be held liable for misuse of it's product.
If you do not agree, please discontinue use immediately and return product to place of purchase.
This product is intended for off-road use and passenger entertainment only.
X164
Camera Interface for 2006-Up Mercedes-Benz GL, ML, R Class SUV's
Compatible with Alpine made US MCS COMAND Head units, Mercedes P/N ending with : 1779, 1789, 3879, 4089,4079 3689
Not compatible with Models not listed or European Head units
Installation Instructions
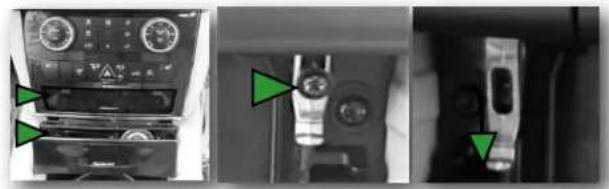
Remove Radio
- Remove TORX Screws behind ashtray.
- Remove ashtray.
- Pull, remove bottom of A/C Wood Trim.
- Remove TORX Screws securing locks.
- Pull down locks, Remove Radio.
Fig. 1 - Radio Removal (GL Class)
natural_image
Three-panel photo showing a car dashboard, a close-up of the intake manifold, and a close-up of the intake device (no visible text or symbols)Wiring
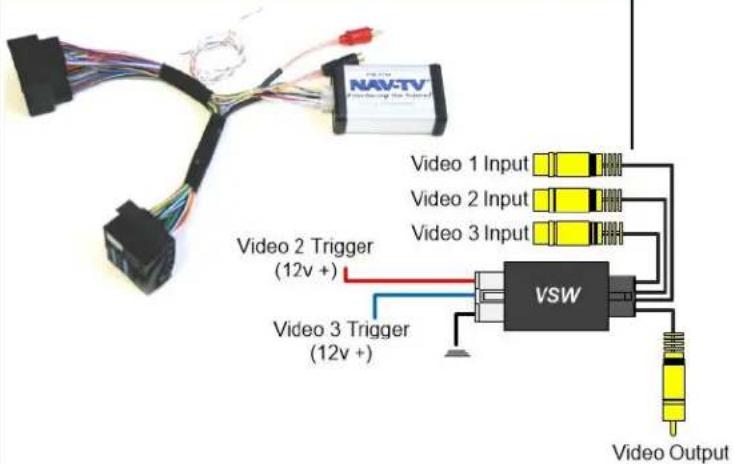
- Male RCA: Output of Factory Camera. Plug into switcher If camera present (Video 1).
-
Video Switcher: connect Black wire to ground, White/Red wire to White / Blue on X164 (Reverse +12V out). The switcher will then activate automatically when in Reverse.
-
Unplug factory power connector from radio. Plug in the X164 adapter harness to factory harness, Radio and X164 Module.
-
Female RCA: Video input to COMAND. Connect to Video source or Camera, or to supplied video switcher if 2 video sources are present (Video OUT).
Fig. 2 - Car Wiring Vs. X164
text_image
NAV-TV Video 1 Input Video 2 Input Video 3 Input Video 2 Trigger (12v +) Video 3 Trigger (12v +) VSW Video Output| White / Blue | +12V Reverse OUT, 500mA |
| White / Red | +12V Acc. OUT, 500mA |
Programming - Proceed only once!
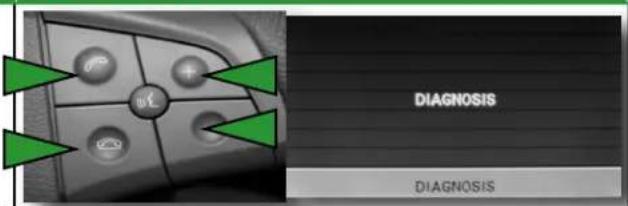
Simultaneously Press the steering wheel (Talk) and (Hang) and (+) and (-) buttons to program radio. Observe the DIAGNOSIS message on the radio followed by a radio reset.
Fig. 3 - Programming
text_image
DIAGNOSIS DIAGNOSISAgreement: End user agrees to use this product in compliance with all State and Federal laws. NAV-TV Corp. Would not be held liable for misuse of it's product.
If you do not agree, please discontinue use immediately and return product to place of purchase.
This product is intended for off-road use and passenger entertainment only.
text_image
A 164 820 17 79 MODEL MCS MODEL NO. BB0630 FM:87.7-107.9MHz AM:530-1710KHz WB:162.40-162.55MHz 12V D.C. NEGATIVE GND. ASSEMBLED IN MEXICO Q2 THIS DEVICE COMPLIES WITH PART 15 OF THE FCC RULES. OPERATION IS SUBJECT TO THE FOLLOWING TWO CONDITIONS: (1) THIS DEVICE MAY NOT CAUSE HARMFUL INTERFERENCE. (2) THIS DEVICE MUST ACCEPT ANY INTER- FERENCE RECEIVED INCLUDING INTER- FERENCE THAT MAY CAUSE UNDESIRED OPERATION. PRODUCT IS CERTIFIED BY THE MANUFACTURER TO COMPLY WITH DHHS RULE 21 CFR SUBCHAPTER J APPLICATION AT THE DATE OF MANUFACTURE. MANUFACTURED: 2006 NOVEMBER AP 530 AL063061126320 9
A 164 820 17 79
MODEL
MCS
MODEL NO.
BB0630
FM:87.7-107.9MHz
AM:530-1710KHz
WB:162.40-162.55MHz
12V D.C. NEGATIVE GND.
ASSEMBLED IN MEXICO
Q2
THIS DEVICE COMPLIES WITH PART 15 OF THE FCC RULES. OPERATION IS SUBJECT TO THE FOLLOWING TWO CONDITIONS:
(1) THIS DEVICE MAY NOT CAUSE HARMFUL INTERFERENCE.
(2) THIS DEVICE MUST ACCEPT ANY INTERFERENCE RECEIVED INCLUDING INTERFERENCE THAT MAY CAUSE UNDESIRED OPERATION.
PRODUCT IS CERTIFIED BY THE MANUFACTURER TO COMPLY WITH DHHS RULE 21 CFR SUBCHAPTER J APPLICATION AT THE DATE OF MANUFACTURE.
MANUFACTURED:
2006 NOVEMBER AP
530 AL063061126320 9
