
NH-U9DX i4 - CPU-Kühler Noctua - Kostenlose Bedienungsanleitung
Finden Sie kostenlos die Bedienungsanleitung des Geräts NH-U9DX i4 Noctua als PDF.


Benutzerfragen zu NH-U9DX i4 Noctua
0 Frage zu diesem Gerät. Beantworten Sie die, die Sie kennen, oder stellen Sie Ihre eigene.
Eine neue Frage zu diesem Gerät stellen
Laden Sie die Anleitung für Ihr CPU-Kühler kostenlos im PDF-Format! Finden Sie Ihr Handbuch NH-U9DX i4 - Noctua und nehmen Sie Ihr elektronisches Gerät wieder in die Hand. Auf dieser Seite sind alle Dokumente veröffentlicht, die für die Verwendung Ihres Geräts notwendig sind. NH-U9DX i4 von der Marke Noctua.
BEDIENUNGSANLEITUNG NH-U9DX i4 Noctua
Dear customer,
Our DX line of coolers has become a default choice in high performance quiet cooling solutions for Intel Xeon CPUs and the latest i4 revision supports LGA2011 (both Square and Narrow ILM), LGA1356 and LGA1366 based Xeon platforms. Each Noctua product is double checked for flawless operation by our quality control team before it leaves the factory and I'm confident that you will be able to sense some of the research, attention and care we've put into making this product. Enjoy your NH-U9DX i4!
Yours sincerely,
Roland Mossig, Noctua CEO
This manual will guide you through the installation process of the SecuFirm2™ mounting system step by step. Prior to installing the cooler, please verify that the cooler is fully compatible with your motherboard.
Should you encounter any difficulties, please check the FAQs on our website (www.noctua.at/faq) and don't hesitate to contact our support team at support@noctua.at. Noctua cannot be held responsible for any damage or losses caused by compatibility issues.
Warranty, Support and FAQs
Even with high-grade products and strict quality control, the possibility of defects cannot be eliminated entirely. Therefore, we aim at providing the highest possible level of reliability and convenience by offering a warranty period of 6 years and direct, fast and straightforward RMA service.
Should you encounter any problems with your Noctua cooler, please don't hesitate to contact our support team (support@noctua.at).
LGA2011
There are two different types of ILM (Independent Loading Mechanism) for Intel's LGA2011 based Xeon CPUs: Square-ILM with 80x80mm hole spacing and Narrow-ILM with 56x94mm hole spacing.
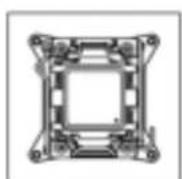
Square ILM Narrow ILM
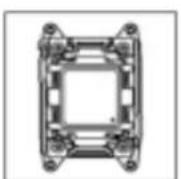
If your mainboard uses a Square-ILM, please continue as described below. If your mainboard uses a Narrow-ILM, please refer to section LGA2011 Narrow-ILM.
LGA 2011 Square-ILM
Applying thermal paste
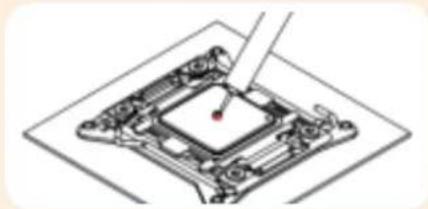
If there are residual traces of thermal paste or thermal pads on your CPU, please clean them off first. Then press a small drop (4-5mm diameter) of NT-H1 onto the centre of the heatspreader.
natural_image
Diagram of a microchip with a red dot indicating a specific component, no text or symbols presentCaution: Applying too much thermal paste will lower heat conductivity and cooling performance!
Fastening the heatsink to the CPU
Caution: Please first take off the fan as well as the protection cover at the bottom side of the heatsink.
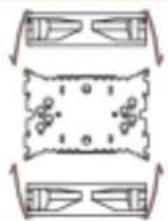
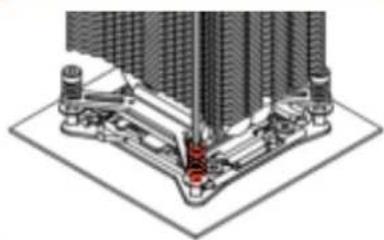
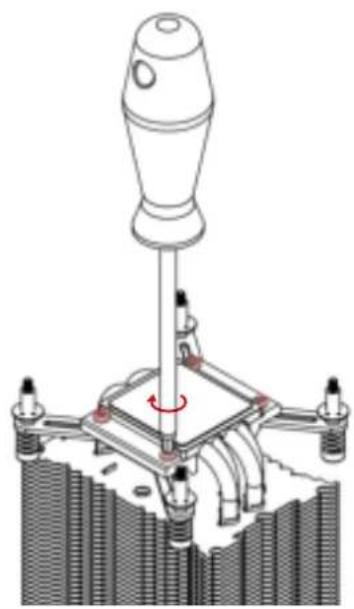
Then put the heatsink onto the CPU and tighten the four spring-loaded screws until they stop using the supplied screwdriver.
natural_image
Technical illustration of a mechanical assembly with no visible text or symbolsCaution: Tighten the screws until they stop.
Attaching the fans
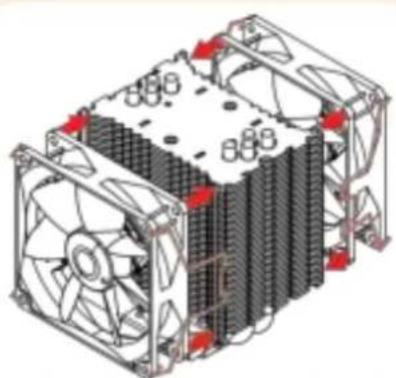
Re-attach the fans to the heatsink using the steel clips:
natural_image
Isometric technical diagram of a computer cooling unit with fan blades and heatsink (no text or labels)Please make sure that both fans are aligned in the same direction.

text_image
AIRFLOWConnect the fans to the mainboard's CPU fan header. Note that you can use the supplied y-cable (NA-YC1) to connect both fans to one CPU header.
Depending on your CPU and the temperature inside the case, you may interconnect the supplied NA-RC7 Low-Noise Adapters (L.N.A.) in order to further reduce the fans' operating noise.
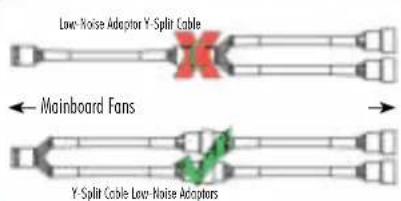
Caution: Please use one adaptor per fan when running two fans with adaptors. Never use one adaptor for two fans by putting it before the y-cable.
text_image
Live Noise Adaptor Y-Split Cable ← Mainboard Fans Y-Split Cable Live Noise AdaptorsCaution: When using the L.N.A.s, check the temperature of your CPU using appropriate software (e.g. the respective applications of your mainboard manufacturer), in order to evade automatic throttling of the CPU due to the increased temperature. If the cooling performance is insufficient, please increase case ventilation or remove the L.N.A.s.
LGA2011 Narrow-ILM
Required mounting parts:
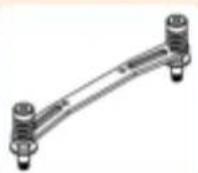
NM-XFB4 Standard Mounting Bar

NM-XFB5 90° Mounting Bar
The LGA2011 Narrow-ILM uses a different hole spacing than Square-ILM, so please replace the pre-installed Square-ILM mounting brackets (NM-XFB3) with Narrow-ILM brackets (NM-XFB4 or NM-XFB5) as described below.
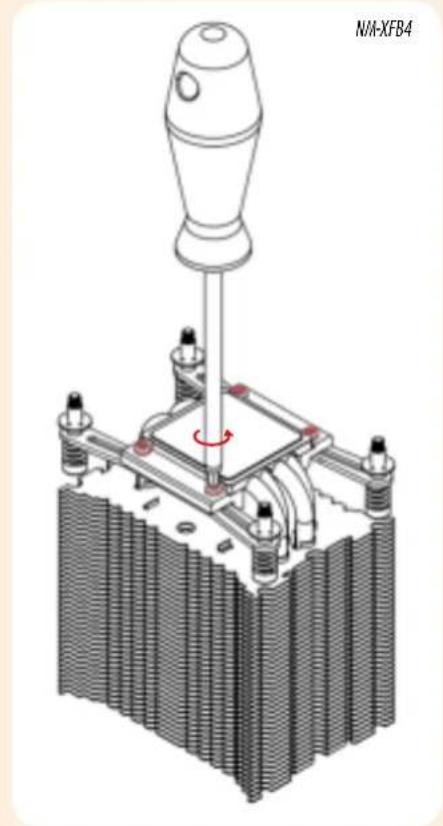
This manual will guide you through the installation process step by step using the NM-XFB5 bracket as an example. Please note that the installation procedure is identical for NM-XFB5 and NM-XFB4.
First choose the appropriate set of Narrow-ILM mounting brackets according to the desired orientation of the cooler:
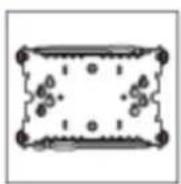
NM-XF4 NM-XFB5
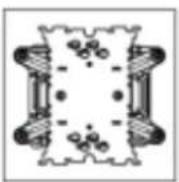
Unscrew the preinstalled LGA2011 Square-ILM mounting brackets (NM-XFB3) and take them off the heatsink.
natural_image
Technical diagram of a mechanical assembly with a central component and multiple base components (no text or symbols)Then remove the plastic lock-rings, springs and screws from the Square-ILM mounting brackets and put them into the Narrow-ILM mounting brackets.

text_image
1. NM-XFB3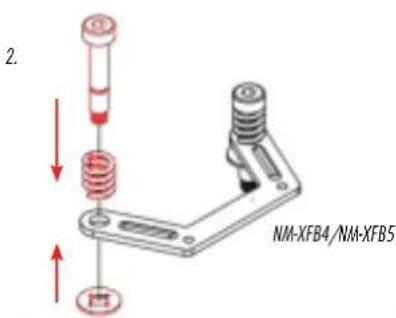
text_image
2. NM-XFB4/NM-XFB5After you've fixed the springs and screws to the appropriate Narrow-ILM fastening brackets, please screw the brackets to the heatsink:
natural_image
3D technical illustration of a mechanical assembly with a central knob and cooling fins (no text or symbols)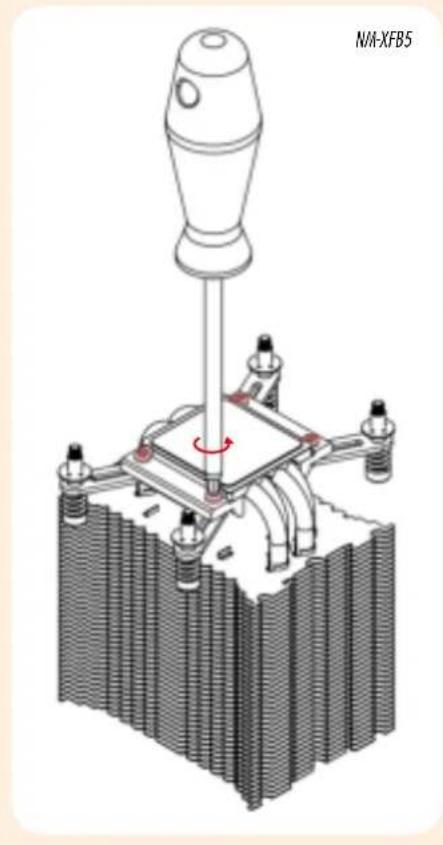
natural_image
Technical illustration of a mechanical assembly with a central component and surrounding components (no text or symbols)Then proceed with the steps described in section LGA2011 Square-ILM.
LGA1356/1366
Required mounting parts:

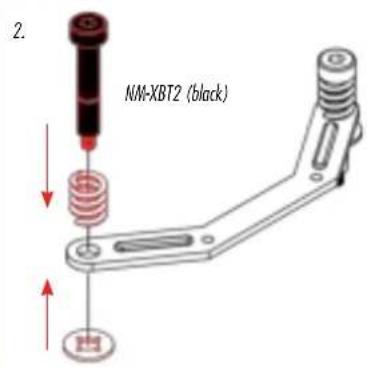
NM-XBT2 Screws (black)
LGA1356/1366 uses a different thread than the pre-installed screws for LGA2011 (NM-XBT1), so please change the screws as described below.
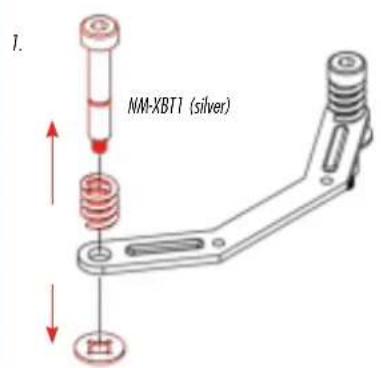
Remove the plastic lock-rings, springs and screws (NM-XBT1) from the mounting brackets.
text_image
NM-XBT1 (silver)Then use the springs and the lock-rings to fix the black LGA1356/1366 screws (NM-XBT2) to the mounting brackets.
text_image
2. NM-XBT2 (black)After you've fixed the springs and screws to the mounting brackets, please proceed with the steps described in section LGA2011 Square-ILM.