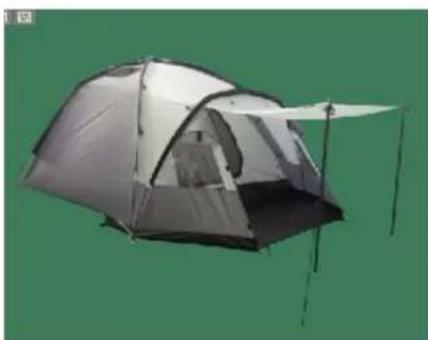
Madrid 3 - Zelt Obelink - Kostenlose Bedienungsanleitung
Finden Sie kostenlos die Bedienungsanleitung des Geräts Madrid 3 Obelink als PDF.


Benutzerfragen zu Madrid 3 Obelink
0 Frage zu diesem Gerät. Beantworten Sie die, die Sie kennen, oder stellen Sie Ihre eigene.
Eine neue Frage zu diesem Gerät stellen
Laden Sie die Anleitung für Ihr Zelt kostenlos im PDF-Format! Finden Sie Ihr Handbuch Madrid 3 - Obelink und nehmen Sie Ihr elektronisches Gerät wieder in die Hand. Auf dieser Seite sind alle Dokumente veröffentlicht, die für die Verwendung Ihres Geräts notwendig sind. Madrid 3 von der Marke Obelink.
BEDIENUNGSANLEITUNG Madrid 3 Obelink
Madrid 3
- Haal de tent uit de verpakking en spreid het buitendoek uit. Zorg ervoor dat het buitendoek in een rechthoekige vorm op de grond komt te liggen.
Take the tent out of the bag. Spread out the flysheet and make sure that it lies in a rectangular shape on the floor.
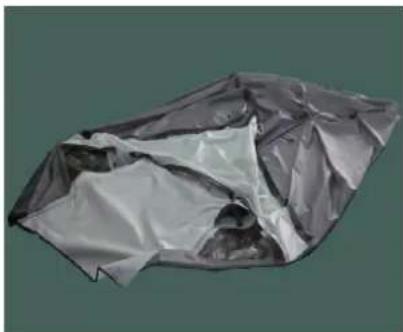
natural_image
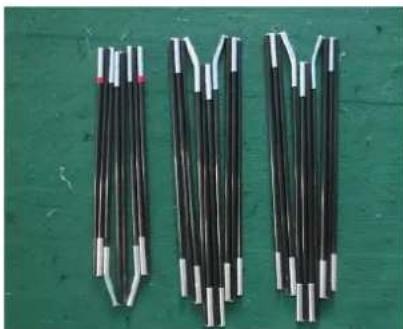
Metallic plastic bag with crumpled texture, no visible text or symbols- Haal de stokken uit de stokken uit de stokkenzak en klik deze in elkaar. Nu kunnen de stokken door de stoksleuven geschoven worden die op het dak van de tent zitten. De juiste stok en stoksleuf zijn te herkennen aan de kleurcodering.
Take the poles out of the pole bag and put them together. Now you can start to slide the poles through the pole sleeves that can be found on the roof of the tent. The right pole and pole sleeve can be recognized thanks to the colour coding.
natural_image
Three black plastic cable bundles with white connectors, arranged on a green surface (no text or symbols visible)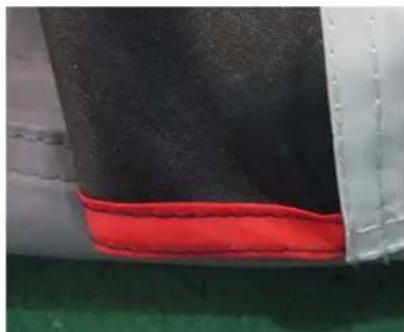
natural_image
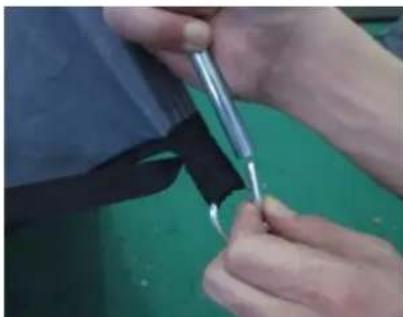
Close-up of a red and black fabric patch on a white panel, no visible text or symbols- Als alle stokken door de stoksleuven geschoven zijn kunnen ze op spanning gebracht worden. De metalen uiteinden van de stokken worden op de corresponderende pinnen geplaatst die aan weerskanten onderaan de tent zitten. Doe dit als eerste bij de gekruiste stokken.
When alle poles are slid through the pole sleeves you can tension them by placing the metal pole ends on to the corresponding metal pins that can be found on both sides of the flysheet.
natural_image
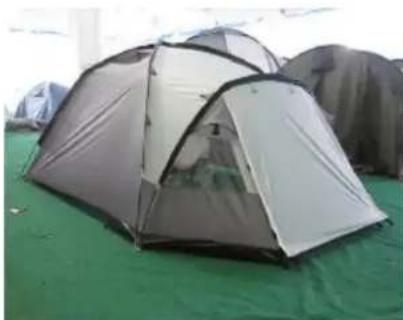
Close-up of hands using a tool to apply material or adhesive on a green surface (no visible text or symbols)- De tent staat nu als een koepel maar de voorkant ligt nog plat. Zet de achterkant van de tent vast, trek de tent naar voren en zet de voorkant vast met haringen. Zorg ervoor dat tijdens deze stap alle ritsen gesloten zijn. Als de voorkant vast zit kunnen alle tussenligende afspanpunten worden vastgezet.
The tent now has it's dome shape but the front still lies flat on the ground. Peg out the rear of the tent and pull the tent forwards then peg out the front. Make sure that all the zippers are closed during this step. Now you can peg out all the remaining pegging points.
natural_image
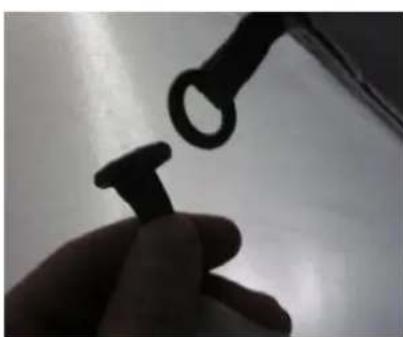
Exterior view of a gray and black camping tent on a green surface (no text or symbols visible)- Plaats nu de binnentent en het grondzeiltje in de tent. Aan de binnenzijde van het tentdoek zitten diverse oogjes waar deze vastgezet kunnen worden. Wanneer de binnentent en het grondzeil overal goed ingehaakt zijn moeten deze nog vastgezet worden met haringen.
Place the inertent and the groundsheet inside the tent. They can be connected to the flysheet by multiple eyelets that can be found inside the flysheet. Once you've placed the inner tent and groundsheet you can peg them out.
natural_image
Close-up of a hand holding a small black plastic pushpin with a circular handle (no text or symbols visible)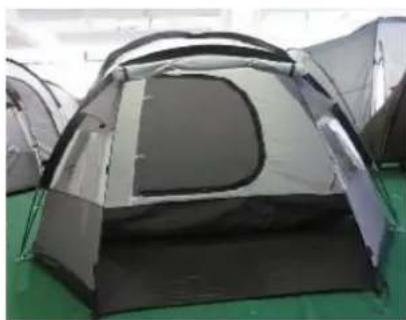
natural_image
Black and gray camping tent with green wooden roof, displayed indoors (no visible text or symbols)- Span alle scheerlijnen weg.
Peg out all the guy-ropes.