
STM100N2 - Wasserkocher SWAN - Kostenlose Bedienungsanleitung
Finden Sie kostenlos die Bedienungsanleitung des Geräts STM100N2 SWAN als PDF.


Benutzerfragen zu STM100N2 SWAN
0 Frage zu diesem Gerät. Beantworten Sie die, die Sie kennen, oder stellen Sie Ihre eigene.
Eine neue Frage zu diesem Gerät stellen
Laden Sie die Anleitung für Ihr Wasserkocher kostenlos im PDF-Format! Finden Sie Ihr Handbuch STM100N2 - SWAN und nehmen Sie Ihr elektronisches Gerät wieder in die Hand. Auf dieser Seite sind alle Dokumente veröffentlicht, die für die Verwendung Ihres Geräts notwendig sind. STM100N2 von der Marke SWAN.
BEDIENUNGSANLEITUNG STM100N2 SWAN

text_image
SWANdesigned for life
teasmade
instruction manual
STM100N
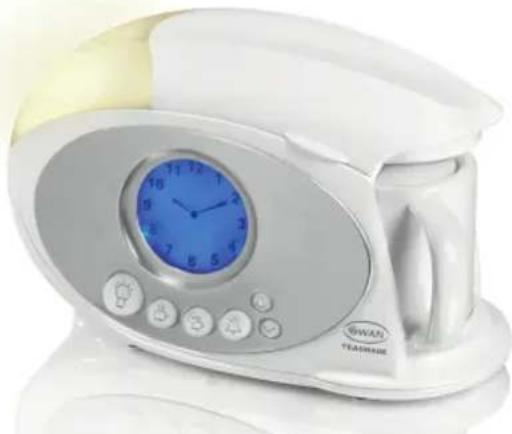
Thank you for purchasing this Swan TEASMADE.
natural_image
White and gray portable kitchen appliance with digital clock and control buttons (no visible text or symbols)With this iconic product, you are joining a unique group of people – going back some 70 years or more – who just have to be woken with a nice, hot cup of tea in the morning – and who can blame you. Even if tea isn't your thing and you prefer a cup of (that new fangled) coffee in the morning, not to worry.
This modern, 21st century TEASMADE can make coffee too!
But you can't get the Internet on it – just yet.
Please read all the instructions carefully before using your Swan TEASMADE
Important safeguards
When using any electrical appliance, basic safety precautions should always be followed including the following:
- This appliance is for household use only. Read all instructions carefully before using any appliance.
- Always ensure that the voltage on the rating label corresponds to the mains voltage in your home.
- Incorrect operation and improper use can damage the appliance and cause injury to the user.
- This appliance is not intended for use by persons (including children) with reduced physical, sensory or mental capabilities, or lack of experience and knowledge, unless they have been given supervision or instruction concerning use of the appliances by a person responsible for their safety. Children should be supervised to ensure that they do not play with the appliance.
- Check the power cord and plug regularly for any damage. If the cord or the plug is damaged, it must be replaced by the manufacturer or qualified person in order to avoid an electrical hazard.
- Do not use the appliance if it has been dropped or damaged in any way. In case of damage, take the unit in for examination and/or repair by an authorised service agent.
- Never immerse the unit in water or any other liquid for cleaning purposes.
- Remove the plug from the socket by gripping the plug. Do not pull on the cord to disconnect the appliance from the mains. Always unplug the unit when not in use, before cleaning or when adding or removing parts.
- The use of accessory attachments that are not recommended or supplied by the manufacturer may result in injuries, fire or electric shock.
- A short cord is provided to reduce the hazards resulting from becoming entangled in or tripping over a longer cord.
-
Do not let the cord hang over the edge of a table or counter. Ensure that the cord is not in a position where it can be pulled on inadvertently.
-
Do not allow the cord to touch hot surfaces and do not place on or near a hot gas or electric burner or in a heated oven.
- Do not use the appliance on a gas or electric cooking top or over or near an open flame.
- Use of an extension cord with this appliance is not recommended. However, if it is necessary to use an extension lead, ensure that the lead is suited to the power consumption of the appliance to avoid overheating of extension cord, appliance or plug point. Do not place the extension cord in a position where it can be pulled on by children or animals or tripped over.
- This appliance is not suitable for outdoor use. Do not use the appliance for anything other than its intended use.
- Do not carry the appliance by the power cord.
- Do not leave the appliance unattended during use. Always unplug the unit when not in use or before cleaning.
- Always operate the appliance on a smooth, even, stable surface. Do not place the unit on a hot surface.
- Ensure that the unit is switched off after use.
- The manufacture does not accept responsibility for any damage or injury caused by improper or incorrect use, or for repairs carried out by unauthorised personnel.
- In case of technical problems, switch off the machine and do not attempt to repair it yourself. Return the appliance to an authorised service facility for examination, adjustment or repair. Always insist on the use of original spare parts. Failure to comply with the above mentioned precautions and instructions, could affect the safe operation of this product.
- CAUTION: DO NOT OVER-FILL THIS PRODUCT
- NEVER ATTEMPT TO MOVE OR CLEAN THIS PRODUCT UNTIL IT HAS COMPLETELY COOLED
- DO NOT USE EXTERNAL AUTOMATIC TIMERS IN CONJUNCTION WITH THIS PRODUCT
25 The filler cap should not be opened during the boiling cycle
Operation guidelines
It is important to ensure the correct plug adaptor is used when operating in a country not using the UK 13 Amp socket system. If in doubt, consult a qualified electrician.
- Do not remove the teapot from the base during the filling cycle as scolding water will be ejected.
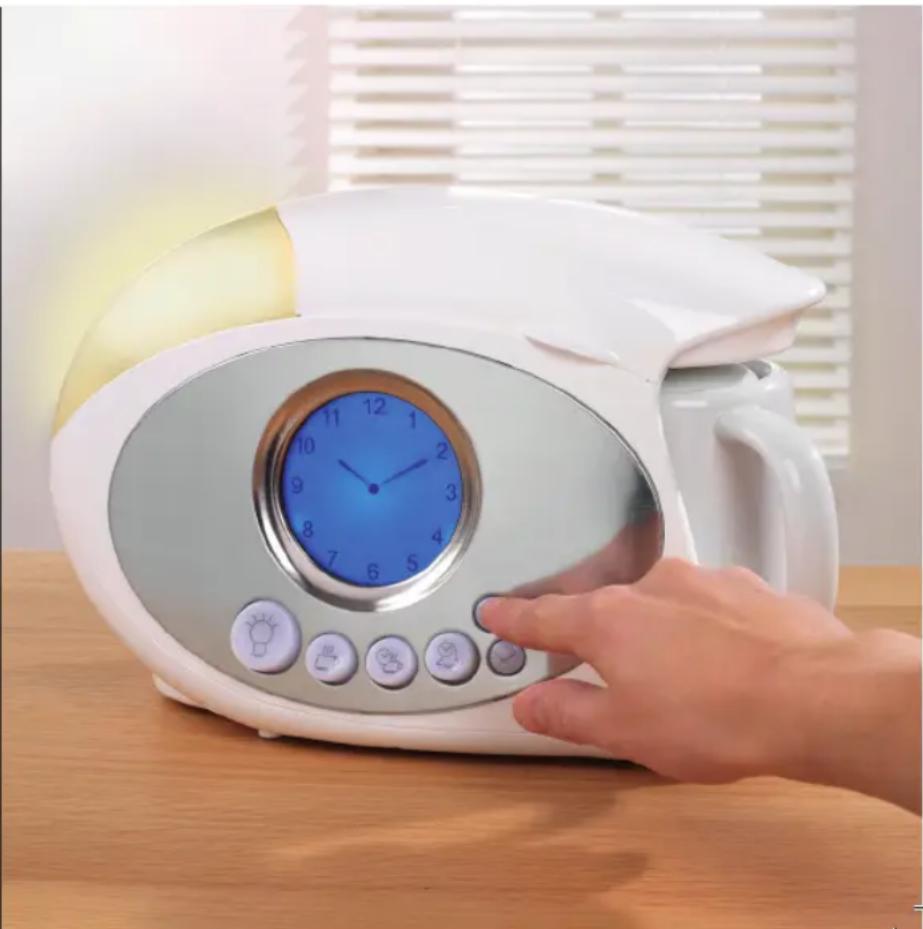
• After filling the tank, ensure the cap is properly secured. Do not open the cap during the boiling cycle - After the tea making cycle is complete, wait a few minutes before removing the filler cap as it will be hot.
natural_image
Hand placing a digital alarm clock on a wooden table, with a white kettle nearby (no visible text or symbols)Before first use
Remove all packaging from the product and connect to the 230-240V AC mains supply.
- Fill the ceramic jug with water to 1" (25mm) below top.
- Open the lid and remove the tank cap by turning it anti-clockwise
- Pour the water from the jug into the tank and replace the tank cap by turning it clockwise.
- Place the ceramic jug back on it's stand on the TEASMADE, ensuring that it is resting firmly against the safety switch
- Press the TEA NOW 📋 button and wait
- In a few minutes the water in the tank will boil and be ejected into the pot. You will hear the traditional TEASMADE woosh! as the water is ejected from the tank into the ceramic pot.
text_image
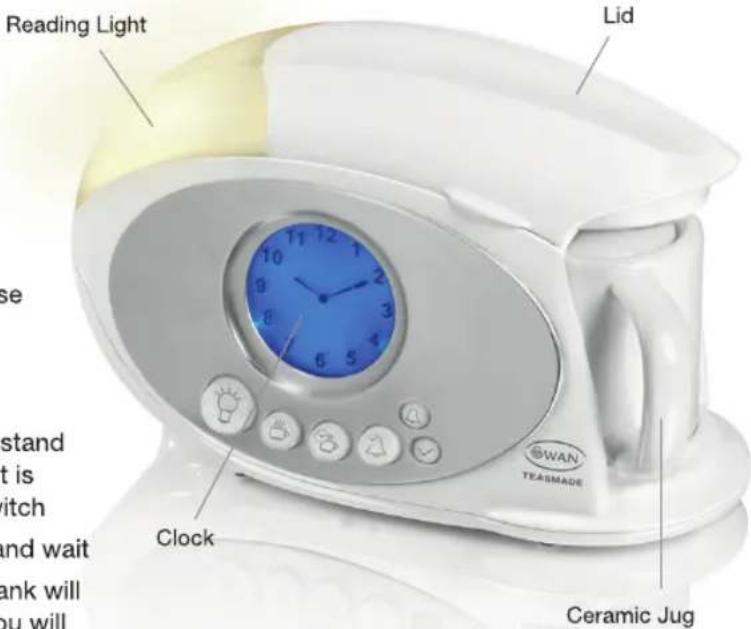
Reading Light Lid Clock Ceramic Jug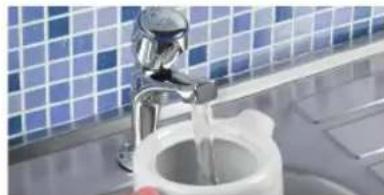
natural_image
Close-up of a stainless steel faucet pouring liquid into a water-filled sink, with a tiled wall background (no text or symbols visible)
natural_image
Close-up of a white ceramic toilet with water flowing from its side, no visible text or symbols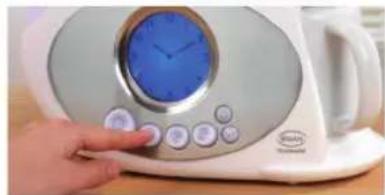
natural_image
Hand pressing a button on a white digital kitchen device with a blue analog clock (no visible text or symbols)- Once this process is complete, discard the water from the pot. Your TEASMADE is now clean and ready to use. Fill ceramic jug to 1" (25mm) below top. Always use jug to fill the tank.
Your TEASMADE is now clean and ready to use.
Setting the clock
Insert the plug into the mains socket. The hands of the LCD clock will be at the 12:00 position. The alarm set dot will also be at the 12:00 position.
Let's set the clock first:
Press the CLOCK SET button to advance the clock hands to the right time.
Each press will advance the clock 1 minute. To fast forward the clock press and HOLD the CLOCK SET button.
Note: there is no am or pm setting. The TEASMADE uses a 12 hour clock.
natural_image
Hand pressing a button on a white portable kitchen air conditioner with a blue analog clock (no visible text or symbols)Setting the alarm only
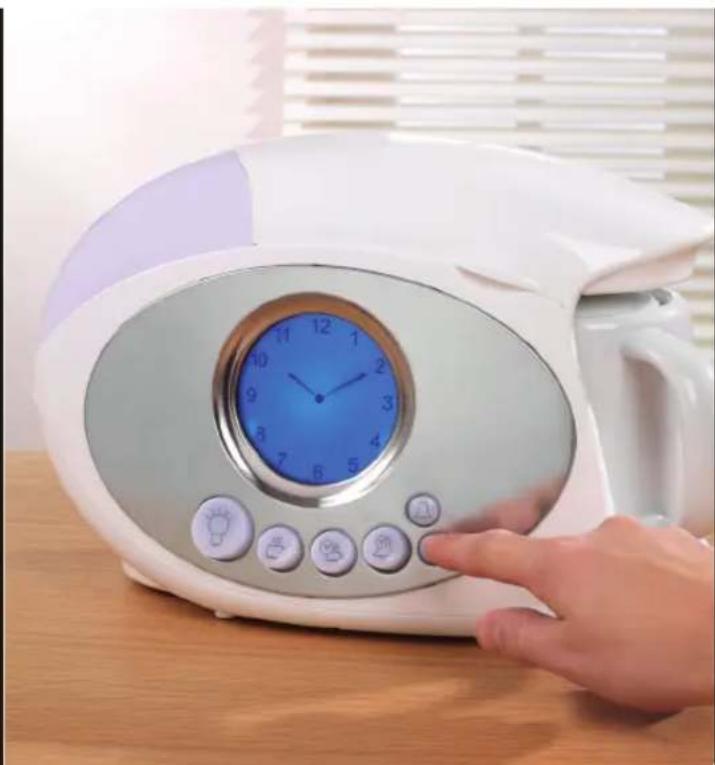
The dot on the clock face indicates the alarm time. To set the alarm time press the ALARM SET button. Each press will advance the alarm time by 1 minute. To fast forward the alarm time, press and HOLD the ALARM SET button. Once you release the ALARM SET button, the clock will revert back to the current time and the alarm dot will be displayed.
Note: there is no am or pm setting. The TEASMADE uses a 12 hour clock.
Once the alarm time is set, press the ALARM 📋 button so that it lights up. The alarm is now set. Once the alarm time has been reached press the ALARM button to stop the beeps.
MAKE SURE THE ALARM BUTTON IS LIT OR YOU MIGHT BE LATE FOR WORK!
Setting for tea making and alarm
Since the tea making process takes a few minutes, the alarm/tea making time must be set at least 10 minutes before the current time. Lift the cover and remove the filler cap by turning it anti-clockwise. Use the pot to fill the tank. Note: The pot holds exactly the amount of water the TEASMADE needs. Do not use any other vessel to fill the tank or there is a risk the tank will over flow and pose a scalding hazard.
Replace the filler cap firmly by turning it clockwise. Put 2 tea bags (or 2 teaspoons of instant coffee) in the pot and replace the lid. Place the pot back into the TEASMADE so that it rests against the safety switch. Note: the tea making process will not work unless the pot is resting against the safety switch.
Set the alarm time as detailed above only this time press the AUTOMATIC TEA button so that it lights up. Once the alarm time has been reached the alarm will sound and the clock face will flash. To stop the alarm either press the AUTOMATIC TEA button or simply remove the pot from the TEASMADE. Note: the tea making process begins about 5 mins before the alarm sounds. During the tea making process the TEA NOW button will illuminate briefly.
Tea now!
If you want the TEASMADE to make tea now, we have equipped it with a handy TEA NOW button! We hope you appreciate the thought and effort we put into naming that button. Fill the tank as described above, put 2 tea bags (or 2 teaspoons of instant coffee) into the pot, place the pot back in the TEASMADE, ensuring it is resting against the safety switch. Press the TEA NOW button and the tea making process will begin. The cycle takes approximately 5 mins and finishes with the traditional TEASMADE woosh as the water is ejected into the pot from the tank. To interrupt the tea making cycle press the TEA NOW button again and the cycle will stop. If you require more tea, please wait a few minutes between cycles to allow the tank to cool.

natural_image
Hand pressing a digital timer on a white portable kitchen grater (no visible text or symbols)Reading light
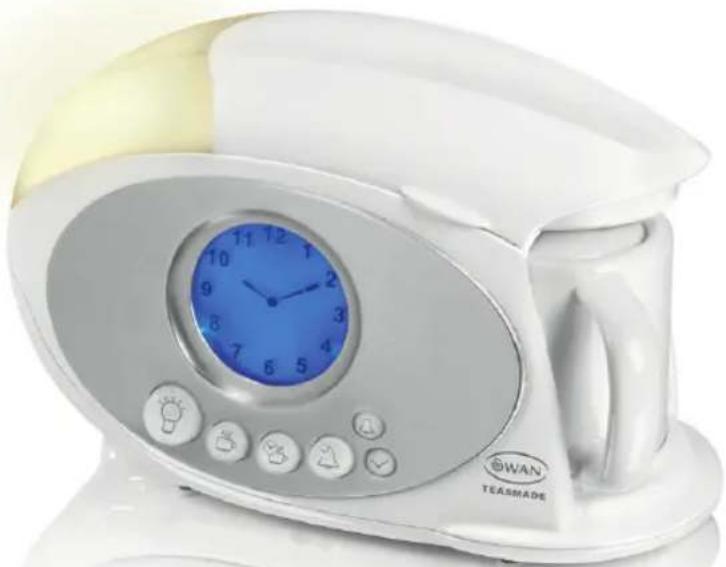
To operate the reading light simply press the reading light button

natural_image
White ceramic teashminder with digital clock and coffee mug (no visible text or symbols)
Reading light

Tea now

Automatic tea

Alarm

Alarm set

Timer
Cleaning and maintenance
Ensure the product is unplugged from the mains and completely cooled before cleaning.
The pot should be cleaned daily with warm soapy water, then rinsed with clean water.
Do not leave water in the tank for long periods. Wait until the product has cooled before emptying the tank.
The outside of the unit can be cleaned with a soft cloth moistened with a mild detergent solution.
DO NOT USE CHEMICAL OR ABRASIVE CLEANERS. DO NOT IMMERSE THE UNIT IN WATER.
Descaling instructions
Excessive lime scale build-up will hurt your precious TEASMADE!
It is important to de-scale the product regularly in order to maintain best performance.
Use a good de-scaling agent available from most supermarkets. Fill the tank using the pot and include the de-scaling agent. LEAVE THE FILLER CAP OFF on this occasion.
Place the empty pot on it's stand, ensuring it is in contact with the safety switch.
Press the TEA NOW button. The water in the tank will boil.
Note: With the filler cap off there will be an increased amount of steam so be careful.
Once the water in the tank is boiling, press the TEA NOW button to switch it off.
Carefully replace the filler cap and press the TEA NOW button once again. The water will be ejected into the pot. This will de-scale all the pipes and tubes inside the TEASMADE.
Once de-scaling is complete, allow the unit to cool and rinse the tank and pot in clean water.
To change the lightbulb
1 Disconnect the product from the mains supply
2 Remove the 2 screws from the lamp cover
3 Unscrew the bulb in anti-clockwise direction
4 Replace with bulb of same type: E14 15 Watts
UK Plug wiring instructions
The wires in the mains lead are coloured in accordance with the following code:
BLUE NEUTRAL
BROWN LIVE
GREEN/YELLOW EARTH
As the colours of the wire in the mains lead of this appliance may not correspond with the colour markings identifying the terminals on your plug, proceed as follows: The wire which is coloured BLUE must be connected to the terminal which is marked with the letter N or coloured black. The wire which is coloured BROWN must be connected to the terminal which is marked with the letter L or coloured red. The wire which is coloured GREEN/YELLOW must be connected to the terminal which is marked with the letter E or (earth symbol) and is coloured GREEN or GREEN/YELLOW.
WARNING: THIS APPLIANCE MUST BE EARTHED
Disposal of unit
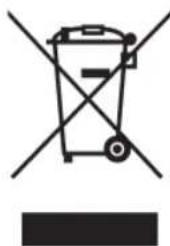
Disposal instructions for Swan items in accordance with the WEEE directive. Appliances bearing the symbol shown here may not be disposed of in domestic rubbish. You are required to dispose of old electrical and electronic appliances like this separately. Please visit www.recyclemore.co.uk, or www.recylcenow.co.uk for access to information about the recycling of electrical items. The WEEE directive, introduced in August 2006, states that all electrical items must be recycled, rather than taken to landfill. Please arrange to take this appliance to your local Civic Amenity site for recycling, once it has reached the end of its life.
natural_image
Symbol of a trash bin crossed out by two crossed lines, with no text or labels present.Helpline
01733 404703
Too bright?
If the clock face is too bright, simple use the stickers provided to tone it down.
Parts references:
STM100-01: Ceramic pot
STM100-02: Light bulb
2 Year guarantee

text_image
2year GUARANTEEThis product is guaranteed for two years from the date of original purchase. If any defect arises due to faulty materials or workmanship faulty products must be returned to place of purchase. Refunds or replacement is at the discretion of the store.
The following conditions apply:
The product must be returned to the retailer with original proof of purchases.
- The product must be installed and used in accordance with the instruction contained in this instruction guide.
It must be used only for domestic purpose.
It does not cover wear and tear, damage, misuse or consumable parts.
- Swan has no responsibility for incidental or consequential loss or damage.
- Valid in the UK and Eire Only
natural_image
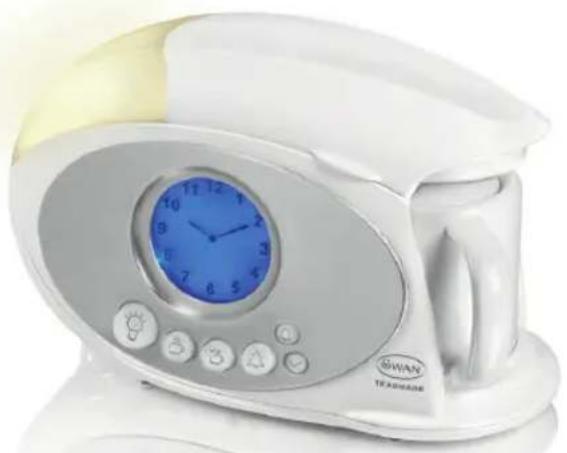
White portable electronic device with a blue analog clock and control buttons (no visible text or symbols)Wakey, wakey!!
We're on


Search 'Swan Teasmade'
Upload photos of your Teasmade to share with the rest of the gang
natural_image
White electronic device with digital clock and matching cups on a table, placed on a patterned surface (no visible text or symbols)Join the community!

text_image
SWANdesigned for life
Visit
www.swan-brand.co.uk
for more great Swan products and history of the Swan Brand