
Electone BK-5B - Tastatur YAMAHA - Kostenlose Bedienungsanleitung
Finden Sie kostenlos die Bedienungsanleitung des Geräts Electone BK-5B YAMAHA als PDF.

| Produkttyp | Tastatur / Keyboard |
| Marke | Yamaha |
| Modell | Electone BK-5B |
| Anzahl der Tasten | 61 Tasten (anschlagsdynamisch) |
| Polyphonie | 32 Noten (max.) |
| Klangfarben | 100 integrierte Voices |
| Begleitrhythmen | 100 Begleitstile (Auto-Begleitung) |
| Effekte | Hall, Chorus, Vibrato |
| Display | LCD (segmentiert) |
| Lautsprecher | 2x 6 W (Stereo) |
| Anschlüsse | Kopfhörerausgang (6,3 mm Klinke), MIDI In/Out, Sustain-Pedal, Audio-Eingang |
| Stromversorgung | Netzteil DC 12V (im Lieferumfang) oder 6x Mignon-Batterien (AA) |
| Abmessungen (B x T x H) | 950 x 350 x 120 mm |
| Gewicht | 6 kg (ohne Batterien) |
| Besondere Funktionen | Dual Voice, Split, Auto Harmonization, Transpose, Metronom, Aufnahme (CA-System) |
| Reinigung und Pflege | Nur mit einem trockenen, weichen Tuch reinigen. Keine Lösungsmittel oder aggressive Reiniger verwenden. |
| Sicherheitshinweise | Vor Feuchtigkeit schützen. Nur vom Hersteller empfohlene Netzadapter verwenden. Keine Gegenstände in die Öffnungen stecken. |
| Ersatzteile und Reparatur | Wenden Sie sich an einen autorisierten Yamaha-Kundendienst. Ersatzteile sind über den Fachhandel erhältlich. |
| Mitgeliefertes Zubehör | Netzteil, Notenständer, Bedienungsanleitung |
Häufig gestellte Fragen - Electone BK-5B YAMAHA
Benutzerfragen zu Electone BK-5B YAMAHA
0 Frage zu diesem Gerät. Beantworten Sie die, die Sie kennen, oder stellen Sie Ihre eigene.
Eine neue Frage zu diesem Gerät stellen
Laden Sie die Anleitung für Ihr Tastatur kostenlos im PDF-Format! Finden Sie Ihr Handbuch Electone BK-5B - YAMAHA und nehmen Sie Ihr elektronisches Gerät wieder in die Hand. Auf dieser Seite sind alle Dokumente veröffentlicht, die für die Verwendung Ihres Geräts notwendig sind. Electone BK-5B von der Marke YAMAHA.
BEDIENUNGSANLEITUNG Electone BK-5B YAMAHA
BK·5B
GUIDE TO YOUR YAMAHA ELECTONE

Welcome to the Yamaha world of music. We are sure your selection of a Yamaha Electone was a wise one, and we want you to know that we will do everything possible to help you derive a lifetime of enjoyment from this fine musical instrument.
Please read this manual carefully to be sure you are familiar with each of the Electone's features and their expressive possibilities. In that way you and your Electone can become lifelong partners in musical creativity.
Contents
Page
Care of Your Electone 1
This is Your Electone.... 2
Keyboards 4
Tone Levers 5
Vibrato 5
Reverb, Reverb Balance 6
Expression Pedal 6
Sound in Motion Tremolo 7
Auto Rhythm Section 8
Auto Bass/Chord Fun Blocks....10
Bass Variation 12
To Fully Enjoy Your Electone ....14
Do not be Alarmed if....15
Specifications 17
Care of Your Electone
In general, treat your Electone with the same care you would any fine musical instrument. The following points are suggested for optimum enjoyment.
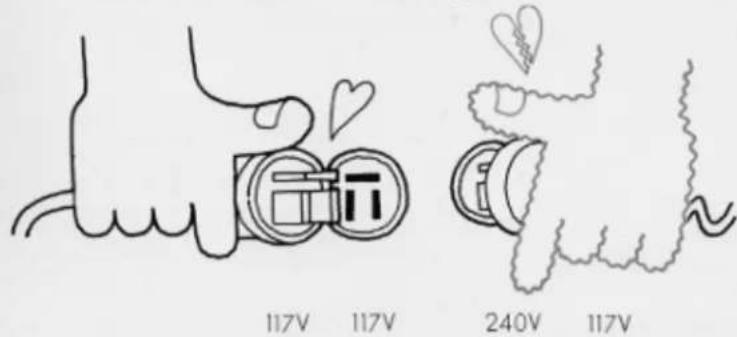
- Use only proper line voltage. Consult your Yamaha serviceman for changes.
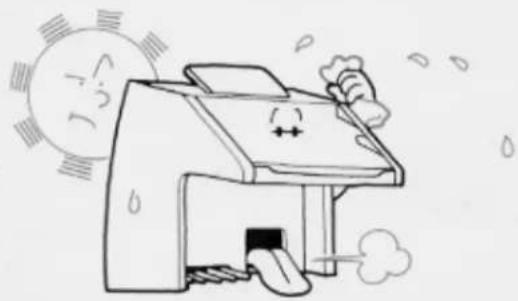
- Shield the cabinet from direct sunlight, humidity and heat to protect the finish and joints.
natural_image
Cartoon illustration of a smiling printer emitting exhaust smoke, with sun and cloud elements (no text or symbols)- Never touch the inside parts yourself.
natural_image
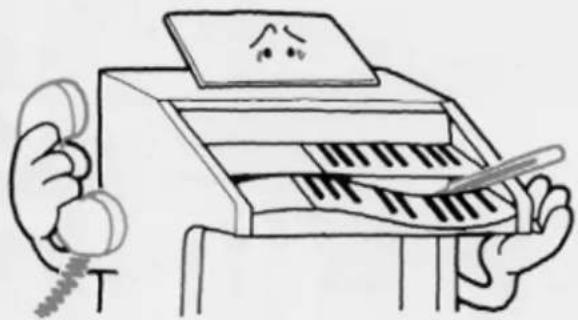
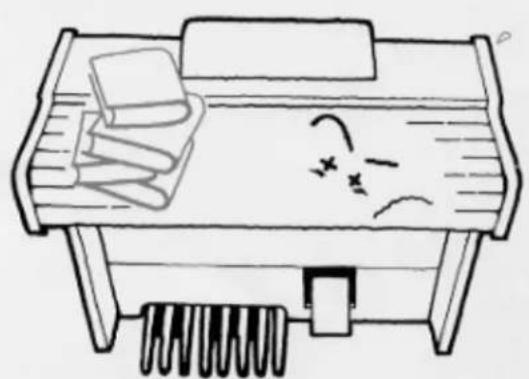
Illustration of a person using a piano with a staff and a sad face on the screen (no text or symbols)- Do not hit or scratch the cabinet with a hard object.
natural_image
Line drawing of a keyboard with piano keys and a small bird icon (no text or symbols)
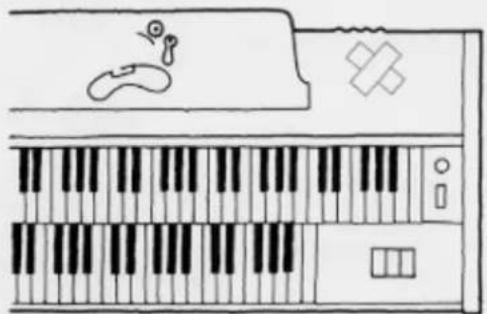
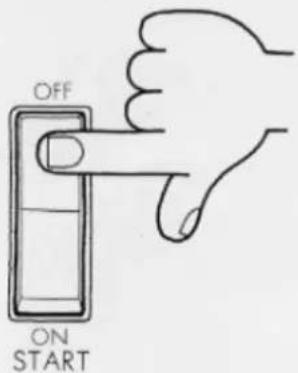
- Always shut off the power after playing.
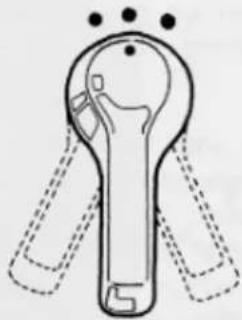
- To open or close the fallboard grasp the front lip with both hands and slide gently. Never pull directly upwards. Do not place anything heavy on the fallboard.
natural_image
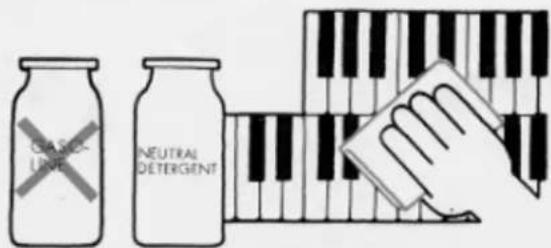
Simple line drawing of a desk with books, a ladder, and a sad face (no text or symbols)- Clean keys, etc., with a damp cloth only. Never use solvents such as gasoline; they will damage the finish.
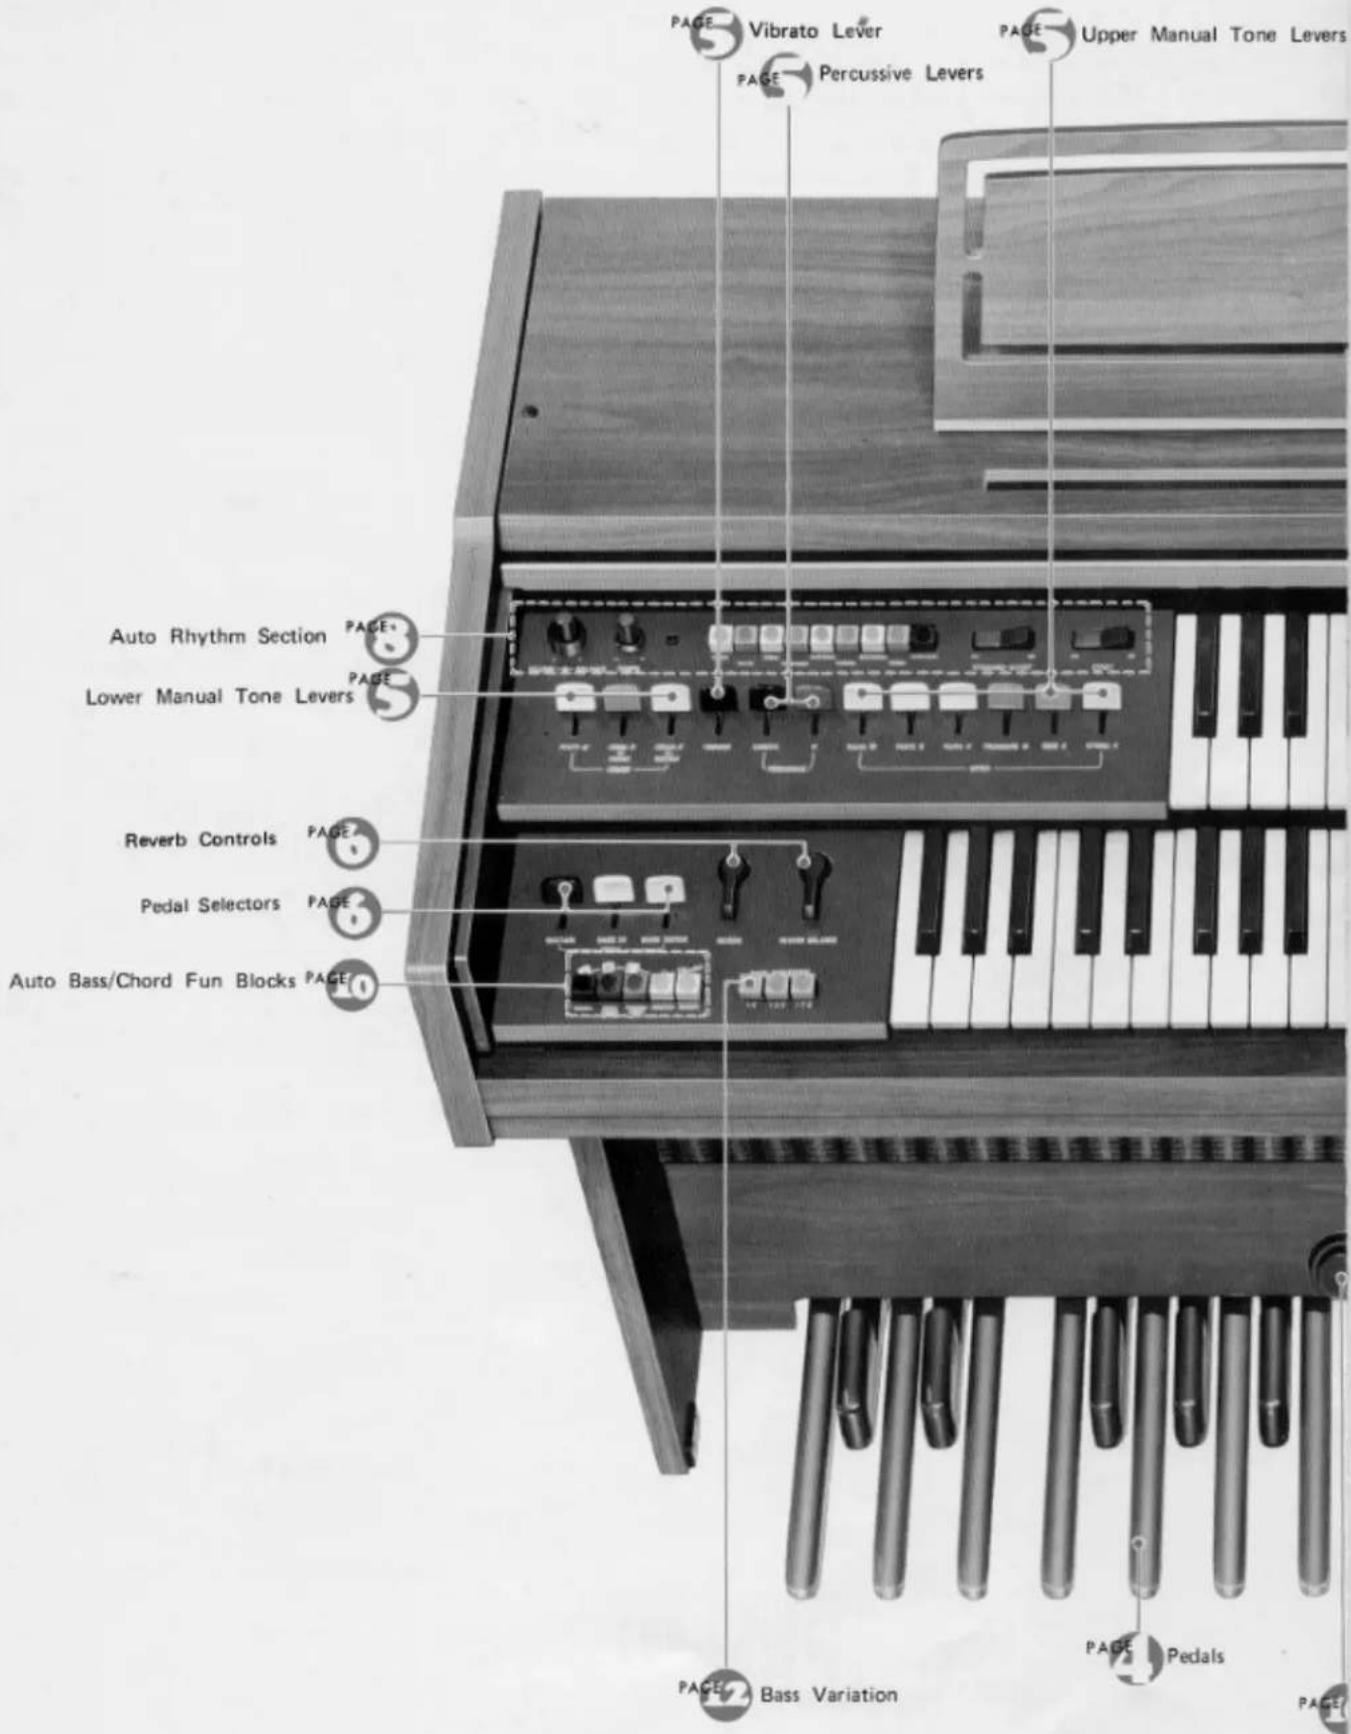
This is Your Electone
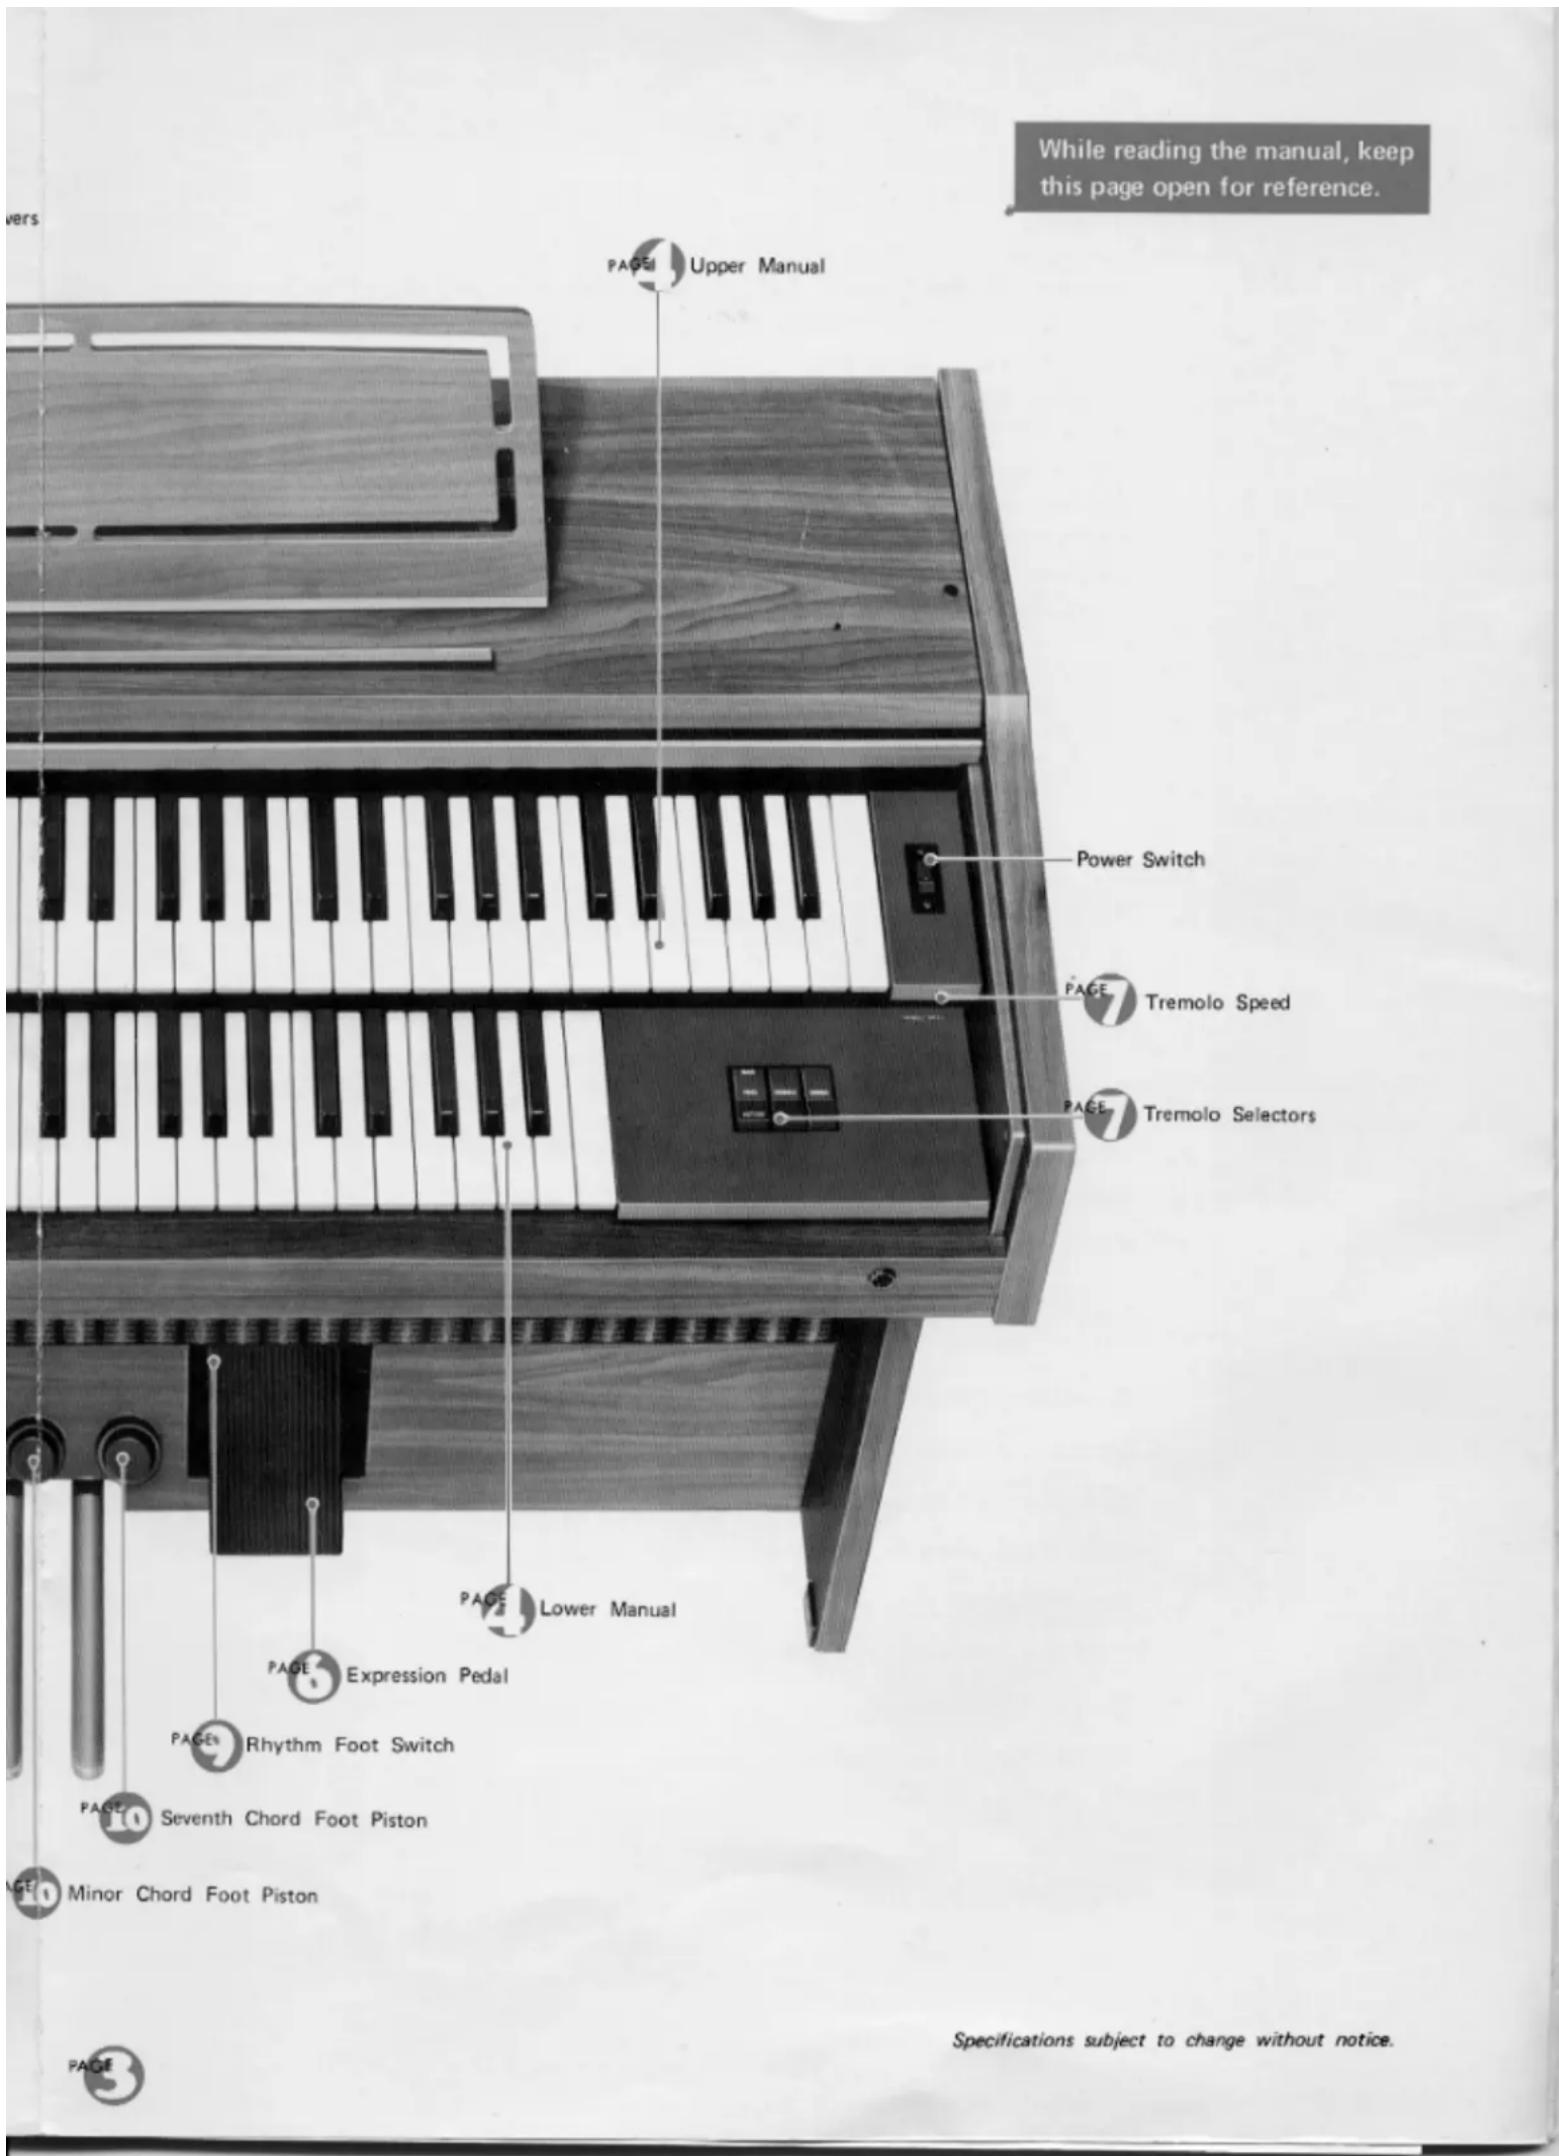
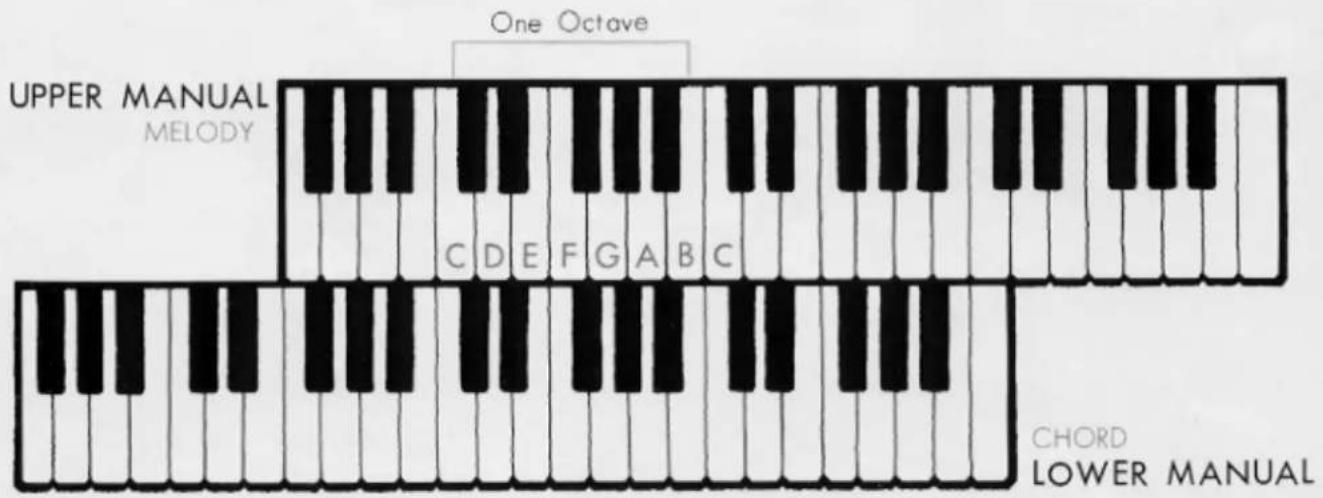
Keyboards
The BK-5B has three keyboards. The upper two are called "manuals" and the lower one, played with the feet, "pedals." They have keys and octaves as follows:
Upper Manual
44 keys (3 ^2 / _3 octaves)
Lower Manual
44 keys (3 ^2 / _2 octaves)
Pedals
13 keys (1 octave)
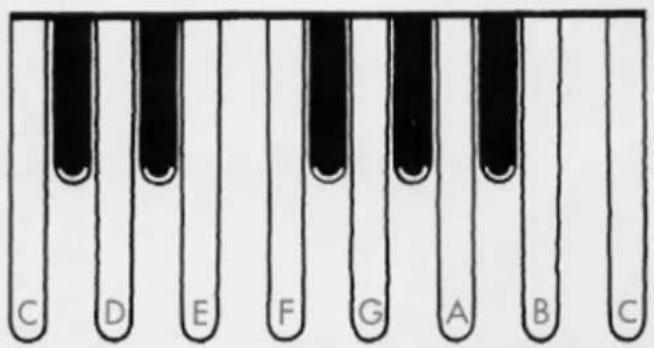
The BK-5B is designed to permit playing the melody on the upper manual with the right hand, the chords on the lower manual with the left hand, and bass notes on the pedals with the left or right foot. All keys are arranged in the traditional keyboard method: two black keys, three black keys. Each white key has a name (from C to B), and the blacks are sharps or flats. "C" is always the white key just below the left black key in the two-black-key group. Any complete set of seven white keys and five black keys is called an "octave."
PEDALS
BASS
Tone Levers
To the left of the upper, and lower manuals are series of tone levers which control the Electone voices that will sound when the keys are depressed. They are divided into groups for upper, lower and pedals, so that different registrations can be set for each.
Upper Manual Levers 6 voices
Lower Manual Levers 3 voices
Pedal Levers 2 voices
Each lever provides two methods of control. One is by continuously moving the lever from off to full, to achieve the exact setting for that tone, and thus balancing the overall tone setting with perfect precision. Each lever also has two easy-to-feel click stops, at 1/3 and 2/3 positions. This lets you refind any setting with mathematical precision and no guesswork in a matter of seconds.
Note: When the Auto Bass/Chord section is used, the tone color of the lower manual voices will change from Horn to Piano, and from Cello to Guitar.
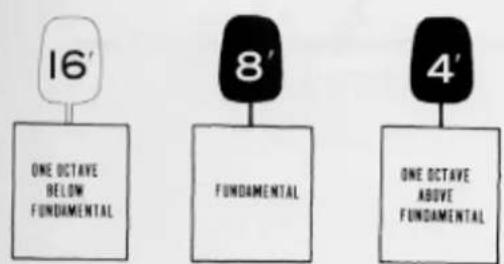
PITCHES OR FOOTAGES
The BK-5B has three different pitch levels, indicated by the numbers 16', 8', 4'. These are standard organ abbreviations showing the tone's pitch in relation to the fundamental (written note). An 8' tone will sound just as it has been written. A 16' tone will provide a tone exactly one octave lower than the written note. Similarly, 4' tones are one octave higher than the written note.
Vibrato
Vibrato is a waving of the tone. You will see violin and cello players use it freely by an oscillating motion of the left hand. That increases the emotional quality of the violin tone. This vibrato lever produces the same vibrato effect.
Upper Percussive
Changing the beginning of some or all notes can do wonders for lively selections. Your BK-5B's percussive effects provide subtle but important shading at the moment each note is heard. The special popping 4' percussive drive can be-smoothly blended into all upper manual tones with a single variable lever (percussive 4'), and a separate lever (percussive length) regulates the length of decay for this effect.
With percussive, use a detached fingering. Each note should be played cleanly; slurred notes will diminish the percussive impact.
Reverb

The reverberation effect, which makes your playing sound full and rich as if you were playing in a large hall, can be adjusted continuously and smoothly to suit your taste.
Reverb Balance
natural_image
Line drawing of a stylized key with dotted lines indicating measurement or alignment (no text or symbols)To balance the reverberation between the upper and lower manuals.
Strengthen the Upper Manual ← → Strengthen the lower Manual
Pedal Sustain
This control provides continuous adjustment of the sustain effect on the pedals and allows the pedal note to continue to sound a few seconds after you have released it.
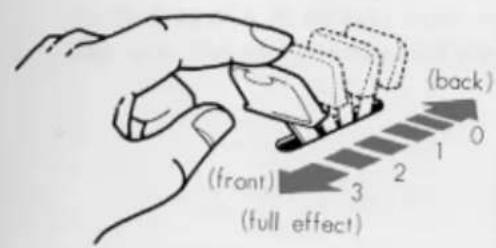
Expression Pedal
Push down the pedal to control the volume of each note or phrase. This pedal is extremely important for adding emotion to your playing. The pedal is balanced to stay in any position once set. Rest the entire right foot on the pedal and relax it, pressing with the toe to increase volume, with the heel to decrease it.
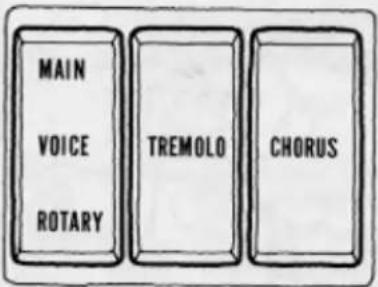
Sound in Motion Tremolo
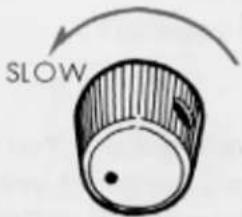
TREMÔLO SPEED
TREMOLO
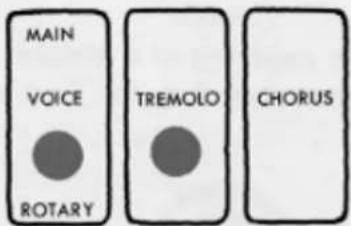
CHORUS
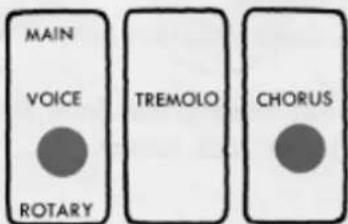
The Electone's special tremolo is produced by a rotary speaker that actually spins just behind the rotary speaker grille on the side of the cabinet.
Tremolo selector is complemented by a continuous tremolo speed control knob just above them.
When the speed control is set to its maximum position, the Tremolo tablet will turn the speaker at normal revolution. The Chorus tablet will turn it at one revolution. Once either tablet is switched on, it takes several seconds for the Rotary speaker to attain the standard speed. This is also true when switching to a slower speed (Tremolo to Chorus). If one of the other tremolo control tablets is switched on during this speed change period, the speed variation will be heard in the music.
If you wish an instant tremolo or chorus sound, be sure to switch on that tablet well in advance of the speaker selector. For special selections you can use this speed variation by switching the speaker on first, the Tremolo or Chorus switch later.
Note: There is a bit of noise when the rotary speaker is switched on. This too is a mechanical noise stemming from the spinning speaker. Special mountings help keep this sound at an absolute minimum.
VOICE (Main/Rotary)
Lets you divert the sound from the main to the tremolo speaker.
Auto Rhythm Section
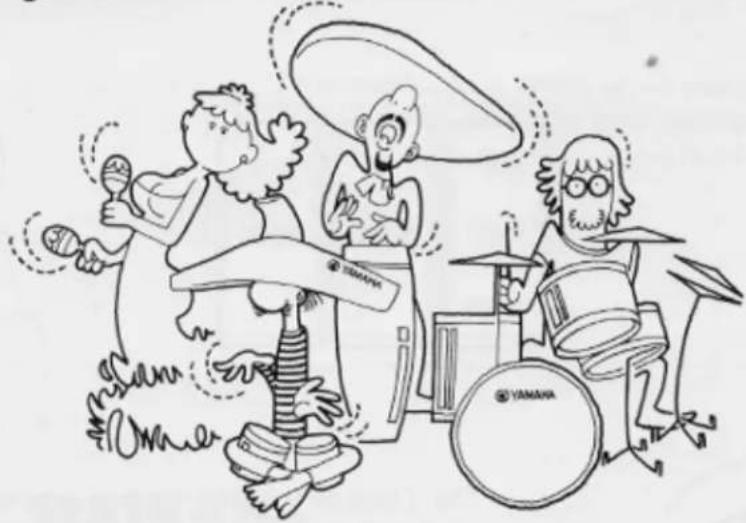
natural_image
Cartoon illustration of three musicians playing drums and a guitar, with no visible text or symbolsThis section provides eight catchy rhythms, each one called forth by a simple button. You can also create more rhythm variations with the variation button. In addition to a combined volume and balance knob, tempo control and tempo indicator light, there are two other switches: ordinary Start and the Yamaha Synchro-Start which begins the rhythm accompaniment on the first beat of a measure when the first lower manual or pedal note is struck. A foot switch fitted in the expression pedal housing lets you stop and restart the rhythm at any point during play.
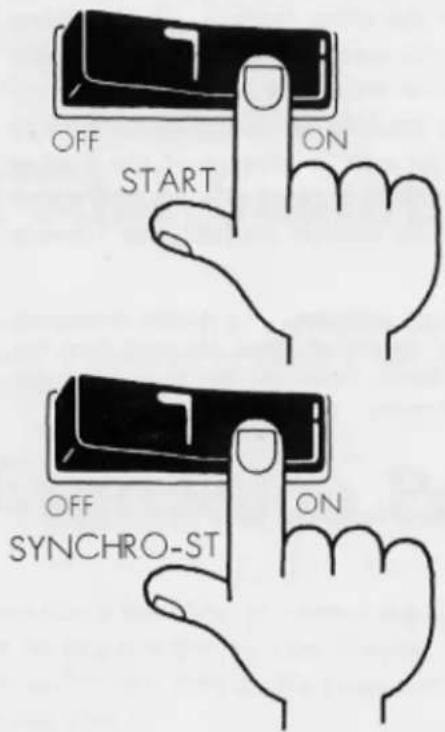
RHYTHM START
For instant rhythm at the beginning of a selection. Push the rhythm selector desired, then flick the Start switch on.
SYNCHRO-START
Select the rhythm, switch on the Synchro-Start and begin to play once you have the beat established. The rhythm will begin as soon as you strike a lower manual or pedal note. This switch permits you to lead in with a rhythm-free melody at first if so desired.
You can switch off the Auto Rhythm with the foot switch.
When you wish to continue hearing the Auto Rhythm, be sure to switch on with the foot switch.

RHYTHM FOOT SWITCH
Once the rhythm is on, push this switch once to instantly stop it, once again to restart. It lets you stop and restart the rhythm in the middle of a selection without using your hand.
Note: If the foot switch has been used, be sure it is reset to normal after you finish playing your selection, and then make sure both Start and Synchro-Start switches are off. Otherwise you may turn on one of the switches in the middle of a new number only to find the rhythm still cancelled.
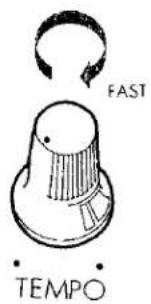
TEMPO
The tempo of the Auto Rhythm section can be adjusted by a continuous control knob. This is best accomplished by turning on the Synchro-Start switch.
Although no sound will be produced, the indicator lamp will flash each quarter note, letting you visually check the tempo while you adjust.
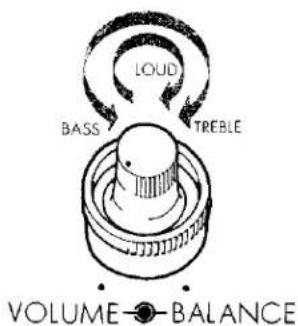
VOLUME
Use it to balance the volume of the rhythm section and the manuals. This volume is then varied during the selection by the expression pedal, just like that of the other tones.
BALANCE
This control lets you balance the low rhythm sounds, such as drums, and the high sounds (i.e., cymbals) according to your taste and the selection. It can make a big difference even when using the same rhythm. Turn the knob to the right to accentuate the higher (treble) sounds, to the left for lower (bass). If you accentuate the treble sounds the rhythm becomes brighter.
Check the playing hints for specific settings.
- BK·5B
- GUIDE TO YOUR YAMAHA ELECTONE
- Contents
- Care of Your Electone
- Keyboards
- Tone Levers
- PITCHES OR FOOTAGES
- Vibrato
- Upper Percussive
- Reverb
- Reverb Balance
- Pedal Sustain
- Expression Pedal
- Sound in Motion Tremolo
- VOICE (Main/Rotary)
- Auto Rhythm Section
- RHYTHM START
- SYNCHRO-START
- RHYTHM FOOT SWITCH
- TEMPO
- VOLUME
- BALANCE
Marke : YAMAHA
Modell : Electone BK-5B
Kategorie : Tastatur