DINO 1343 - Tisch BDI - Kostenlose Bedienungsanleitung
Finden Sie kostenlos die Bedienungsanleitung des Geräts DINO 1343 BDI als PDF.

| Produkttyp | Tisch |
| Marke | BDI |
| Modell | DINO 1343 |
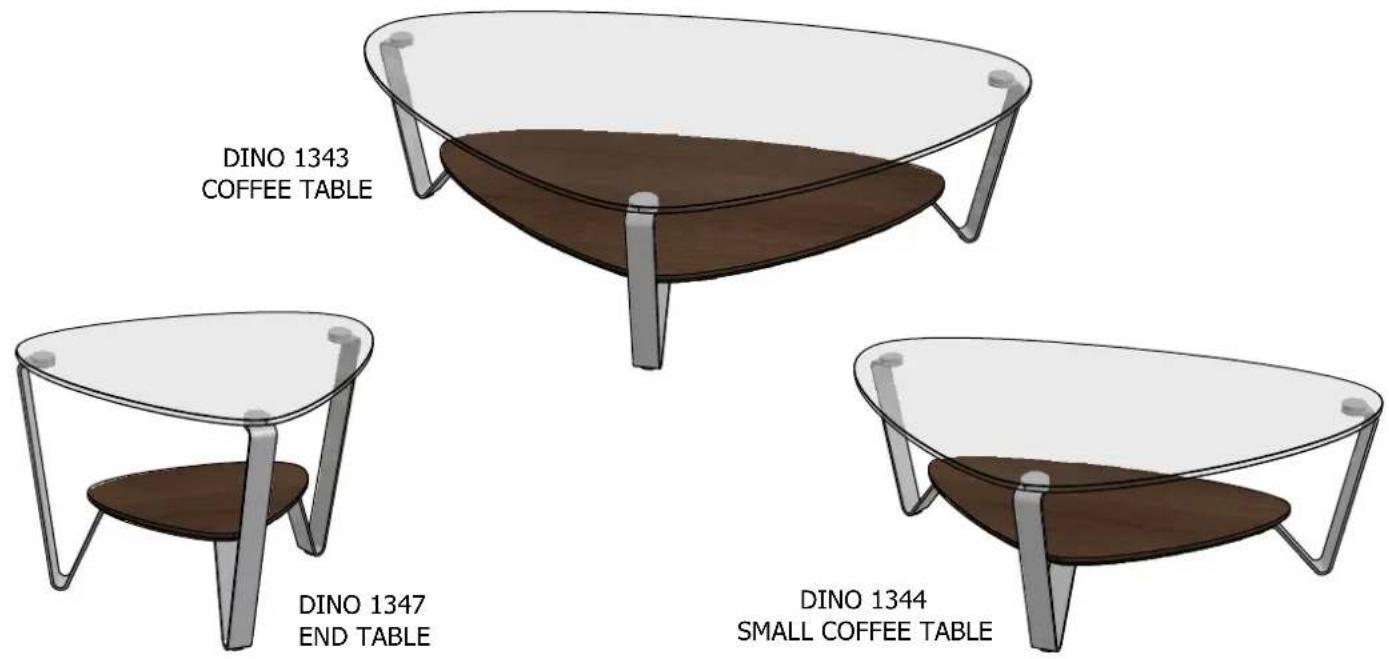
| Abmessungen (ca.) | 120 x 80 x 75 cm (Höhe) |
| Gewicht | ca. 20 kg |
| Material | MDF mit Metallbeinen |
| Belastbarkeit | ca. 50 kg |
| Montage | Selbstmontage erforderlich |
| Lieferumfang | Tischplatte, Gestell, Montageanleitung |
| Pflegehinweise | Mit feuchtem Tuch abwischen, keine aggressiven Reinigungsmittel |
| Verwendung | Innenbereich |
| Form | Rechteckig |
| Anzahl Beine | 4 |
| Farbe | Wie abgebildet (verschiedene Optionen möglich) |
| Garantie | 2 Jahre |
| Besonderheiten | Modernes Design, robuste Konstruktion |
Häufig gestellte Fragen - DINO 1343 BDI
Benutzerfragen zu DINO 1343 BDI
0 Frage zu diesem Gerät. Beantworten Sie die, die Sie kennen, oder stellen Sie Ihre eigene.
Eine neue Frage zu diesem Gerät stellen
Laden Sie die Anleitung für Ihr Tisch kostenlos im PDF-Format! Finden Sie Ihr Handbuch DINO 1343 - BDI und nehmen Sie Ihr elektronisches Gerät wieder in die Hand. Auf dieser Seite sind alle Dokumente veröffentlicht, die für die Verwendung Ihres Geräts notwendig sind. DINO 1343 von der Marke BDI.
BEDIENUNGSANLEITUNG DINO 1343 BDI
Placement and Maintenance
DINO TABLES are designed for indoor use on level floors. Clean glass with glass cleaner, and shelf with a moist cloth.
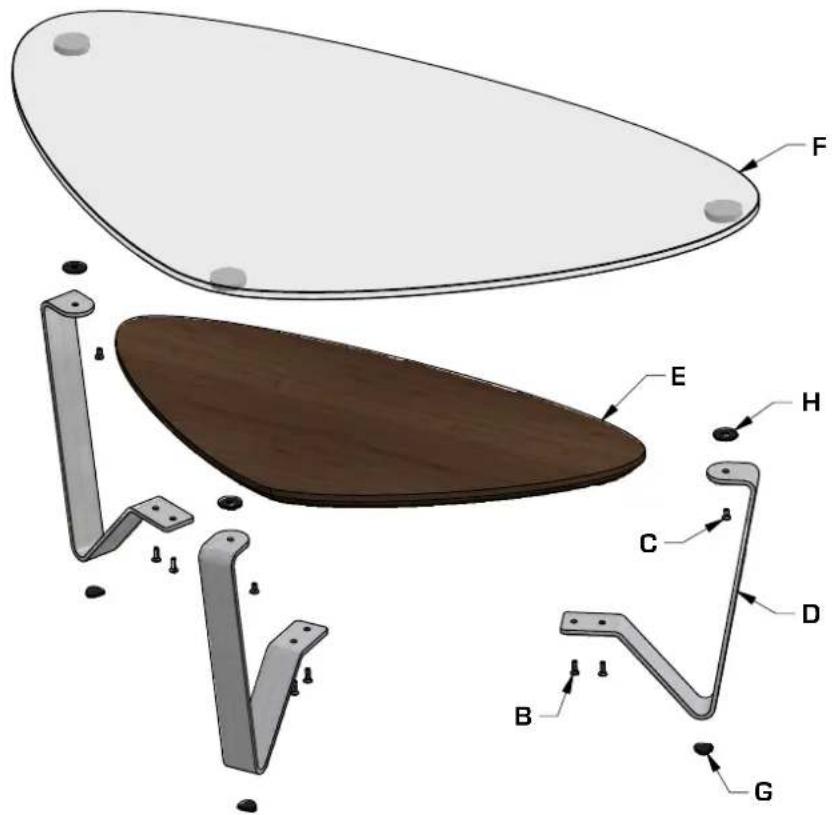
Component List
DINO TABLES are engineered for easy assembly. Carefully follow this procedure to prevent any damage. Unpack and identify the components. The assembly workspace should be a non-marring surface such as clean carpet. For missing hardware pieces, please contact BDI Customer Service at customerservice@bdiusa.com. For all other concerns, please contact your BDI Retailer.
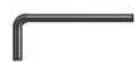
A - Hex Wrench 4mm x 1

B - 1/4-20 x 3/4 Flat Head Screws 4mm Socket Drive x 6

C - 1/4-20 x 1/2 Flat Head Screws 4mm Socket Drive x 3
D - Legs x 3
E - Shelf x 1
F - Glass x 1
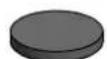
G - Felt Pads x 3
H - Felt O-Rings x 3
Step 1 - Attach Legs to Shelf
Place long edge of Shelf (E) on soft surface in order to prevent damage.
Attach Legs (D) to Shelf (E) using Screws (B) and tighten using Hex Drive Wrench (A).
Attach first Leg (D) to middle point of Shelf (E).
Optional: If placed on hard floor, attach Felt Pads (G) to bottom of Legs (D).
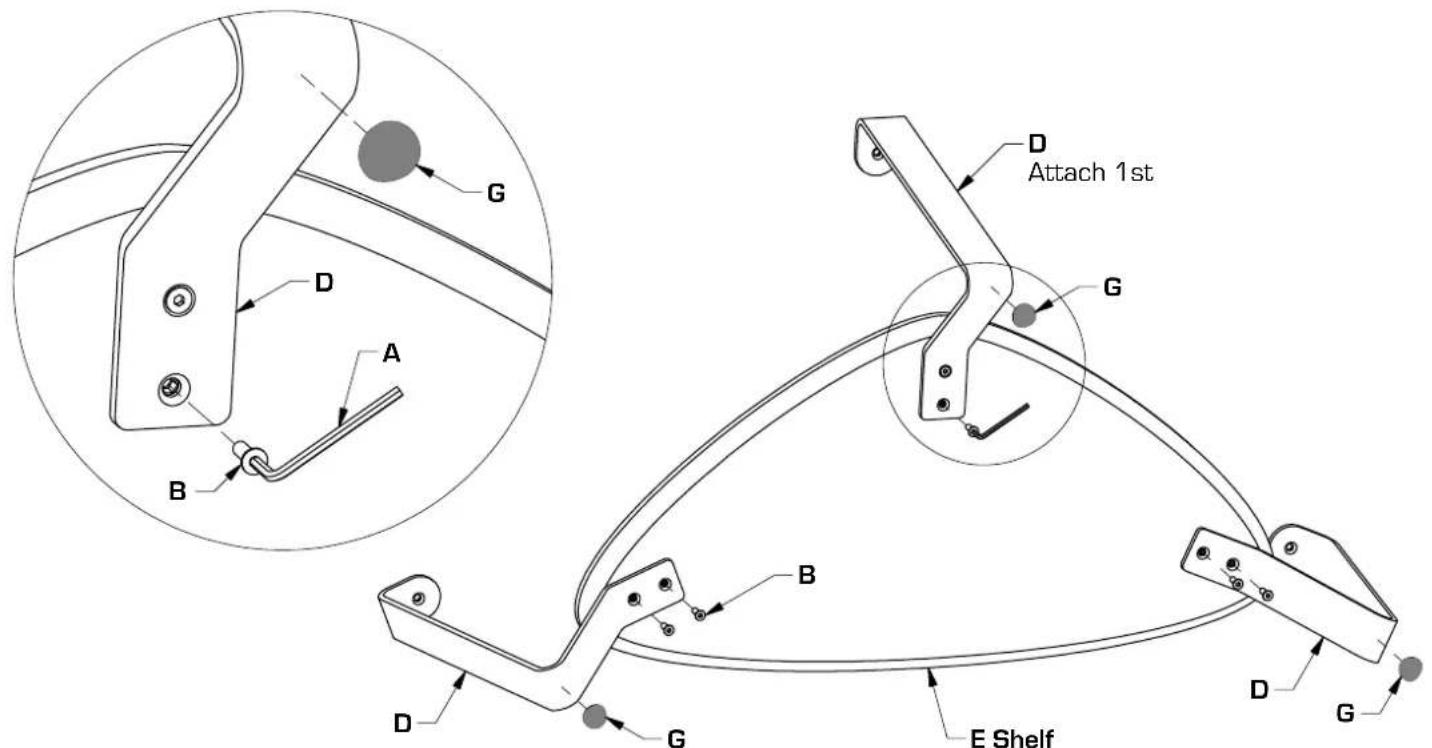
Place long edge on soft surface in order to prevent damage.
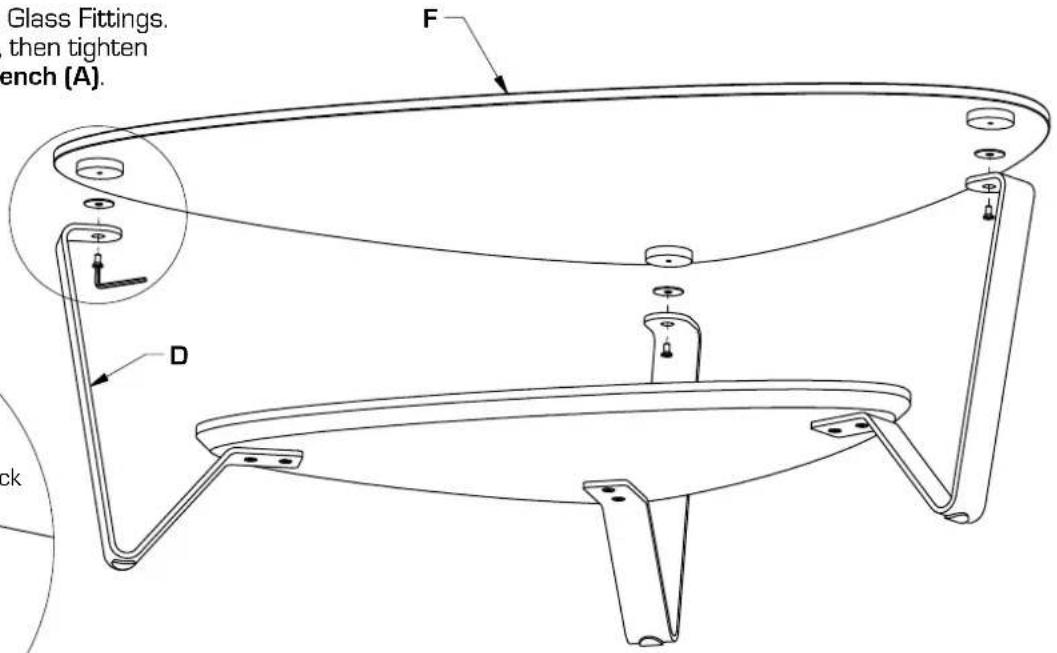
Step 2 - Attach Glass to Legs
Attach Felt O-Rings (H) to Glass Pucks.
Turn table up onto Legs (D).
Place Glass (F) onto Legs (D).
Loosely start all Screws (C) into Glass Fittings.
After all Screws (C) are started, then tighten
Screws (C) using Hex Drive Wrench (A).