82-8145 - Ukategoriseret Metra - Gratis brugsanvisning og manual
Find enhedens vejledning gratis 82-8145 Metra i PDF-format.

Brugerspørgsmål om 82-8145 Metra
0 spørgsmål om dette apparat. Besvar dem du kender, eller stil dit eget.
Stil et nyt spørgsmål om dette apparat
Download vejledningen til din Ukategoriseret i PDF-format gratis! Find din vejledning 82-8145 - Metra og tag din elektroniske enhed tilbage i hånden. På denne side er alle dokumenter nødvendige for brugen af din enhed offentliggjort. 82-8145 af mærket Metra.
BRUGSANVISNING 82-8145 Metra
82-8145
TOYOTA
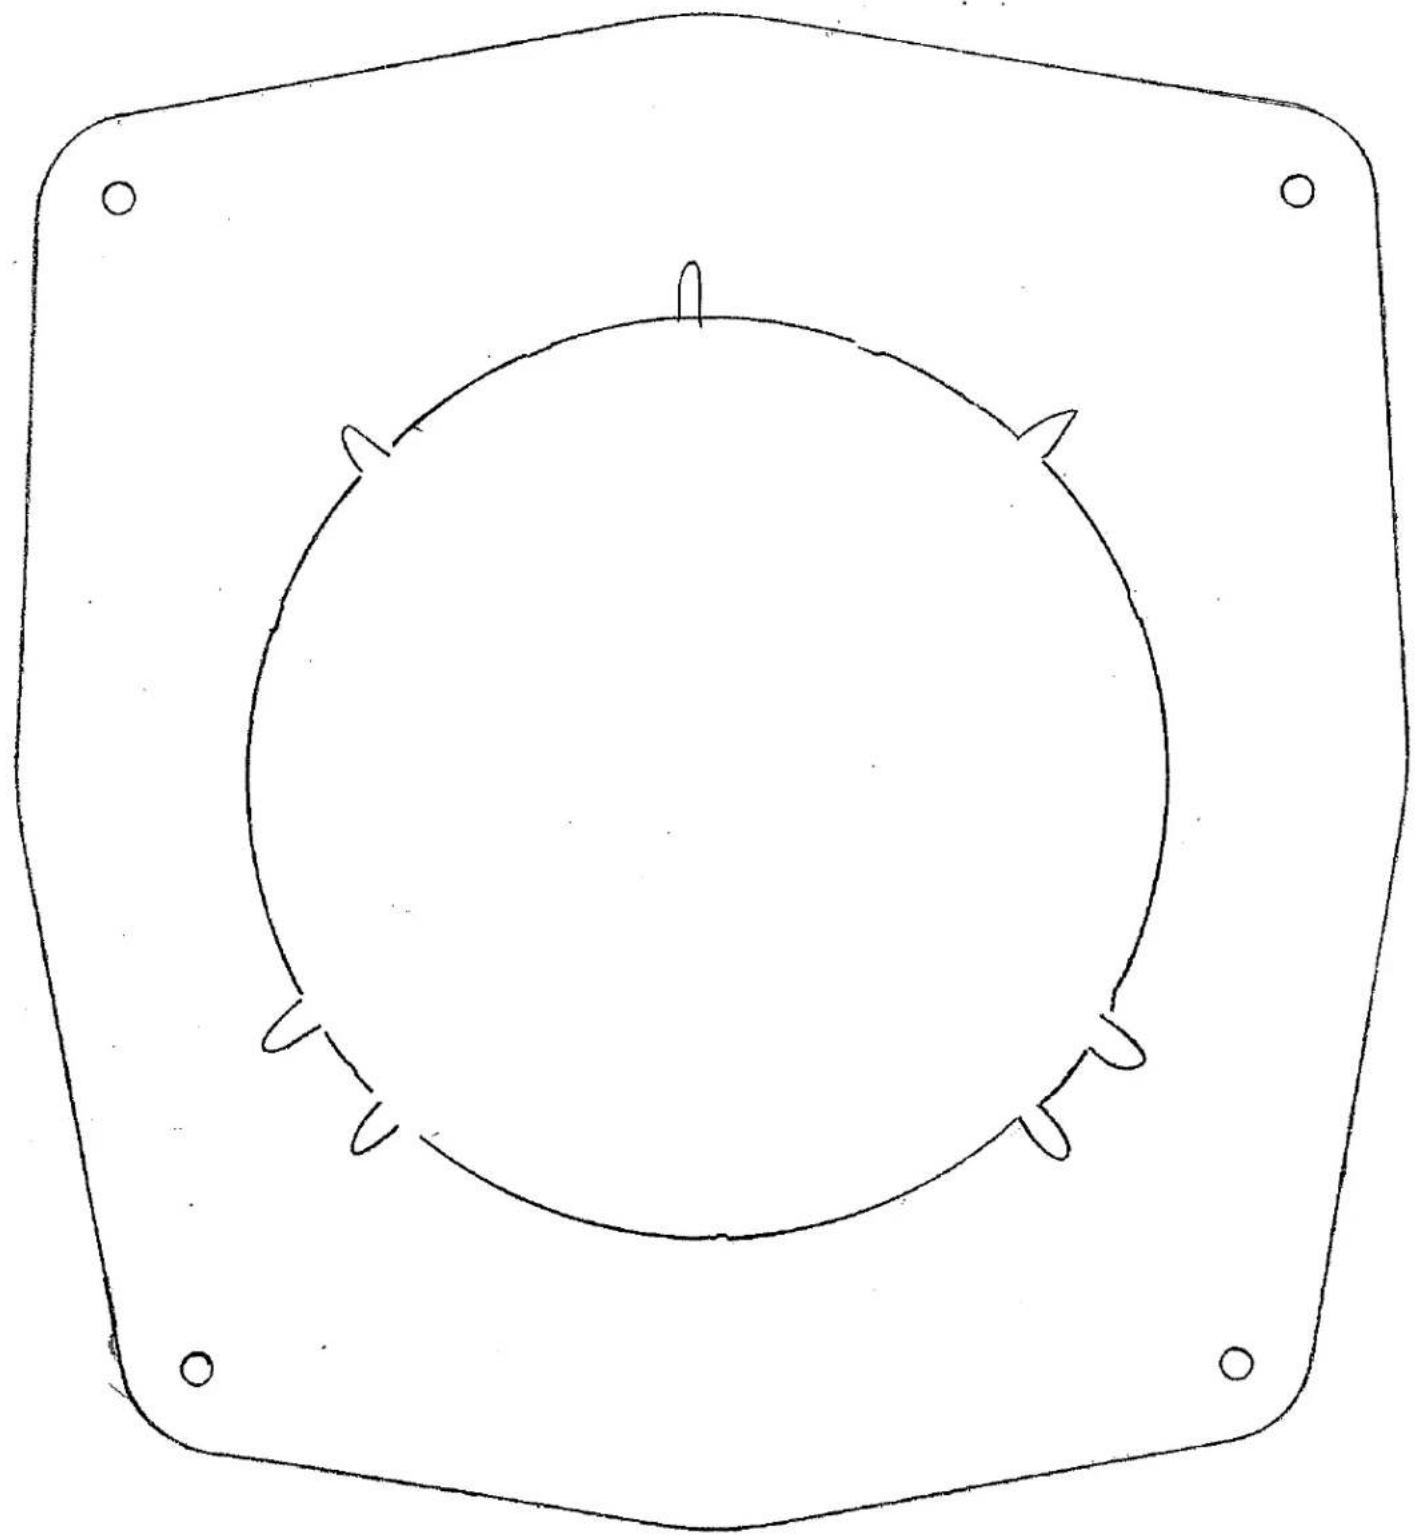
Speaker Adaptor Plate
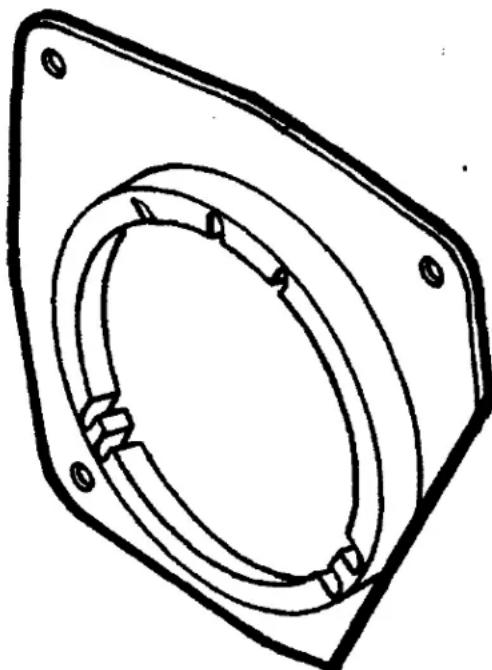
natural_image
Technical line drawing of a mechanical component with concentric rings and mounting holes (no text or symbols)Applications
TOYOTA
RAV4 1996-97
text_image
Scanned image of a barcode with vertical black and white lines on both sides120828145
TOOLS REQUIRED FOR INSTALLATION:
Phillips screwdriver


PLEASE READ ALL INSTRUCTIONS BEFORE PROCEEDING
Your Metra installation kit is equipped with the following components
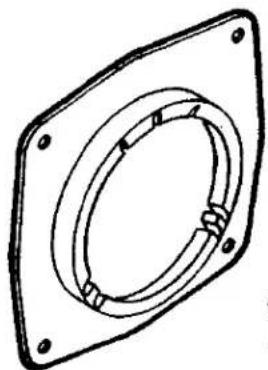
natural_image
Technical line drawing of a mechanical flange with bolt holes and concentric rings (no text or symbols)(2) Speaker Adaptor Plates
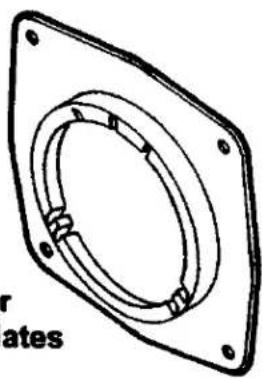
natural_image
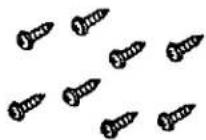
Technical line drawing of a mechanical flange with internal coiled spring (no text or symbols)(8) Phillips screws
(1) PANEL DISASSEMBLY
Disconnect the negative battery terminal to prevent an accidental short circuit.
- Remove the plastic screw cover from the top-inside portion of the door panel and (1) Phillips screw exposed.
- Remove (2) Phillips screws from the door pull handle.
- Remove (1) Phillips screw from the door latch cup.
- For models with manual windows: using a window crank removal tool, disengage the spring clip and remove the crank handle.
- For models with power windows: unsnap the window control panel and slide the panel through the opening in the door panel.
- Unclip the door panel and remove.
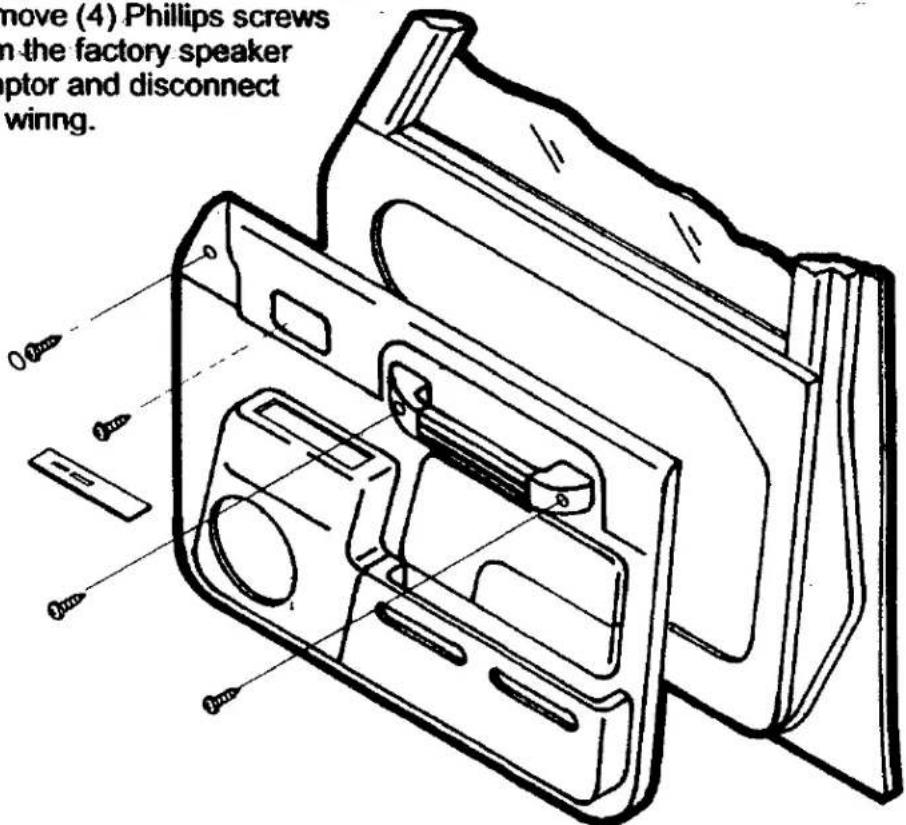
- Remove (4) Phillips screws from the factory speaker adaptor and disconnect the wing.
text_image
move (4) Phillips screws in the factory speaker aptor and disconnect winng.(2) KIT PREPARATION
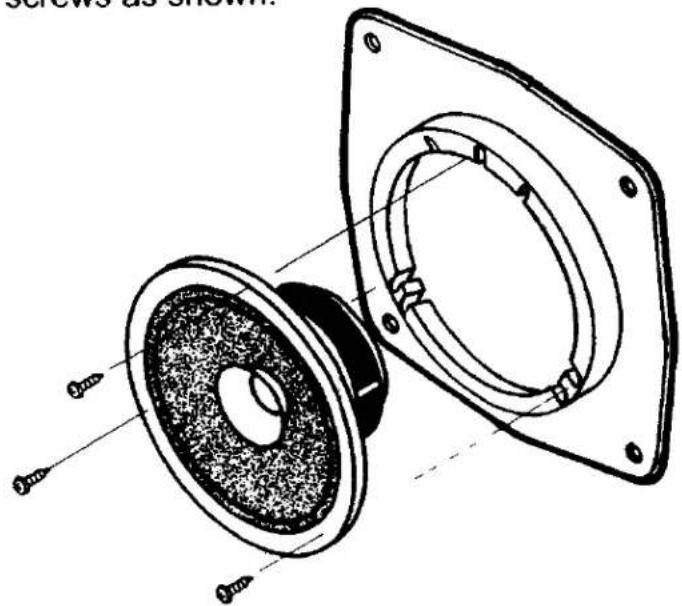
1 Mount the aftermarket speaker to the Speaker Adaptor Plate with the necessary screws as shown.
natural_image
Technical line drawing of a speaker assembly with mounting flange and central hub (no text or symbols)(3) WIRING INSTALLATION
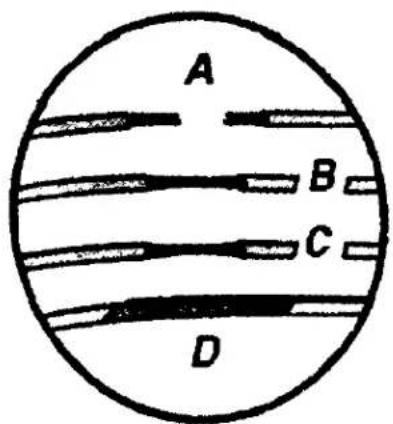
Locate the factory wiring harness in the cavity. Metra recommends using the proper mating adaptor and making connections as shown.
A. Strip wire ends back 12 "
B. Twist together
C. Solder
D. Tape
text_image
A B C DIsolate and individually tape off the ends of any unused wires to prevent electrical short circuit.
(4) KIT INSTALLATION
1 Re-connect the battery terminal and test the speaker for proper operation.
2. Mount the assembly to the door frame with (4) Phillips screws supplied.
natural_image
Simple line drawing of a circular component with mounting holes, enclosed in a square frame (no text or symbols)120828145