
FLTK-1 - Emhætte SMEG - Gratis brugsanvisning og manual
Find enhedens vejledning gratis FLTK-1 SMEG i PDF-format.


Brugerspørgsmål om FLTK-1 SMEG
0 spørgsmål om dette apparat. Besvar dem du kender, eller stil dit eget.
Stil et nyt spørgsmål om dette apparat
Download vejledningen til din Emhætte i PDF-format gratis! Find din vejledning FLTK-1 - SMEG og tag din elektroniske enhed tilbage i hånden. På denne side er alle dokumenter nødvendige for brugen af din enhed offentliggjort. FLTK-1 af mærket SMEG.
BRUGSANVISNING FLTK-1 SMEG
FLTK FILTER KIT ASSEMBLY INSTRUCTIONS
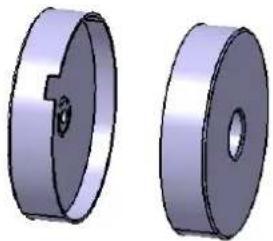 | 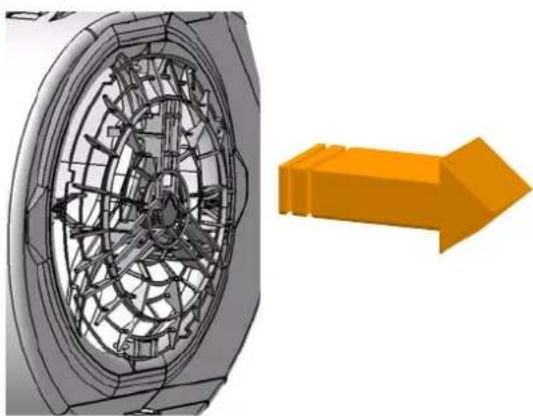 |
| 1- The active carbon filter contains: -n°1 circular active carbon filter with slot to be applied on left hand side of motor-hood -n°1 circular active carbon filter without slot to be applied on right hand side of motor-hood | 2- Disconnect the hood from the mains and remove the grease filters |
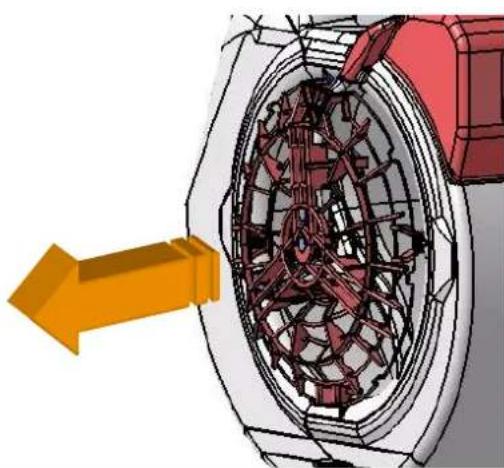 | 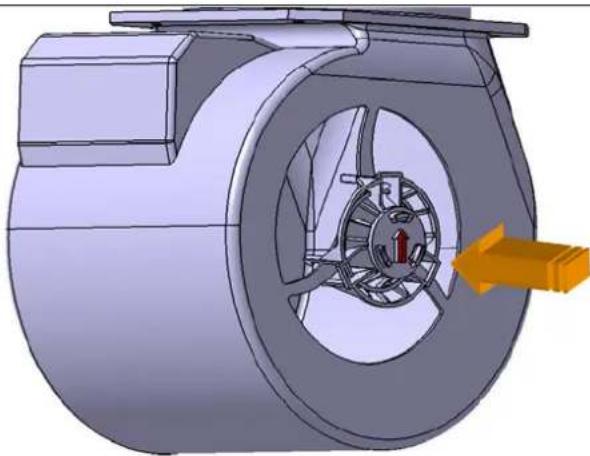 |
| 3- Remove the motor suction protection grids by forcibly pulling them out of the recesses | 4- After removing the grids, snap-fit the active carbon filter support only on the right hand side of the motor, making sure the arrow on the support faces up. |
text_image
B A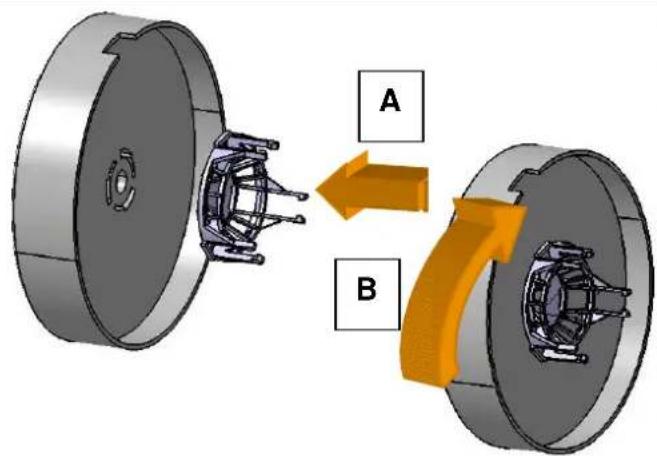
text_image
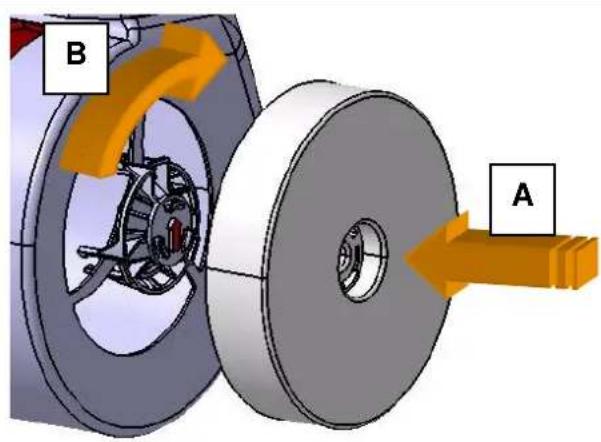
A B5- Take the right hand side active carbon filter (filter without slot) and draw it close to the motor/filter support assembly
- insert A the carbon filter in the filter support centring prongs
- rotate B the filter as shown in the figure
6- Take the left hand side active carbon filter (filter with slot) and insert the filter support in the filter centring prongs (Fig. A) making sure the arrow on the support faces the slot
- rotate the filter on the filter support as shown in Fig. B
natural_image
3D mechanical assembly diagram showing a cylindrical component with a shaft and housing, connected by an arrow indicating direction (no text or symbols present)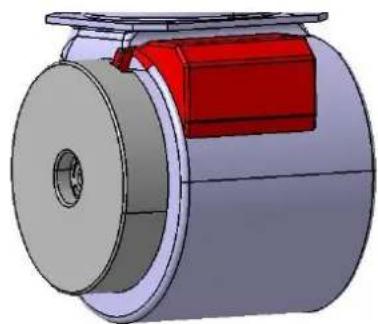
natural_image
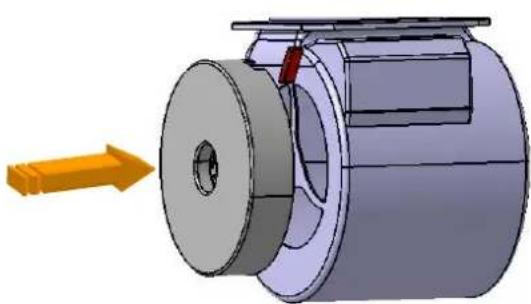
3D mechanical component diagram showing a cylindrical housing with a red internal component (no text or symbols)7- Draw the filter/filter support assembly close to the LHS of the motor and apply the filter by exerting pressure and making sure the filter slot coincides with the projection on the motor as shown in the figure.