Prime - Fauteuil gamer AK Racing - Gratis brugsanvisning og manual
Find enhedens vejledning gratis Prime AK Racing i PDF-format.

Brugerspørgsmål om Prime AK Racing
0 spørgsmål om dette apparat. Besvar dem du kender, eller stil dit eget.
Stil et nyt spørgsmål om dette apparat
Download vejledningen til din Fauteuil gamer i PDF-format gratis! Find din vejledning Prime - AK Racing og tag din elektroniske enhed tilbage i hånden. På denne side er alle dokumenter nødvendige for brugen af din enhed offentliggjort. Prime af mærket AK Racing.
BRUGSANVISNING Prime AK Racing
natural_image
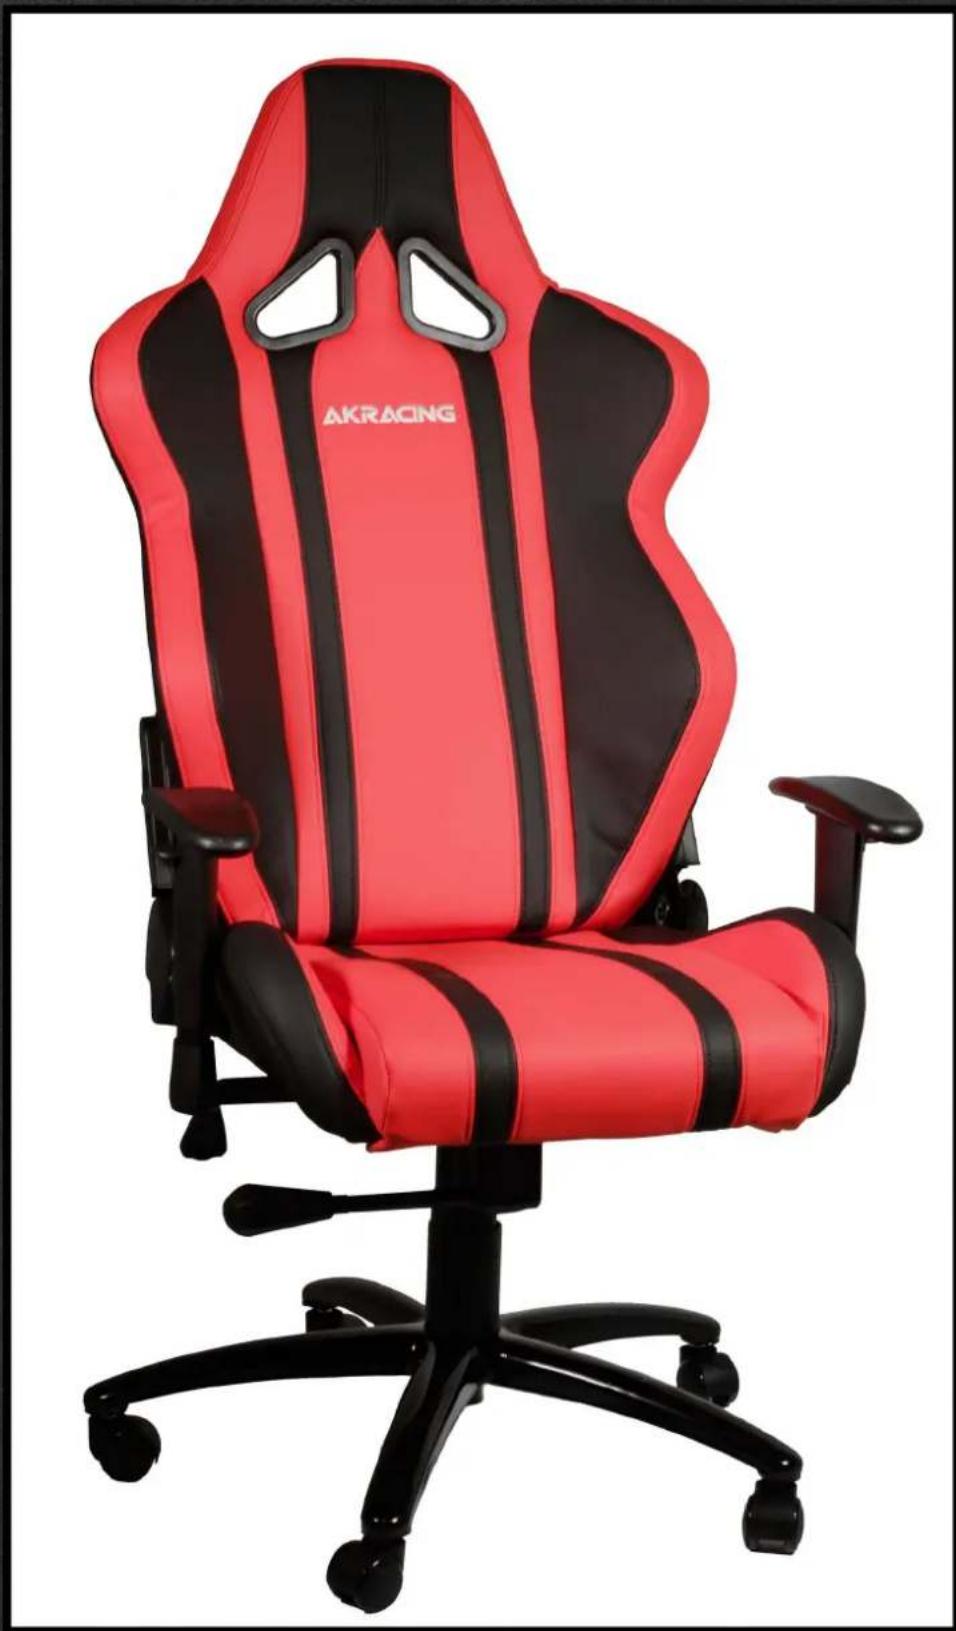
Red and black racing chair with 'AKRACING' branding, no visible text or symbols on the chair bodyThis chair may differ from the delivered model. Assembly method is the same for all AKRacing models.
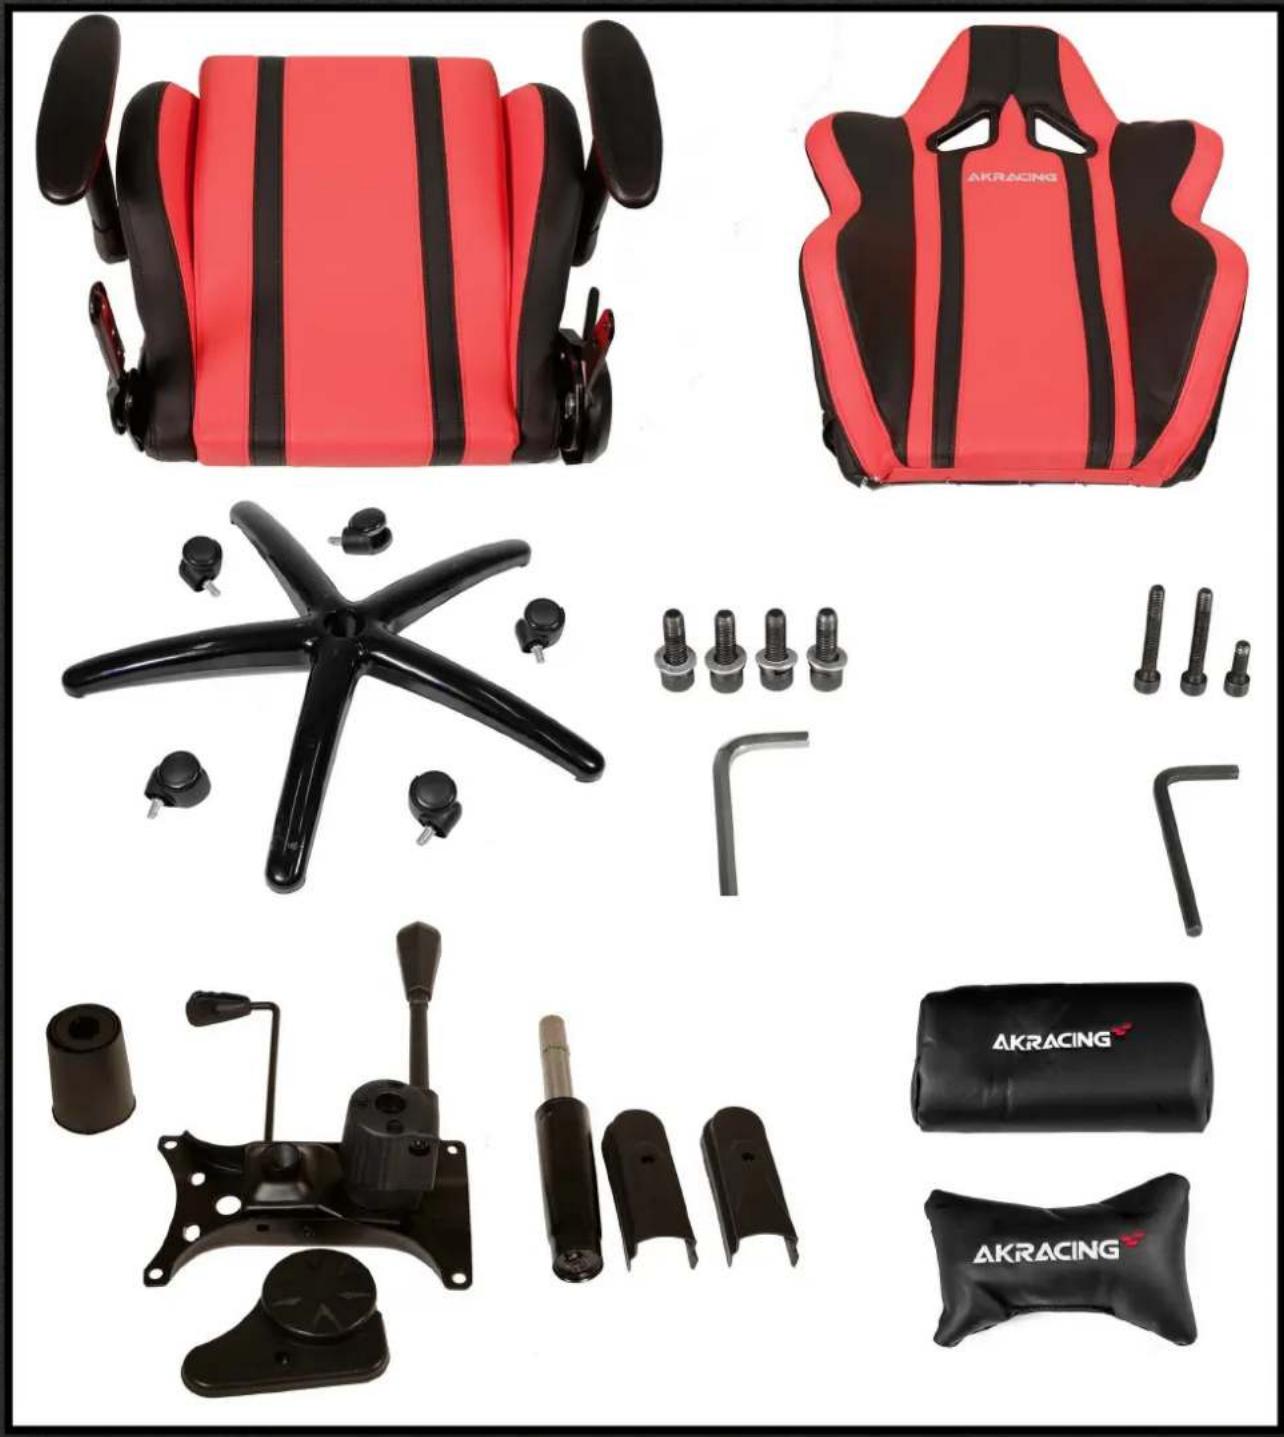
Parts included in the package.
natural_image
Product catalog of Akracing motor lift and seat assembly (no text or symbols visible)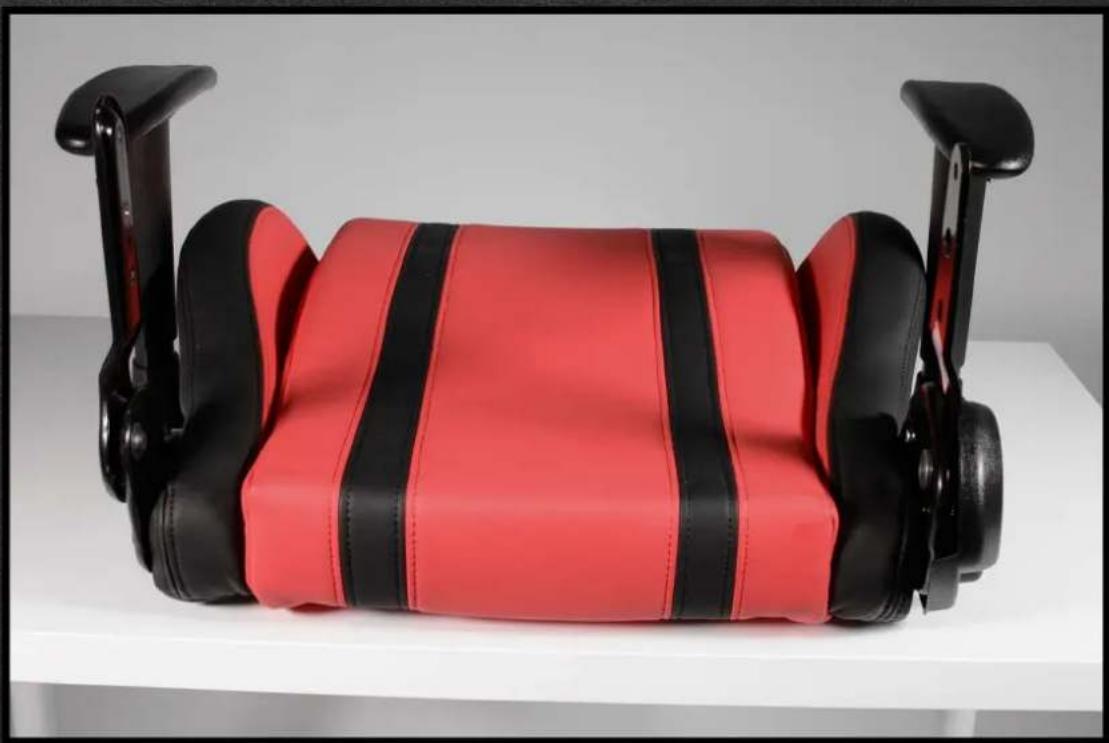
natural_image
Red and black leather seat with black straps, displayed on a white surface (no text or symbols visible)- Start by putting the seat part of the chair on top of a table or such, for optimal working height.
We recommend you being two persons for the assembly.
natural_image
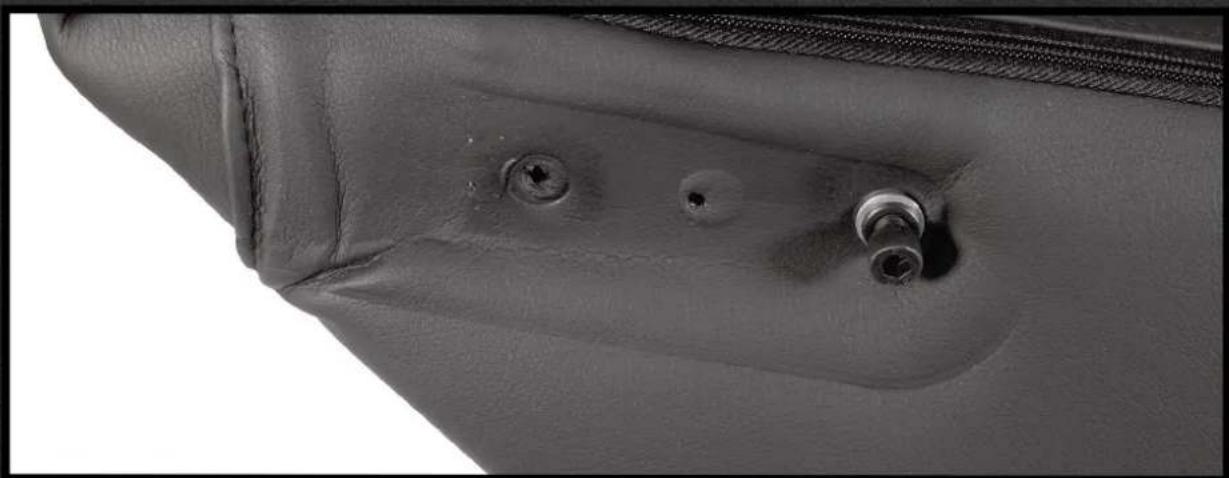
Close-up of a leather jacket showing three circular holes and two threaded pins (no text or symbols visible)- Make sure you clean the screwholes and get rid of padding or fabric, that might be in the way.
- Pre-screw the screws into their holes and then take them out again, by doing this you will ensure that the holes are clean and ready.
natural_image
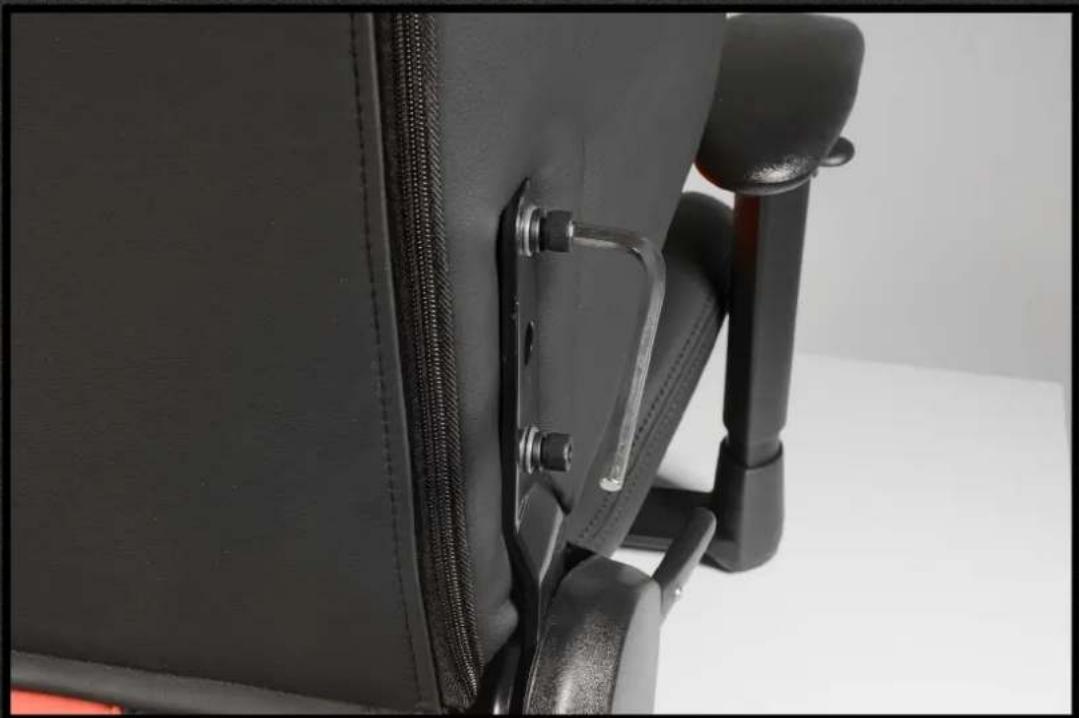
Close-up of a black office chair seat with visible seatbelt and mounting bracket (no text or symbols)- Once you put the backrest into place it is time for the screws to be mounted. You can start with whichever screw you like, just make sure you screw them loosely to make it easier to screw in the rest. Use only the provided tools to make the screws align in the hole correctly! When all the screws are in place, screw them in tightly.
natural_image
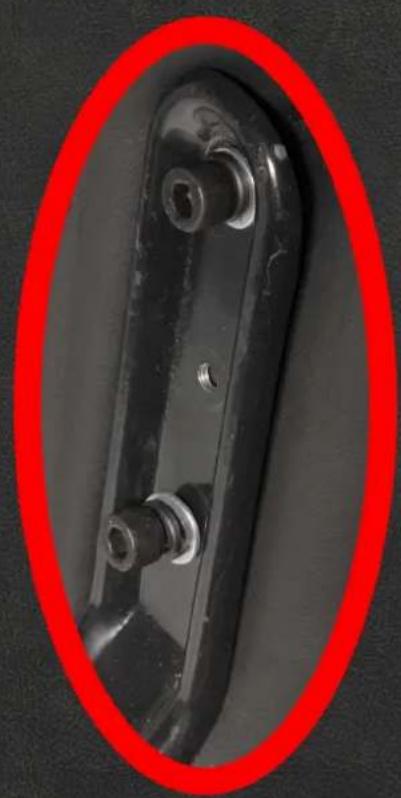
Close-up of a black metal mechanical component with two bolts and a red oval border (no text or symbols visible)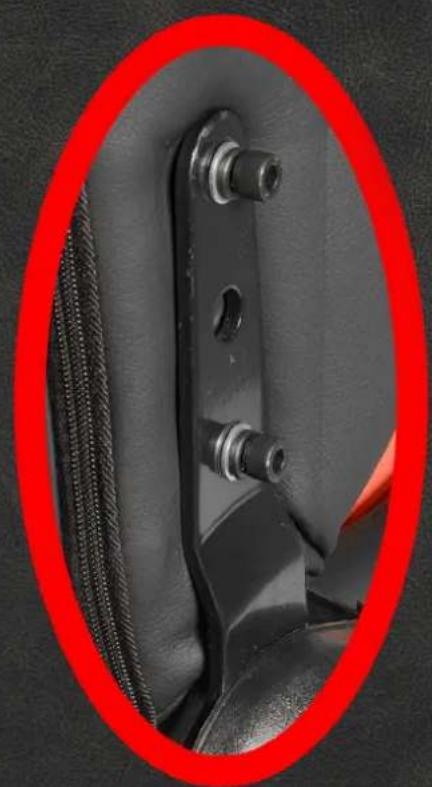
natural_image
Close-up of a mechanical component with bolts and a red oval border (no visible text or symbols)- Now it is time to mount the plastic covers, use the black tool provided for this. Fit the screw into the hole using the tool provided, and screw it into place. DO NOT screw too tight to ensure plastic will not break.
natural_image
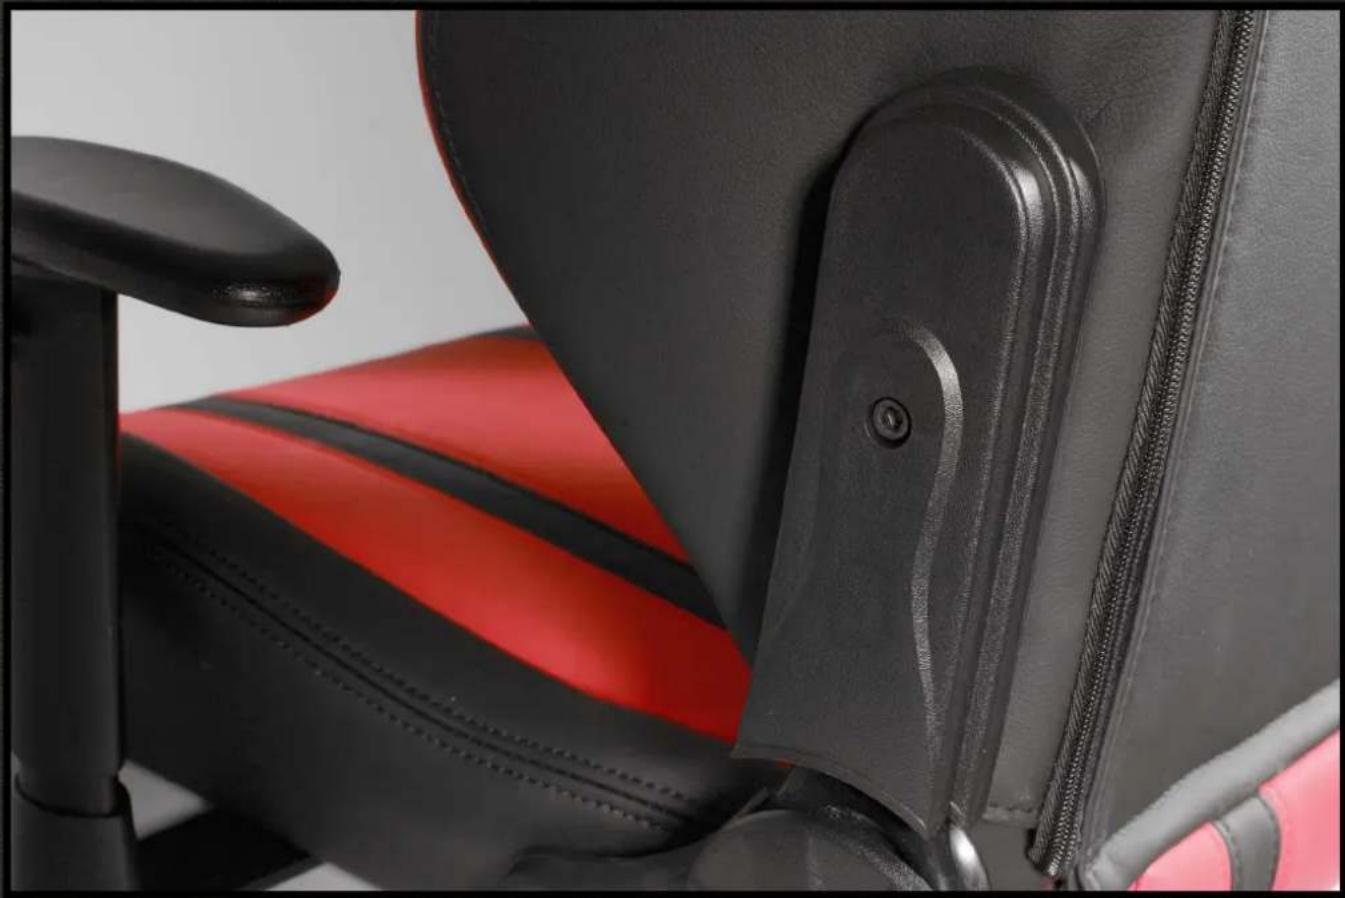
Close-up of a black and red leather office chair seat with visible spine and side panel (no text or symbols)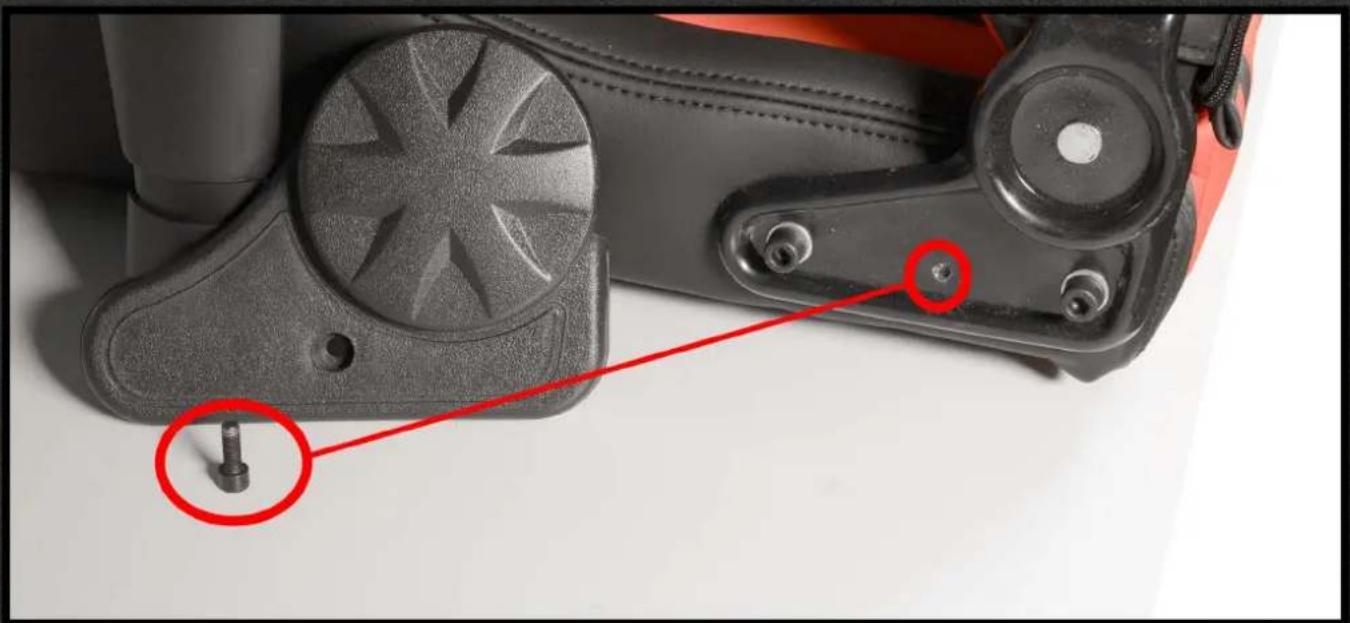
natural_image
Close-up of a mechanical device with a red annotation highlighting a small component (no text or symbols present)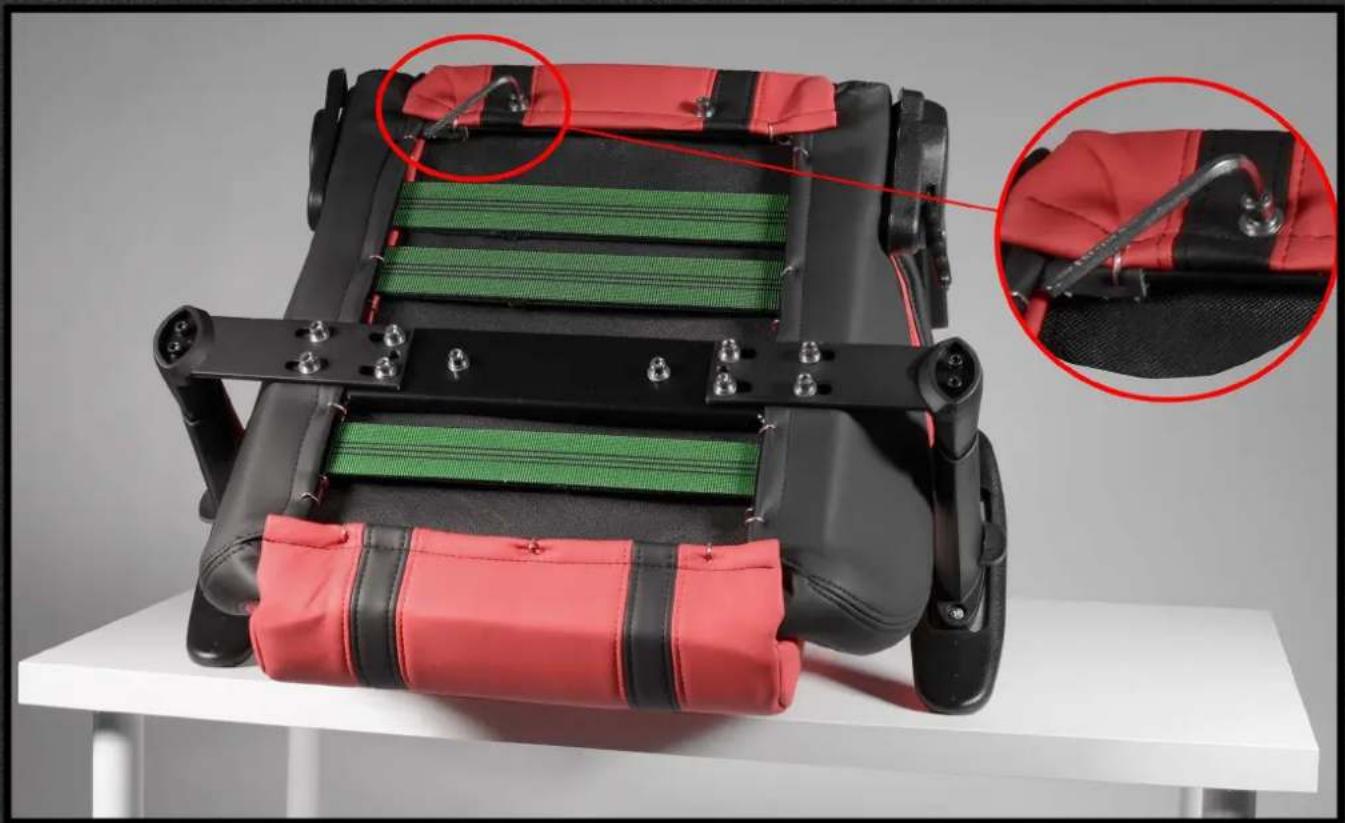
natural_image
Close-up of a car seat assembly with green and red leather bands, showing structural details (no text or symbols visible)- Flip the chair as shown in the picture, make sure it is stable. These screws are pre-screwed at delivery so you will have to unscrew them.
You can unscrew them by hand, if you cup your hand you will prevent parts from falling into the chair padding.
natural_image
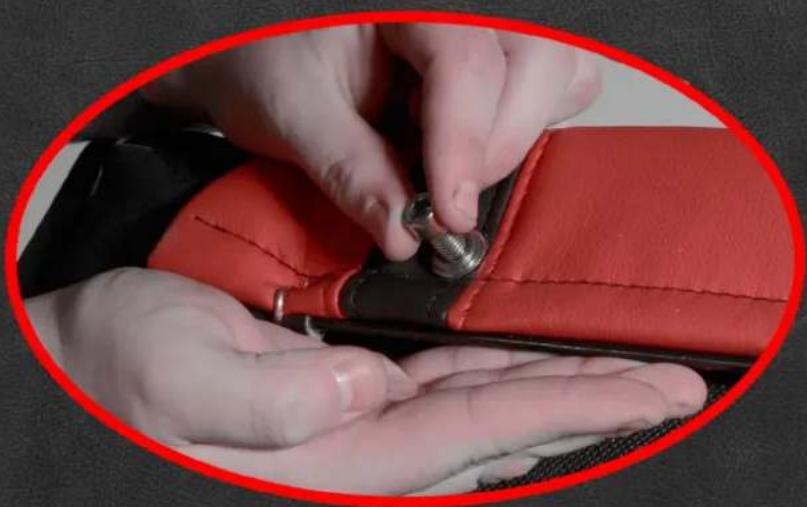
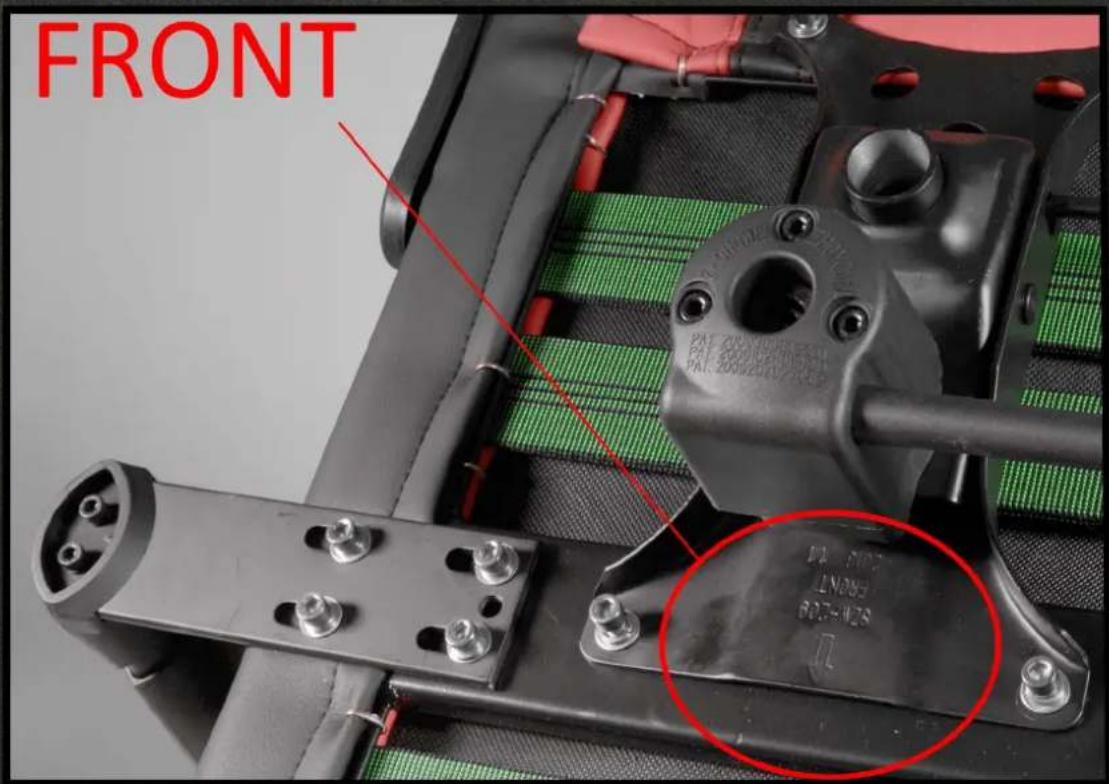
Close-up of hands adjusting a red leather sleeve with metal fasteners (no text or symbols visible)- It is time to mount the base where the gas lift will be mounted into. Make sure it is mounted correctly, you will see a text "FRONT", along with an arrow which shows you how it should be mounted.
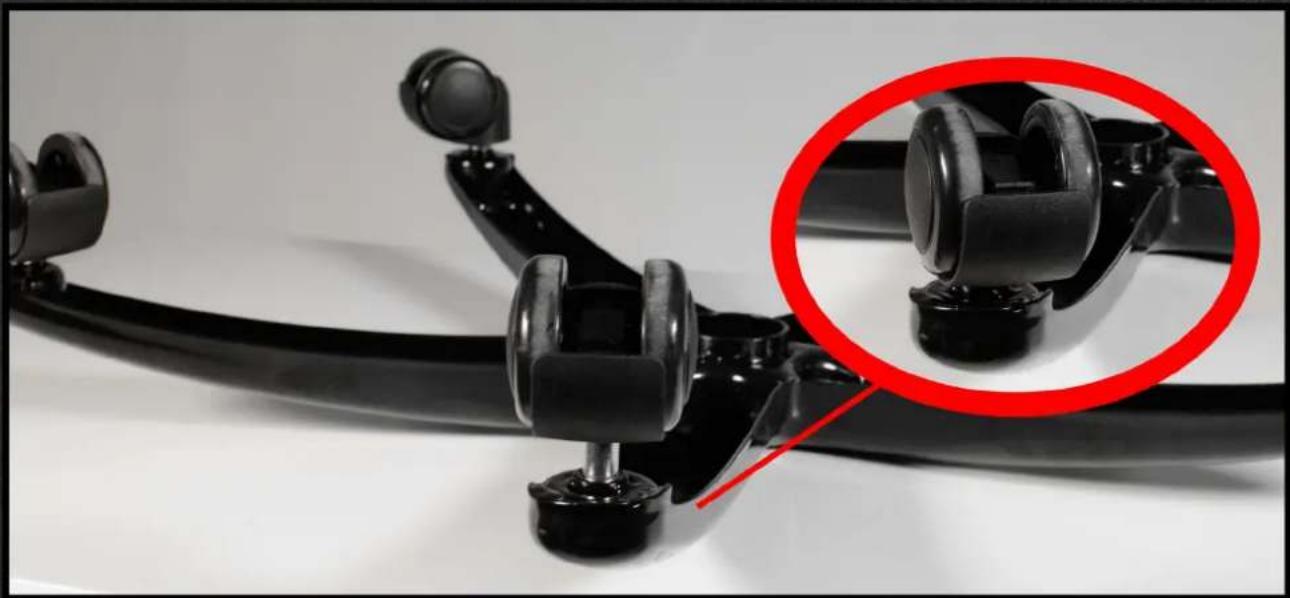
- Now you will assemble the five star base with wheels. Take the 5 wheels and push them into the holes as shown in the picture.
natural_image
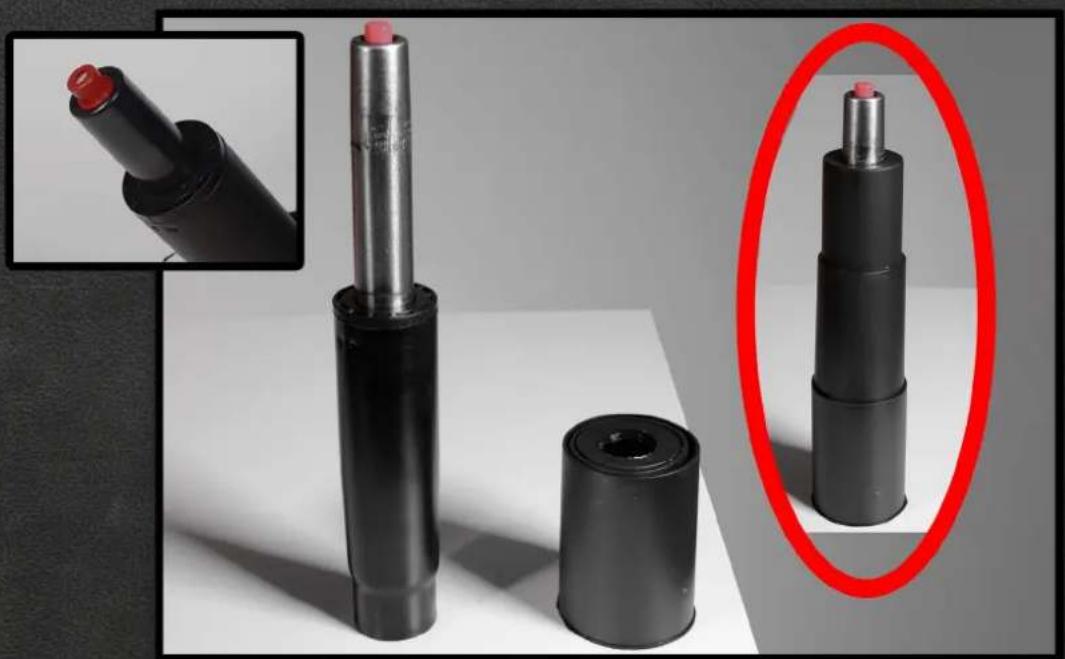
Close-up of a black automotive suspension frame with a red circle highlighting the component (no text or symbols visible)- Assemble the gas lift as shown in the picture. If there is a red plastic cover on top of the gas lift, remove it before step 10.
natural_image
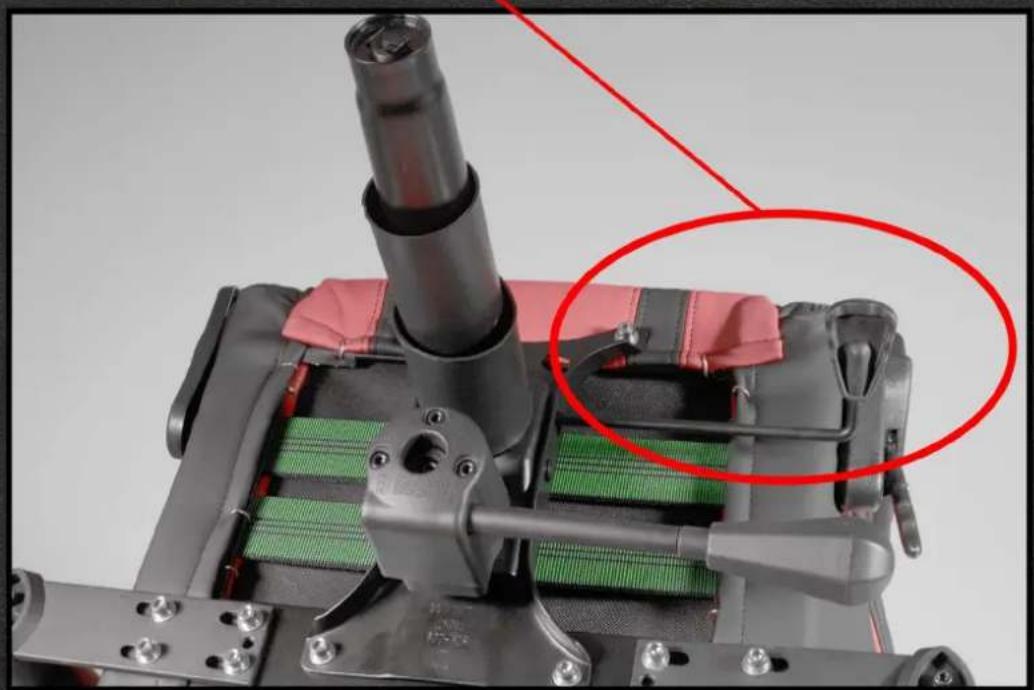
Black lipstick holder with red cap and cylindrical base, shown in two views: one close-up of a lip liner, the other tilted upward (no text or symbols visible)- Now you can mount the gas lift into the base, push it into the hole. Note that the lever should pop some when it is attached.
natural_image
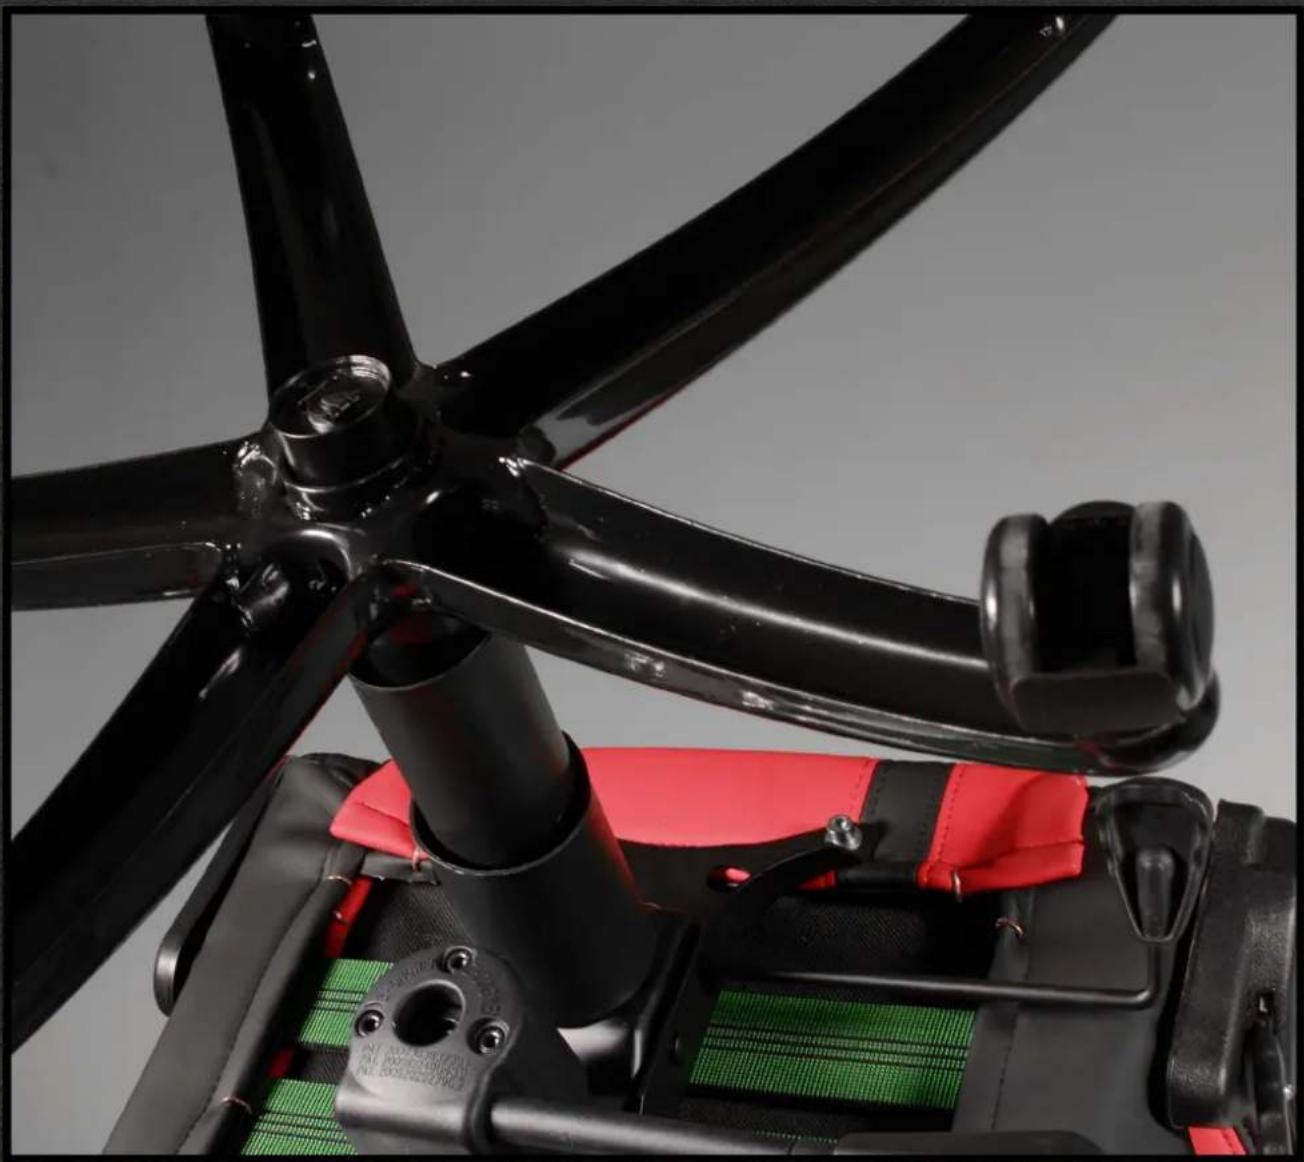
Close-up of a mechanical device with green and black components, highlighting a red circle (no text or symbols visible)- The final step is to attach the five star base with wheels with the gas lift. Just push the base into the gas lift. Now you have succeeded the assembly of your AKRacing chair.
natural_image
Close-up of a black and red propeller with green circuit board and mechanical components (no visible text or symbols)Mærke : AK Racing
Model : Prime
Kategori : Fauteuil gamer