Clever Mop - Kost JML - Gratis brugsanvisning og manual
Find enhedens vejledning gratis Clever Mop JML i PDF-format.

Brugerspørgsmål om Clever Mop JML
0 spørgsmål om dette apparat. Besvar dem du kender, eller stil dit eget.
Stil et nyt spørgsmål om dette apparat
Download vejledningen til din Kost i PDF-format gratis! Find din vejledning Clever Mop - JML og tag din elektroniske enhed tilbage i hånden. På denne side er alle dokumenter nødvendige for brugen af din enhed offentliggjort. Clever Mop af mærket JML.
BRUGSANVISNING Clever Mop JML

Distributed by JML
JML, Unit 1 Eastside, Port of Tyne, South Shields, NE33 5SP
Customer Services:
UK: 0800 781 7831 (Freephone) • ROI: 041-978 0003 (Local rate)
Email: info@JMLgroup.co.uk • Web: www.JMLdirect.com
©JohnMillsLtd/MB/01.15/KY/A • Made in China
Product codes: V03406

Clever Mop™
Thank you for purchasing JML Clever Mop. To get the best results from using this mop, please read these instructions in full and retain for future reference.
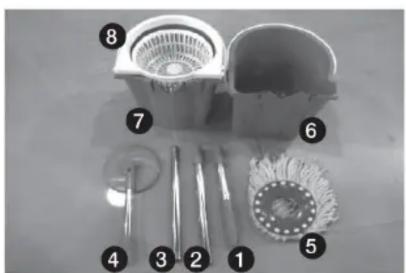
Product Contents
-
Upper section of the pole
-
Middle section of the pole
-
Lower section of the pole
-
Bottom plate section of the pole
-
Mop head
-
Large bucket
-
Bucket with pedal
-
Spinning basket
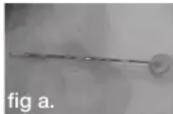
natural_image
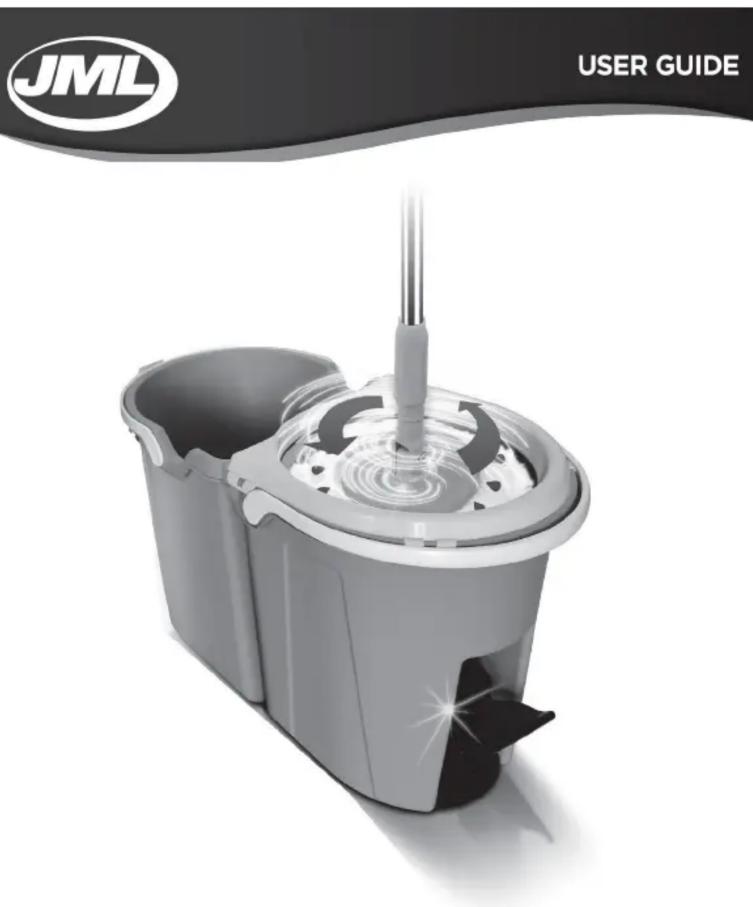
Product image of a JML mop with a handle and water filter, no visible text or symbols on the main subject.Clever Mop™
Warnings
- This is not a toy • Keep internal packaging away from children and babies • Keep all body parts away from spinning basket while it is spinning • Keep all body parts away from the mechanism behind the pedal at all times • Use the Clever Mop only for its intended use • DO NOT use attachments that are not recommended by the manufacturer • Never operate the Clever Mop if it is not functioning properly • DO NOT leave children unattended with the Clever Mop • Read the instruction manual carefully and retain for future reference
Specification
Material
PP, POM (plastic part of pole, buckets, and basket), microfibre (mop head fibres), stainless steel, carbon steel (metal part of pole)
Dimensions
Large bucket: 25.2 (L) x 26.4 (W) x 25 (H) cm Bucket with pedal: 25.2 (L) x 25.8 (W) x 25 (H) cm Complete bucket: 49.7 (L) x 26.4 (W) x 25 (H) cm Pole: 15.7 (Dia.) x 114.5 (L) cm Maximum capacity bucket: 9.2 litres
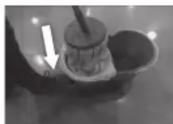
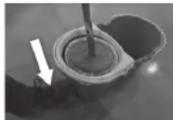
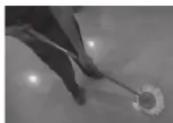
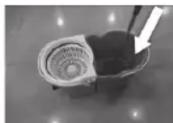
Assemble the Spinning Basket and the 2 Buckets
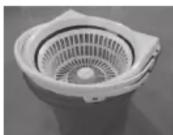
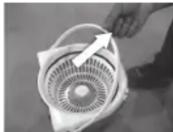
- When taken out of the box, the spinning basket is loosely on top of the pedal bucket which is inside the large bucket.
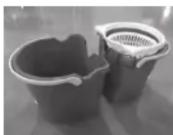
- Take the bucket with pedal out of the large bucket and place them separately on the floor.
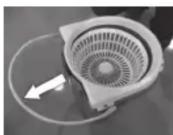
- Flip the hanging ring over the spinning basket.

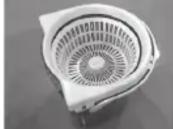
- Press the spinning basket onto the pedal bucket to fix it on securely.
- Flip the hanging ring back to its original position.
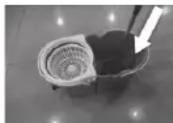
natural_image
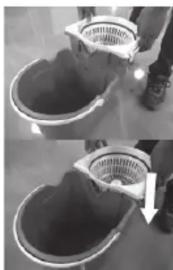
Two-panel photo showing a bucket being placed, with one bucket being lifted by a filter (no text or symbols visible)- Push the two square tabs on the pedal bucket into the two slots on the large bucket to assemble into one complete bucket.
Assemble the Pole and the Mop Head
- Connect the 4 sections of the pole in the sequence of a, b, c, d (from top to bottom) to assemble the pole.
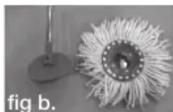
- Push the bottom plate onto the mop head and step on it to join them securely.

Use and Clean
- Fill the large bucket with clean water, then submerge the mop head to rinse the fibres a few times.
- Put the mop head into the spinning basket.
- Push the pedal down with your foot. The pedal will lift up automatically. Repeat several times.
- Hold the pole and swivel the mop head to clean the floor.
- Return mop head into the spinning bucket and pump the pedal so excess dirt and water falls into the pedal bucket. Repeat step 1-5.
Replacement heads
Please order from JMLdirect.com
Disposal
Dispose of all packaging responsibly using local recycling schemes.
Guarantee
This product is unconditionally guaranteed for one year against all defects of workmanship and materials. This guarantee does not affect your statutory rights. If you have any problems or queries about this product please contact JML customer services.