McKinley 725-100 - Telt Stansport - Gratis brugsanvisning og manual
Find enhedens vejledning gratis McKinley 725-100 Stansport i PDF-format.

Brugerspørgsmål om McKinley 725-100 Stansport
0 spørgsmål om dette apparat. Besvar dem du kender, eller stil dit eget.
Stil et nyt spørgsmål om dette apparat
Download vejledningen til din Telt i PDF-format gratis! Find din vejledning McKinley 725-100 - Stansport og tag din elektroniske enhed tilbage i hånden. På denne side er alle dokumenter nødvendige for brugen af din enhed offentliggjort. McKinley 725-100 af mærket Stansport.
BRUGSANVISNING McKinley 725-100 Stansport
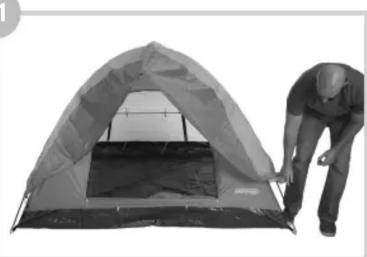
OPERATION: Read the following instructions before using this unit
12
natural_image
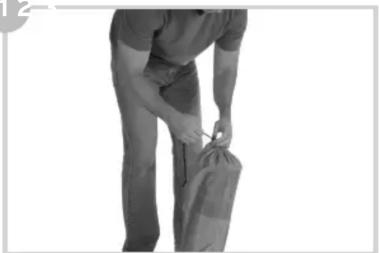
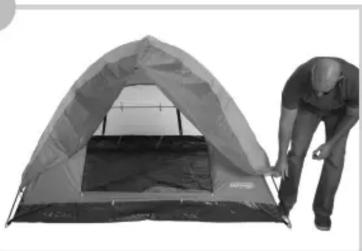
Person in casual attire holding a bag, viewed from behind (no text or symbols visible)Remove the tent, rain fly, and tent poles from the tent storage bag.
natural_image
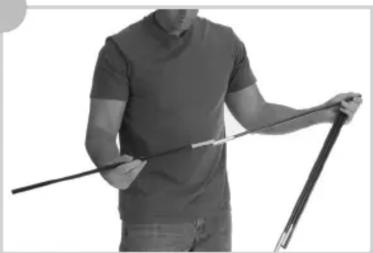
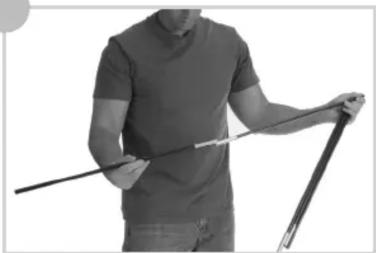
Person holding a long, thin object with a ruler, possibly measuring or demonstrating (no text or symbols visible)Carefully assemble the two long tent poles and the one short rain fly pole.
natural_image
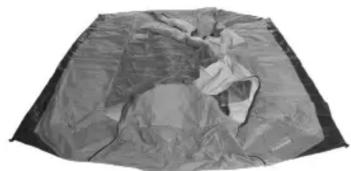
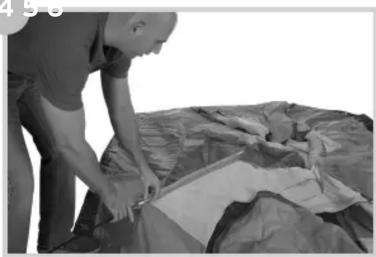
Folded fabric or plastic sheet with crumpled edges and a small piece of paper (no text or symbols visible)Spread the tent out on a flat surface with the tent floor against the ground.
4 5
natural_image
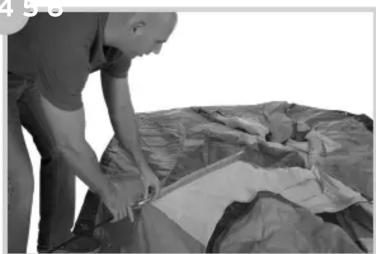
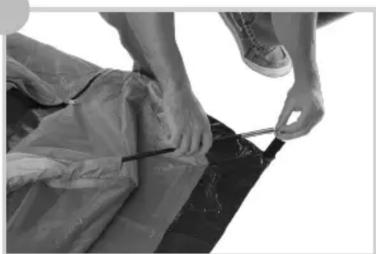
Person handling a large folded paper or cloth on a dark surface (no visible text or symbols)Carefully slide each of the long tent poles through the colored pole sleeves
(Please note the poles will cross at top of tent)

natural_image
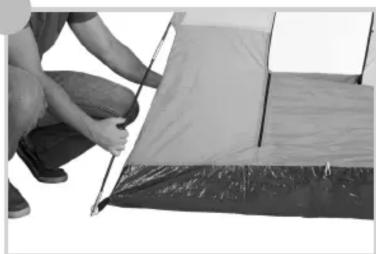
Person using a tool to tie or wrap on a dark fabric item (no visible text or symbols)Place one end of each pole into the tabs at the corner of the tent.
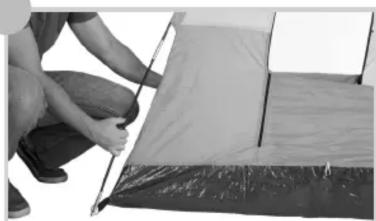
natural_image
Person kneeling beside a tent with a stick, partially covered by a blanket (no visible text or symbols)Carefully push the remaining pole ends into the remaining tabs. Now the tent will stand by itself.
7
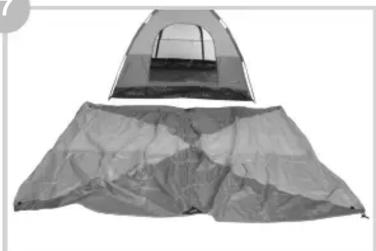
natural_image
Two types of camping tents: a simple tent and a covered blanket (no text or symbols visible)Lay out the rain fly with the inside of the rain fly facing upward.
8

natural_image
Close-up of a person adjusting a metal object on a patterned fabric (no visible text or symbols)Place the short rain fly pole into the two mesh pockets at the center of the rain fly.
9
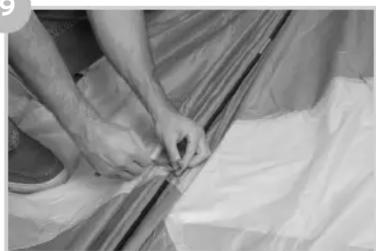
natural_image
Close-up of hands handling a plastic sheet with paper (no visible text or symbols)Tie the two fabric strings located at the center of the rain fly around the rain fly pole.
10

natural_image
Person assembling a large camping tent (no text or symbols visible)Turn the rain fly right side up with the rain fly pole face down.
11
natural_image
Person folding a tent with a person adjusting the structure (no text or symbols visible)Place the rain fly on the tent with the rain fly pole located over the center of each tent door.
2
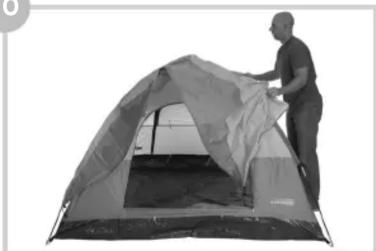
natural_image
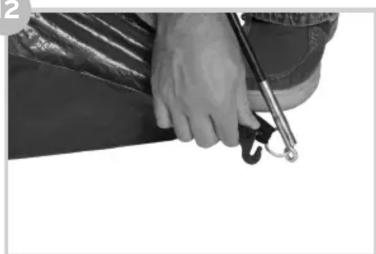
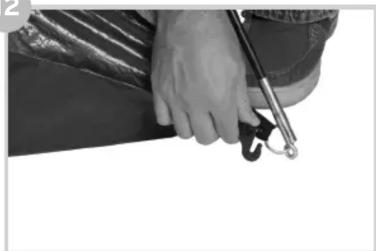
Close-up of a hand holding a tool with a small object, against a plain background (no text or symbols visible)Carefully attach each corner of the rain fly to the corner of the tent, then you will have completed building your tent!
Additional Information:
Make sure you stake your tent securely to the ground in windy conditions. Always place your tent up wind and a safe distance from any campfire. Placing your tent upwind from your campfire will prevent small ashes from burning holes in your tent. It is a good idea to practice assembling your tent prior to your first trip into the wilderness. Allow to dry thoroughly before storing.
Waterproofing your Tent
Your tent is coated with a water repellent coating and each seam has been carefully taped and sealed. However from time to time it may be wise to apply a small amount of seam sealer to all seams to maintain maximum weather protection.

Registered in the U.S. Patent and Trademark Office
Operación: Lea las siguientes instrucciones antes de usar esta unidad
12

natural_image
Person holding a bag, viewed from behind (no text or symbols visible)Saque la tienda, toldo y varillas de la bolsa. Arme con cuidado las 2 varillas largas
y 1 varilla corta para el toldo.
natural_image
Person holding a long, thin object with a ruler, possibly measuring or demonstrating (no text or symbols visible)
natural_image
Grayscale photo of a folded garment or fabric item with visible texture and stitching (no text or symbols)Extienda toda la tienda sobre una superficie plana, con el piso de la tienda sobre el suelo.
4 5
natural_image
Person handling a large folded garment or fabric item, no visible text or symbolsCon precaución inserte y deslice las 2 varilla largas
en cada una de las mangas de la tienda.
(Notese que las varillas se van a cruzar en la parte superior de la tienda)
natural_image
Person using a tool to tie or wrap on a dark fabric item (no visible text or symbols)Coloque cada extremo de las varilla en casa
pasador en las esquina de la tienda.
natural_image
Person kneeling beside a tent with a cable, no visible text or symbolsCon precaución coloque cada extremo
en cada esquina de la tienda.
7
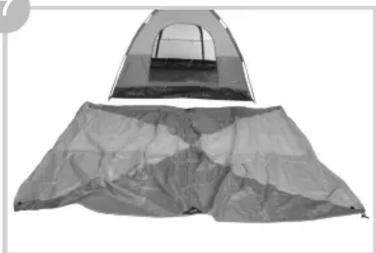
natural_image
Two types of camping tents: a simple tent with a roof and a covered canopy (no text or symbols visible)Extienda el toldo de la tienda en el piso con la parte interior del toldo volteado hacia arriba
8
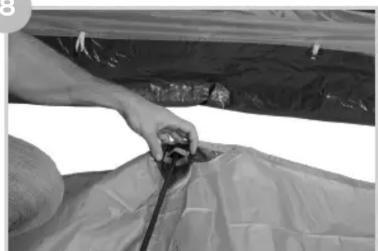
natural_image
Person adjusting a metal object on a tarp, no visible text or symbolsColoque los extremos de la varilla corta en
los bolsillos de correa en el centro del toldo
9

natural_image
Close-up of hands handling a plastic sheet with paper (no visible text or symbols)Amarre la varilla al toldo utilizando las correas
en el centro del toldo
10
natural_image
Person standing beside a large camping tent with visible windows and roof (no text or symbols)Coloque el toldo sobre la tienda, la varilla va a quedar en la parte de abajo del toldo
11
natural_image
Person kneeling beside a tent with a handle, no visible text or symbolsColoque el toldo de manera que los extremos de la varilla queden sobre las entradas de la tienda
2
natural_image
Close-up of a hand holding a tool with a small hook, partially visible against a plain background (no text or symbols)Sujete cada esquina del toldo a cada esquina de la tienda, entonces habrá terminado de armar su tienda!
INFORMACIÓN ADICIONAL:
Asegúrese de colocar su tienda con estacas al suelo especialmente bajo días con viento. Siempre coloque su tienda en dirección al viento a una distancia segura de fogatas. Al colocar su tienda en dirección al viento evitara que chispas o cenizas perforen su tienda. Se recomienda practicar el armado de su tienda antes de salir a acampar. Asegúrese que su tienda este bien seca antes de guardarse.
IMPERMEABILIZADO DE SU TIENDA:
Su tienda tiene una capa de impermeabilizante y cada costura ha sido cuidadosamente impermeabilizada. De vez en cuando es buena idea aplicar una pequeña cantidad de impermeabilizante a las costuras para mantenerla protegida del agua.

Registered in the U.S. Patent and Trademark Office