RF-X - Mikrofon SE Electronics - Gratis brugsanvisning og manual
Find enhedens vejledning gratis RF-X SE Electronics i PDF-format.

Brugerspørgsmål om RF-X SE Electronics
0 spørgsmål om dette apparat. Besvar dem du kender, eller stil dit eget.
Stil et nyt spørgsmål om dette apparat
Download vejledningen til din Mikrofon i PDF-format gratis! Find din vejledning RF-X - SE Electronics og tag din elektroniske enhed tilbage i hånden. På denne side er alle dokumenter nødvendige for brugen af din enhed offentliggjort. RF-X af mærket SE Electronics.
BRUGSANVISNING RF-X SE Electronics
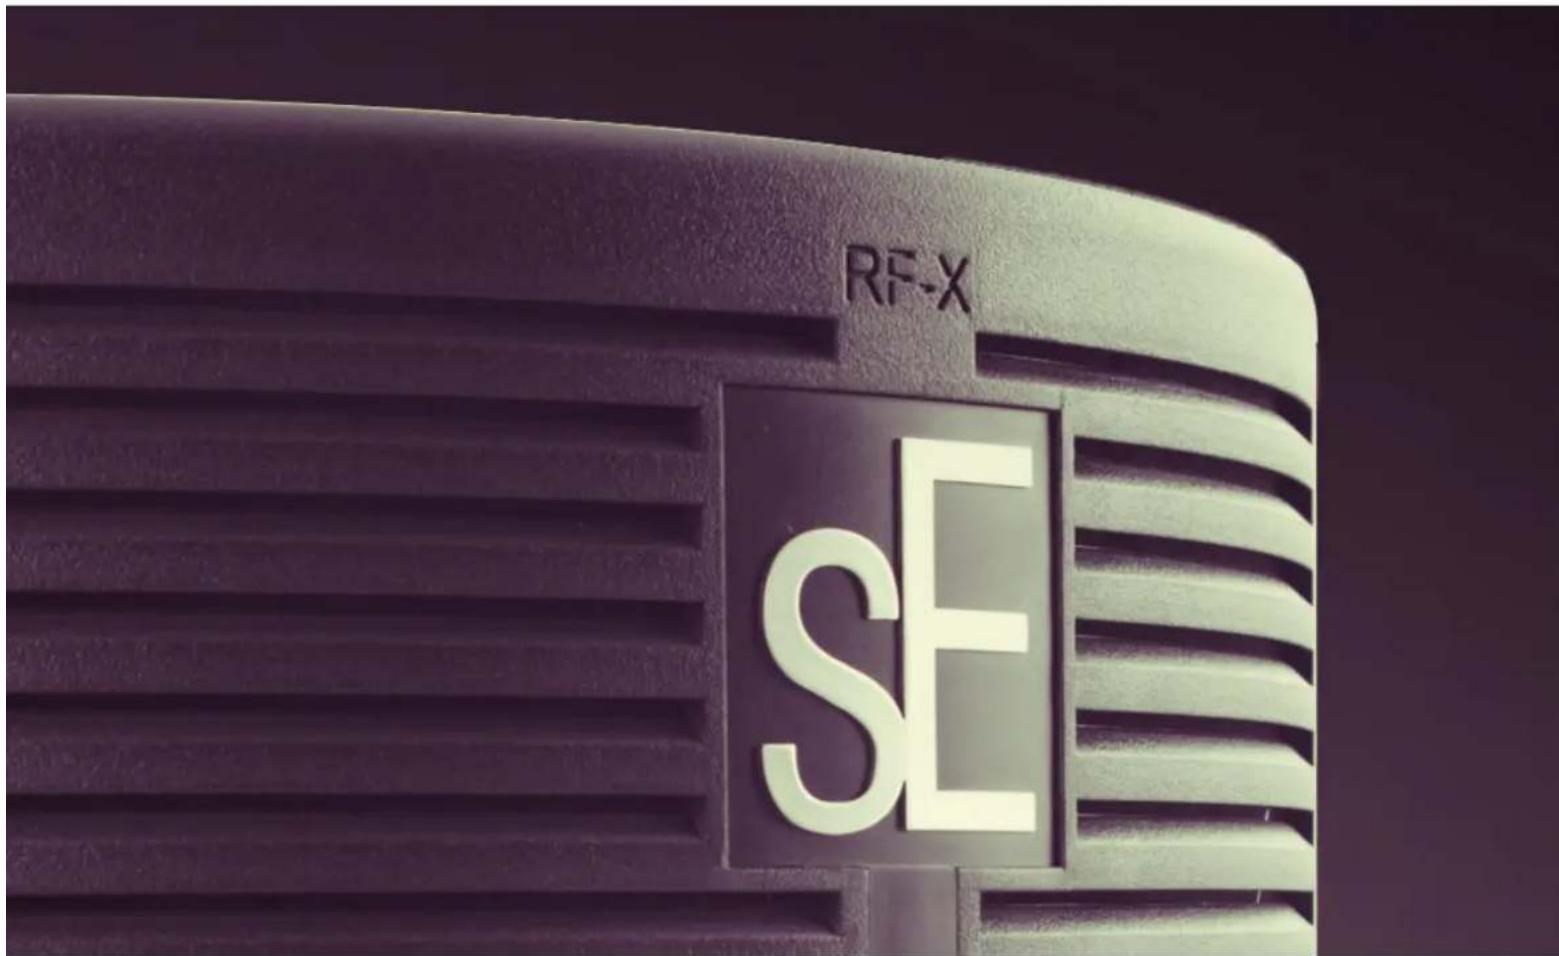
REFLEXION FILTER® X ASSEMBLY + USE
natural_image
Close-up of a metallic door handle with slats, showing no text or symbolsThank you for purchasing an sE Electronics RF-X! We hope it helps make your tracks sound great - no matter WHERE you're recording.

natural_image
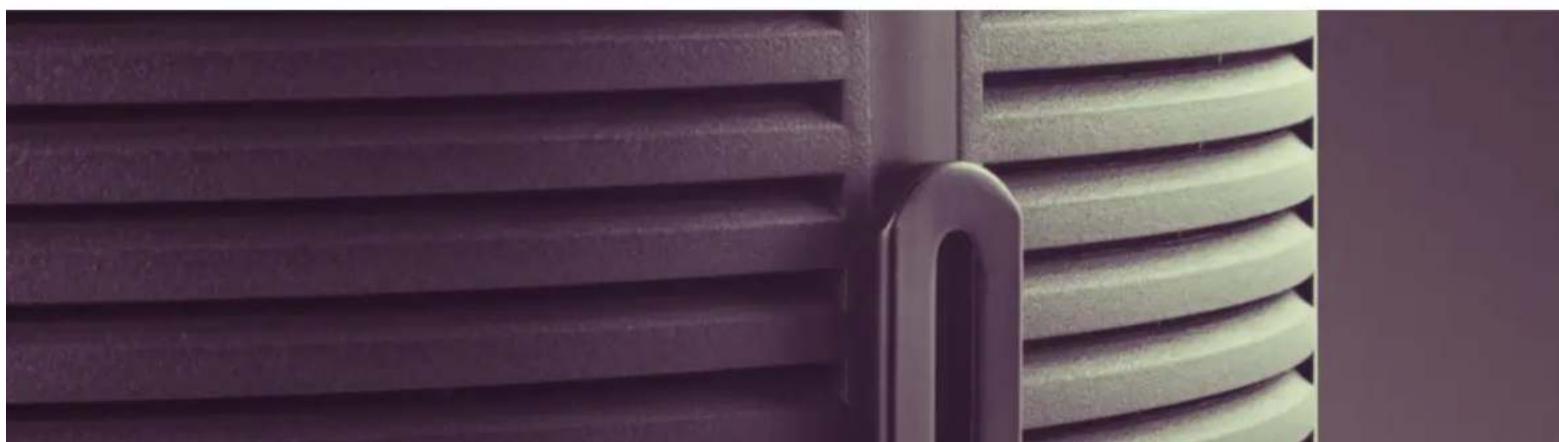
Close-up of a mechanical clamp or lever assembly with black and metallic components (no visible text or symbols)STEP ONE
The first step is to attach the hardware to the stand, which is done by screwing the bracket onto the top of a mic stand, where the mic or shockmount normally attaches.
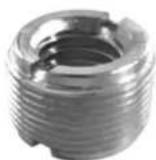
*There's an adapter screwed inside this connector for a European mic thread size - if you remove the adapter, the connector will fit US mic stands.
Use the lever on top of the L bracket to tighten it, but not too tight, as you'll probably need to shift it slightly later.
natural_image
Close-up of a black studio cap with slats and a metallic clip, no visible text or symbolsSTEP TWO
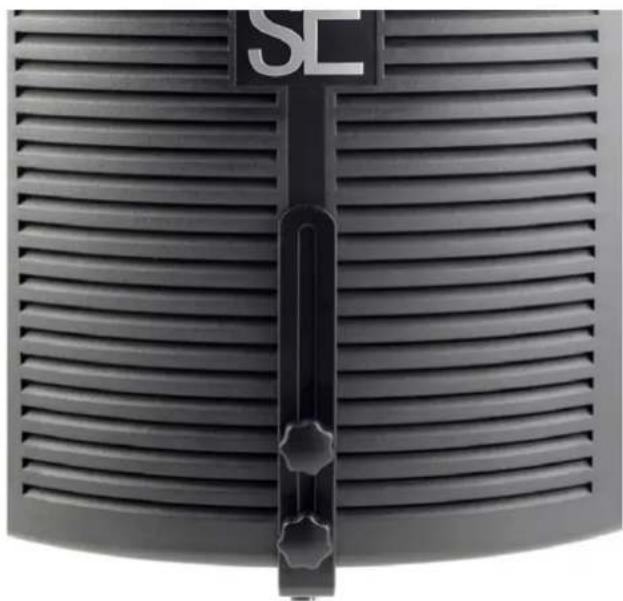
Next, attach the filter to the vertical portion of the L bracket by inserting the two included screws through the vertical cutout in the L bracket, and into the two screw holes on the back of the RFX.
natural_image
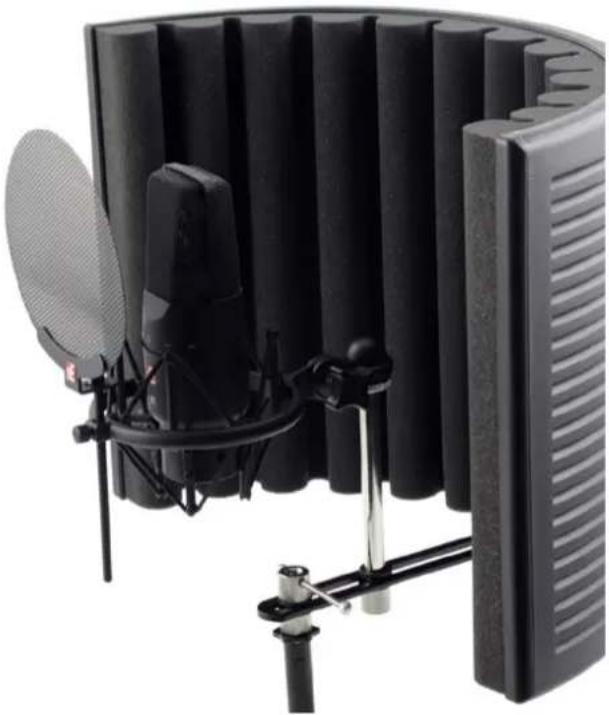
Close-up of a black studio studio studio with foam roller, microphone, and stand (no visible text or symbols)STEP THREE
Your microphone, in a shockmount or a clip, will attach to the hardware with the included standoff.
You can now play with the horizontal positioning of the mic, and the height of the RFX, to get the optimum position for recording.
The ideal placement for your microphone is where the mic's capsule is approximately even with the front edge of the RFX, and centered vertically with the filter – but some mics sound better when pushed a little closer, and some a little further away.
Once you've found a good position for the mic and filter, you can loosen the lever on top of the mic stand mount to move the filter and mic assembly forward or back – this way, you can position it so its center of gravity is balanced directly above the mic stand.
Thank you for being an sE customer - enjoy your new RF-X!
For more information, and to register for your extra year of warranty, please visit seelectronics.com.